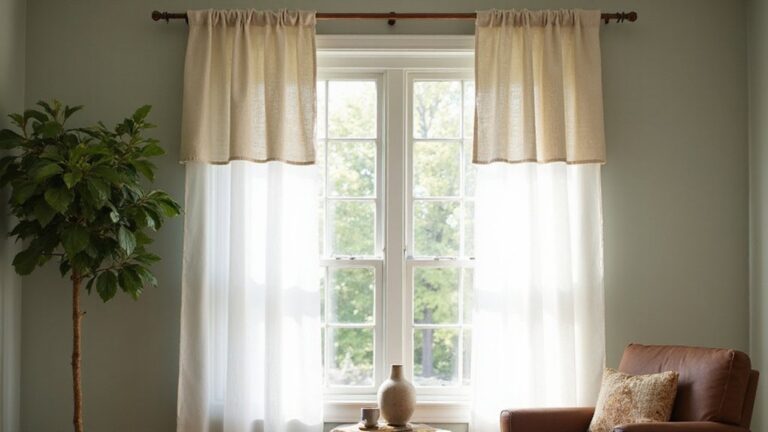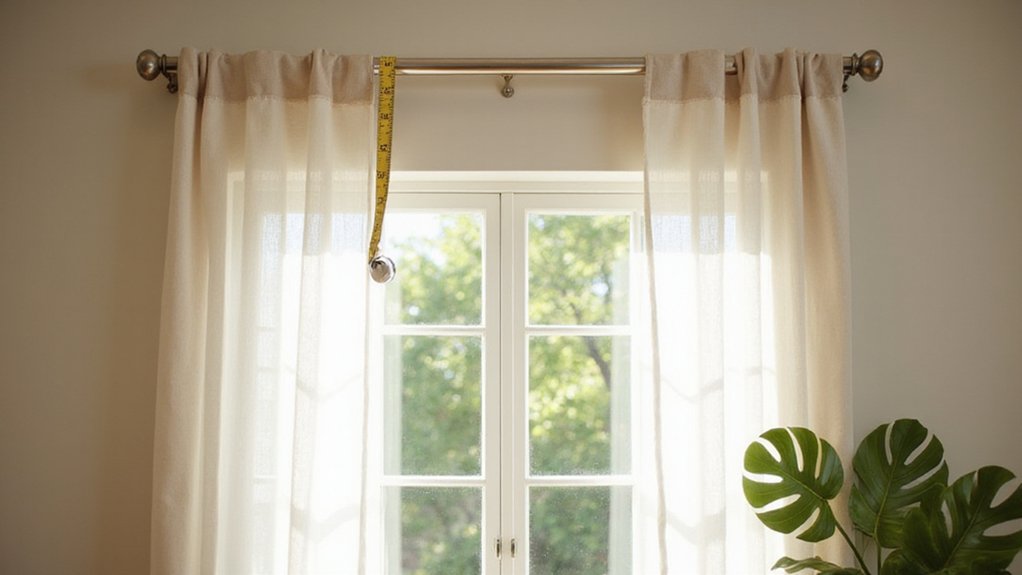
Wondering how to get the perfect fit for your curtain rods? The key is knowing the right measurements to ensure your curtains hang beautifully without sagging or looking awkward.
By understanding how to measure your window and account for overhangs and finials, you can select a rod that complements your space perfectly.
Keep reading to learn the simple steps to measure like a pro.
Use a Steel Tape Measure, Not a Sewing Tape
Use a steel tape measure instead of a sewing tape for accurate curtain rod measurements. Fabric tapes stretch with time, creating a lengthening effect that throws off your numbers. This stretching leads to cumulative inaccuracies, causing you to record shorter distances than the actual length. In contrast, a steel tape remains rigid and resists deformation, maintaining precise linear measurements. Since steel doesn’t creep or elongate, it stays aligned against your window frame without issues. Unlike fabric tapes, hardware store tape measures do not stretch and maintain accuracy over repeated use. Relying on a steel tape ensures consistent, reliable measurements every time, helping you avoid the costly mistake of installing a mismatched curtain rod. The durability of the metal strip provides confidence in your measurements, no matter how many times you measure. For a completely secure fix, you can also employ basic soldering techniques to reattach any broken wire connections within the metal components. When selecting storage furniture, a chest of drawers typically offers a taller, narrower profile ideal for small spaces. Considering your overall room layout, a vanity vs desk comparison helps determine whether a dedicated makeup station or a multifunctional work surface better suits your space.
Measure Window Width for Curtain Rod Length
To measure your window width for the correct curtain rod length, start by identifying your mounting type—inside or outside. For an inside mount, measure from the inside edge of one trim piece to the inside edge of the opposite trim piece. For an outside mount, measure from the outer edge of the left trim to the outer edge of the right trim. Always record your measurements to the nearest 1/16th or 1/4 inch for accuracy.
Next, add an overhang to your measurement to ensure proper light control. Typically, extend the rod 8 to 10 inches past each side of the window frame for full coverage. If you prefer a simpler, less intrusive look, a 3 to 6 inch extension per side may suffice. Consider your curtain style and fabric, as thicker or layered curtains can require more space for the fabric to hang freely without blocking light.
Finally, remember to account for the “stack back,” which is the fabric’s tendency to bunch up when the curtains are open. Your rod should be wide enough to accommodate this stacking so the curtains don’t block the window when open. Always measure carefully, taking into account your fabric choice and desired style, to achieve a perfect fit.


【Check Your Wall Surface Before Installing】Designed for clean, smooth and stable surfaces. Works best on flat wall, tile, glass and wood with lightweight to medium curtains. Avoid textured, uneven, dusty, damp or peeling surfaces for better adhesion.

WIDE POCKET DESIGN WITH DURABLE METAL SUPPORT: 2.5 inch pocket fits wide pocket drapery securely, while adjustable 3.44"–5.94" projection allows flexible spacing and sturdy metal construction ensures reliable support.
Add Overhang and Finials to Get Total Rod Length
To determine the total rod length, you need to include overhang and finials in addition to the framing width. Start by measuring your window’s frame width and then add your chosen overhang length, which typically ranges from 3 to 12 inches per side depending on your style and fabric weight. Heavier materials may require more overhang to ensure proper curtain stacking and clearance when open. Once you’ve established the overhang, add the widths of your finials, which can vary but are usually around 2 to 4 inches each. The sum of these measurements gives you the rod length needed to fit your window perfectly, ensuring the drapes hang elegantly while providing enough space to open fully without obstruction. Remember to account for the stacking space on each side so your curtains do not block the window glass. Additionally, leave at least 1/2 inch between the wall and the rod end for proper clearance when using French returns. For vertical blinds, the same principle of adding overhang per side applies to ensure the vanes stack completely clear of the window opening. Proper lighting near the window can be enhanced by selecting a night light that offers both brightness control and energy efficiency for added convenience. If using LED bulbs in your lighting fixtures, ensure they are compatible with dimmer switches to avoid flickering issues caused by electronic interference.

Adjustable Length: 32-144" curtain rod fits windows 24 to 136 inches wide. The telescoping rod featuring a flexible 1 to 9 feet extension range for precise customization, while the adjustable heavy-duty brackets offer a 2.5" to 3.5" wall clearance to prevent curtains from rubbing against the wall and improve light blocking. ( Important Note: To ensure safe shipping, this rod consists of 9 segments that require assembly. It is not a single or 2-piece pole.)

ADJUSTABLE LENGTH CURTAIN RODS: 16-144" curtain rod fits windows 20 to 138 inches wide. The telescoping rod featuring a flexible 1 to 12 feet extension range for precise customization, while the adjustable heavy-duty brackets offer a 2" to 3.5" wall clearance to prevent curtains from rubbing against the wall and improve light blocking. Comes with 9 rods that need to be screwed together, not 2 poles, Note: This is not a tension rod

𝐓𝐞𝐥𝐞𝐬𝐜𝐨𝐩𝐢𝐧𝐠 & 𝐒𝐩𝐥𝐢𝐜𝐢𝐧𝐠 𝐃𝐞𝐬𝐢𝐠𝐧: USFOOK curtain rods contain several segments that can be twist in to get alternative length and it can also be adjusted by sliding at the end and easily extend from 32 to 58 inches, suitable for windows 20 to 54 inches, meet your different size needs
Place Brackets So Rod Overhang Accommodates Stack Back
To ensure your curtain rod overhang accommodates your stack back properly, place the brackets so the overhang matches or exceeds that distance. Start by measuring your stack back, which is usually 3 to 6 inches per side for standard curtains or 10 to 12 inches for luxury setups. Mount the brackets this far beyond the outer edge of the window frame. Doing so prevents the curtains from blocking the glass when open, reduces fabric tension, and extends the lifespan of your curtains. Always evaluate architectural elements that may affect placement before marking.
Be mindful of trim depth and wall space. If your trim protrudes more than an inch, increase the clearance between the rod and wall accordingly. Without enough space, curtains can bind or stack poorly, causing strain on the fabric. For wider overhangs, add a center support bracket every 30 to 36 inches. This prevents bowing, which can reduce the effective overhang and negatively impact your stack back. Use a level and measuring tape to ensure brackets are aligned before installing the rod.
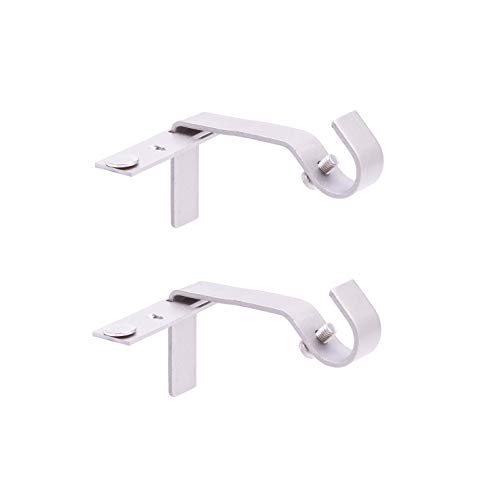
NO DRILL, NO MEASURE INSTALLATION FOR QUICK SETUP Fast Fit design installs easily without drilling or measuring, helping save time and reduce wall damage during setup.

NO DRILL, NO MEASURE INSTALLATION FOR QUICK SETUP Fast Fit design installs easily without drilling or measuring, helping save time and reduce wall damage during setup.

KENNEY MANUFACTURING: Celebrating more than 100 years, Kenney Manufacturing is defined by its strength, integrity, and consumer-first mindset—crafting window hardware, bath accessories, and storage products built to last.
Mount the Rod 4–6 Inches Above the Window Frame
Mount the rod 4 to 6 inches above the window frame. This height creates the illusion of higher ceilings and prevents your curtains from appearing cramped against the glass. The extra space also allows your curtains to fully clear the trim, maximizing natural light entry. For standard 8-foot ceilings, positioning the rod about 4 inches above the frame ensures 84-inch panels will hit the floor neatly. Consider your fabric textures and curtain style; heavier fabrics benefit from this clearance to drape smoothly, while lighter fabrics can maintain a more structured look. Mark the spot with a pencil, then hold the rod and panel against the wall to verify the length before drilling. This simple step promotes a balanced, professional appearance.
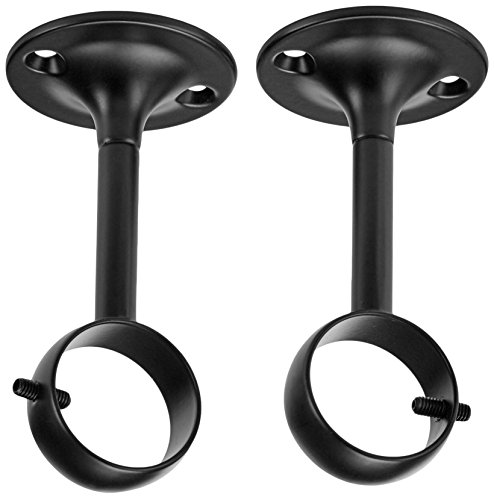
4-Pack (8 brackets total included)

Longer Design --- Our ceiling mount curtain rod bracket has a 10 inch length, longer than most standard brackets on the market. The bracket is excellent for when you need a rod and cannot attach it between two walls. This curtain rod holder is ideal for large living rooms, high ceiling spaces and spacious bedrooms with floor to ceiling windows.

!!!PLEASE CHECK SIZE BEFORE PURCHASE!!! --- Ceiling curtain rod bracket: 3.54in (90mm) long, 1.8in (46mm) base diameter, 1.96in (50mm) projection from wall. Fit for 1-1/10 to 1-1/4in (28mm-32mm) diameter drapery rod.
Match Curtain Panel Width and Length to Your Rod
To match your curtain panels to the rod, start by calculating their width and length. For width, determine the total panel width needed by adding 24 inches for stacking when the curtains are closed to the rod length. Divide that total by the number of panels to find each panel’s width. For a standard full look, aim for fabric that provides twice the rod length; for a more luxurious, gathered appearance, choose fabric that offers 2.5 times the rod length. This ensures the panels will align properly when drawn closed.
For length, measure from the top of the rod down to your preferred hang point, whether it be the floor, window sill, or just above. When using curtain rings, subtract the distance from the bottom of the rings to the floor or the desired length to get an accurate measurement. Don’t forget to consider the room’s color scheme and your chosen rod finish to select a panel length that creates a cohesive look. Avoid narrow decorative panels unless they are intended to remain stationary, as they won’t fully cover your window when drawn.

Sold as 2 Panels: Each package includes 2 pieces white sheer curtains. Each panel measures 42 inches wide by 63 inches long, perfect for most standard windows. The total width when fully extended is 84 inches, providing optimal coverage while maintaining a lightweight appearance.

Basic Information: Each panel measures 42 inch wide by 63 inch long (1.5" header not include). Total of two (2) panels - 84" inch Wide x 63" inch long with top dual rod pockets design, makes the ivory sheer curtains appears more beautiful and vivid. It can be used alone or as an added layering piece for added privacy or a more lush look.

2 PANELS SET: Each package includes 2 sheer curtain panels. Each panel measures 42"W x 63"L | Pair measures 84"W x 63"L. Tips: The length not includes the 1.5 inch header. For proper fullness, sheer curtains should be 2-3 times the width of your window