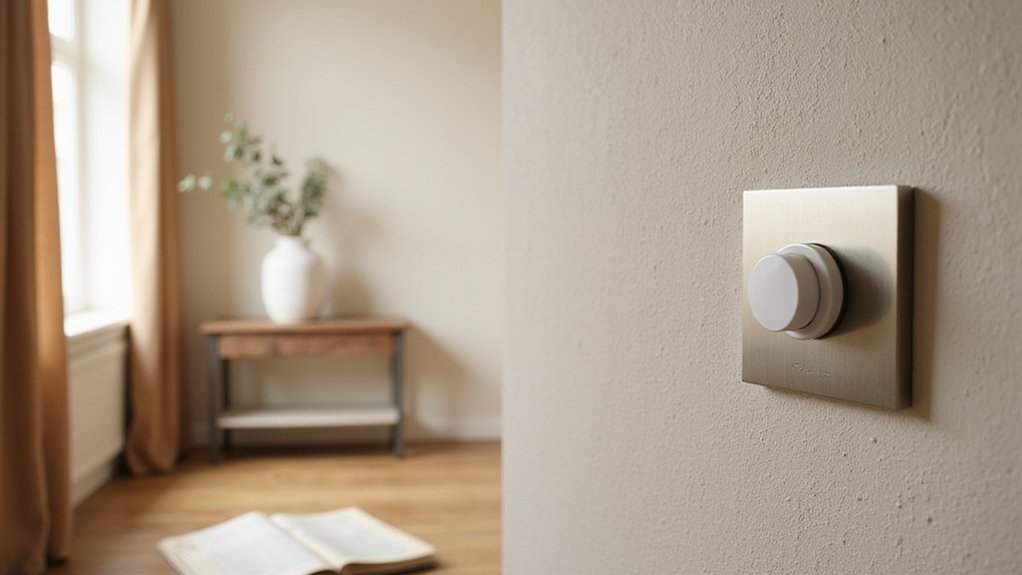
Ever wonder how to safely wire a dimmer switch into a 3-way setup? It’s a handy upgrade that lets you control your lighting from two locations.
With the right steps, you can do it confidently, ensuring smooth dimming and safe operation.
Keep reading to see how to get it done right the first time.
Turn Off the Breaker First
Turn off the breaker first before doing anything else. Locate the correct circuit breaker for the lighting fixture and rotate it fully to the “OFF” position. Make sure no one else can access the panel and verify that the light remains off.
Next, use a non-contact voltage tester to check each terminal inside the switch box. Test both black wires and the common wire. Flip the existing switch on and off to ensure zero voltage. Inspect the bare copper or green ground wire to confirm it is intact and properly connected. Even after shutting off the power, verify that no wires are pinched or exposed. Label the common wire with electrical tape for identification after verifying the circuit is dead. A common cause of LED bulb flickering is an incompatible dimmer switch, which can be resolved by using a specifically designed LED dimmer. Consider the decorative function of a dimmer switch when choosing between a vanity or desk setup.
This step also helps with circuit troubleshooting by confirming the circuit is dead before proceeding. Wait until you are certain there is no power, then gently pull the switch out and retest with the voltage tester to confirm no shorts exist. Keep your hands dry and wear insulated gloves if needed for safety.
Label Wires Before Removing the Old 3-Way Switch
Label each wire before removing the old 3-way switch to ensure correct reconnection of the new dimmer switch. Start with the common wire, which connects to the darker black screw terminal and usually stands out in color. Mark it as “Common” with electrical tape immediately. Next, label the two traveler wires as “Traveler 1” and “Traveler 2,” as they connect to the brass-colored terminals. Don’t rely on memory—labeling prevents misidentification that could cause faulty dimmer operation. Take a photograph of the wiring setup as a visual backup. Later, match the common wire to the dimmer’s black lead and the travelers to its red leads. Proper labeling now saves you time and avoids hazards during installation. Additionally, ensure power is turned off at the breaker before beginning to avoid electric shock. For budget-conscious projects, consider using affordable automated components similar to those in DIY roller blind setups to reduce overall costs. You can also consult the guide to installing a dimmer switch in your home for additional expert insights on choosing the right dimmer for your setup. For similar results in window treatments, sheers offer balanced light control without blocking all natural light.
Connect Travelers and Common to the Dimmer
Start by identifying the wires. Your common wire remains hot regardless of the other switch’s position. Connect this permanently hot wire to the dimmer’s common terminal, usually a black or darker screw. Loop the wire end around the screw and tighten it securely to prevent arcing.
Next, handle the two traveler wires. Attach each traveler wire to the brass-colored traveler terminals. The order does not matter—connect the red wire to one brass screw and the black wire to the other. Push each wire fully into the lever-nut connector or wrap it around the screw before tightening. Before attaching the second traveler, remove any insulating labels from the dimmer. Double-check that no exposed wire remains outside the terminals to ensure safety. Use a multimeter to confirm the common terminal’s constant power, verifying it as the always-hot wire. Ensure the dimmer is rated for the appropriate curtain rod diameter if it will be installed near a window with heavy drapery. For a smart installation, check that your dimmer is compatible with the specific light type and rated for the circuit’s voltage. If you are installing the dimmer in a ceiling with recessed can lights, verify that the fixture is listed for use with your dimmer model to avoid flickering.

【3 WAY SMART DIMMER SWITCH】Replaces traditional 3-way switches found in living rooms, stairways, and hallways. Adjust lighting remotely via the Tapo or Kasa app for energy savings and convenience of smart technology

SAVE TIME AND MONEY: Tired of replacing an entire lamp or over paying for a quick touch sensor replacement, this easy to install sensor is what your'e looking for! This kit comes complete with an easy wiring diagram and 4 wire nuts to connect each wire.

App-guided install: The Kasa or Tapo app guides you through step-by-step setup. Requires neutral wiring and 2.4 GHz Wi-Fi. Consulting an electrician is recommended if you’re unfamiliar with electrical wiring
Fold Wires and Mount the 3-Way Dimmer
After connecting the travelers and common wires, straighten and separate the exposed wires so you can see them clearly. Focus on wire management now: gently fold the wires into a U-shape or accordion pattern to maximize space inside the wallbox. Push the folded bundle deep into the box, ensuring no bare copper is sticking out. This creates room for the dimmer body to sit flush against the wall. For added safety, storing the dimmer in one of the top clear bins can help organize spare parts and tools neatly. Proper wire folding techniques prevent damage to the sensitive electronic components inside the dimmer. Always check the curtain hook compatibility with your existing drapery rings before proceeding with other home improvements.
Next, check the device alignment. Position the dimmer vertically with the mounting holes, making sure the rocker or slider orientation matches your wallplate. The dimmer shouldn’t tilt or protrude. Insert the mounting screws through the side holes, tightening them firmly but carefully—avoid overtightening to prevent cracking the plastic. Verify that the switch doesn’t wiggle when pressed and that it operates smoothly. Finally, confirm the dimmer sits evenly inside the wallbox, ready for the wallplate.
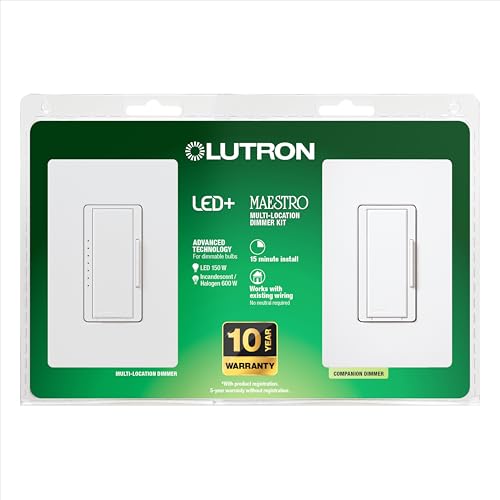
MULTI-LOCATION DIMMING: Have full dimming control from every location in a 3-way using the included companion dimmer. Additional companion dimmers can be used for 3 or more locations.

SMART LIGHT SWITCH: Set outdoor lights to turn on at dusk, so your family can return to a well-lit home (Caseta Smart Hub required: L-BDG2-WH)

ADD A SWITCH TO YOUR LAMPS: Avoid walking through a dark room to turn your lamps on or off. Simply plug the lamp into the lamp dimmer/switch and put the Pico remote at the entrance of the room. Perfect for bedrooms with nightstand lamps or living rooms that have lamps
Test Dimming From Both Switches
Turn the power back on at the breaker and begin testing from the primary switch location. Start by rotating the dimmer slider to its lowest stable setting. Observe for a smooth and gradual change in voltage across the bulb, ensuring the dimmer operates correctly. Check that the dimmer feels cool to the touch and does not display any fault indicators, which could signal a wiring or compatibility issue.
Next, move to the secondary switch. Use it to turn the light on and off while the dimmer remains set at its lowest level. The secondary switch should only toggle power without affecting the brightness. Proper operation here confirms that both switches are correctly wired and that user ergonomics are maintained, allowing you to control brightness from one location and on/off from the other.
If the light does not respond as expected, troubleshoot the secondary switch. Check traveler connections for tightness and correctness, and verify the voltage at the common terminal. Also, confirm that the ground connection is secure and that the load wattage does not exceed the dimmer’s rated capacity. Proper setup and troubleshooting ensure safe, reliable dimmer operation from both switches.

𝐒𝐦𝐚𝐫𝐭 𝟑-𝐖𝐚𝐲 𝐋𝐢𝐠𝐡𝐭𝐢𝐧𝐠 𝐂𝐨𝐧𝐭𝐫𝐨𝐥 - Control lighting fixtures from two locations, ideal for living rooms, hallways, or stairways. Simple wiring setup - just replicate your old switches, and the smart switch automates the rest. Neutral wiring, 2.4Ghz Wi-Fi and Tapo App required for setup.

ADD A NEW SWITCH ANYWHERE: Add a new switch location anywhere in under 15 minutes. Simply replace the existing light switch with the Caseta dimmer and mount the Pico remote anywhere you'd like to control the lights. Pico fits in a standard wallplate to blend in with other switches

THE GOLD STANDARD IN DIMMING: Lutron’s advanced technology provides smooth LED dimming used for everyday light bulbs to reduce flicker, buzz, and delay to enhance comfort and ensures consistent dimmer switch reliability across LED lighting
Fix Common 3-Way Dimmer Wiring Mistakes
Testing dimming from both switches confirms proper operation, but wiring mistakes often reveal themselves during that process. The most common error is misidentifying the common terminal—the dark screw—and the traveler terminals, which are brass or gold-colored. Connecting the hot source wire to a traveler instead of the common prevents power from reaching the light fixture. Always verify the switch identification first: connect the hot wire to the common terminal, not a traveler. Swapping traveler wires at one switch while leaving the other correct can cause inconsistent control. Neutral wiring is another frequent pitfall; tying the fixture’s white wire to the wrong neutral breaks the return path and prevents proper operation. Don’t skip a continuity test between the black and red traveler wires—it helps confirm that the cables are correctly routed. Incorrect neutral wiring can also strain the dimmer by exceeding its rated load wattage. Be sure your dimmer’s wattage rating matches or exceeds the fixture’s maximum wattage to avoid overheating. Always verify each terminal’s role before tightening the screws to ensure safe and proper operation. Ensuring the connection at the common terminal is correctly assigned to the power source prevents erratic control and avoids troubleshooting complexity.

Create 3-Way Switches Easily without Wiring: Suraielec 3-way wireless light switch kit eliminates the need for wiring between light and switch; no wall demolition required for installation; easily add wireless 3-way light switches to your system without affecting existing wiring or fixtures

ADD A NEW SWITCH ANYWHERE: Add a new switch location anywhere in under 15 minutes. Simply replace the existing light switch with the Caseta dimmer and mount the Pico remote anywhere you'd like to control the lights. Pico fits in a standard wallplate to blend in with other switches
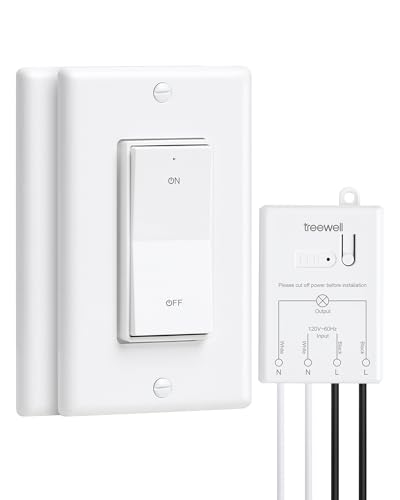
Add/Relocate 3 Way Switch without Rewiring - Simply wired between the power and lighting fixtures; no complex in-wall rewiring or WiFi needed to add/relocate switch, pre-programmed for immediate use. The responsive remote control can turn your lights on and off instantly with no lag. Allowing you to control your lights from two separate locations.