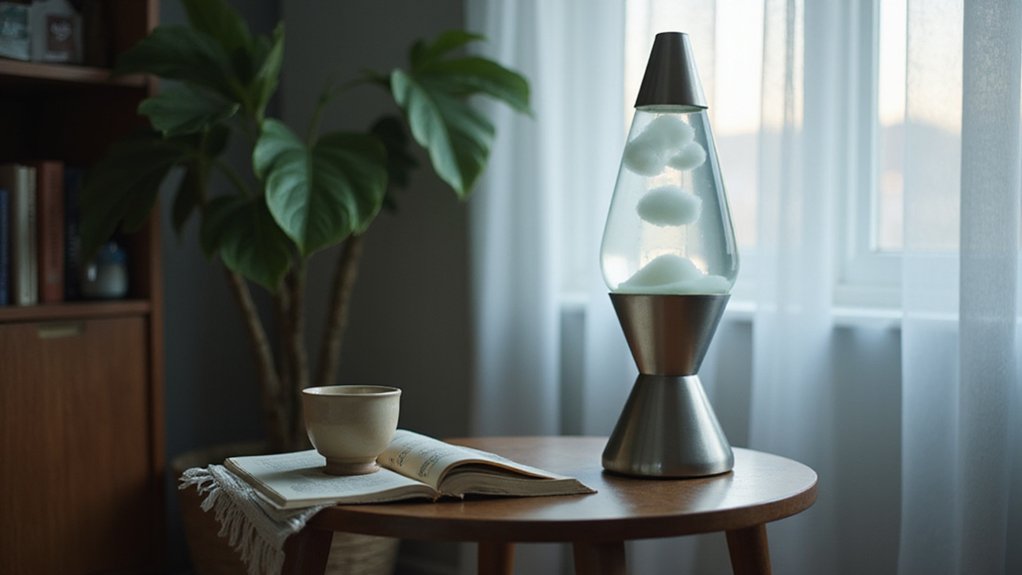
If your lava lamp has turned cloudy, you’re probably wondering what’s causing the hazy appearance.
Often, it’s due to tiny wax particles that break apart and float freely instead of forming the familiar blobs.
This can happen from shaking, temperature changes, or aging.
Luckily, there are ways to clear it up, and I’ll walk you through them below.
What Exactly Makes a Lava Lamp Go Cloudy?
A lava lamp turns cloudy mainly because the chemical balance inside it breaks down over time. This breakdown causes tiny wax particles to separate from the larger blob. These particles then mix with the water, forming an emulsion that looks murky.
Physical agitation such as shaking or knocking the lamp can also create cloudiness. When you disturb the wax, small fragments break off into microscopic bits that disperse throughout the water. Additionally, temperature changes during shipping—like hot or cold weather—can cause the wax to fragment further, leading to a cloudy appearance. Choosing quality wood materials for a DIY clothing rack ensures durability and a stable structure. A similar principle of material selection applies to DIY project materials when building a lava lamp from scratch.
Extreme temperature fluctuations expose the lamp to conditions beyond its heat resistance. Overheating from prolonged use or direct sunlight can degrade the wax material. When the wax deteriorates, it loses its ability to rejoin with the liquid properly. Sudden temperature shifts or using the lamp outside its recommended range disrupt the delicate balance, preventing the wax particles from coalescing again and resulting in persistent cloudiness. Unlike a vanity or desk, which prioritizes style and function for a different purpose, the lava lamp’s performance depends entirely on its chemical integrity staying intact.
How to Tell If Cloudiness Is Normal or a Problem
If your lava lamp’s cloudiness clears within 8 to 24 hours of rest at room temperature, it’s usually just temporary settling. For example, using tap water instead of distilled water can cause temporary cloudiness that typically clears within half an hour. During normal operation, the wax flows smoothly in rounded blobs after heating, without light flickering or erratic movements. Electrical issues like a loose bulb or faulty dimmer can cause flickering LED bulbs that affect the lamp’s internal temperature stability. A healthy lamp shows only shifting shades in the wax, not sudden color changes in the liquid itself. If your lamp also has heavy mineral buildup, you may need to remove vertical blinds to access the bulb for cleaning. Persistent cloudiness that lasts beyond 10 hours of continuous running indicates possible fluid degradation. Sediment stuck to the wax or a complete lack of flow are signs of genuine trouble, not just a passing phase. Choosing a lamp with roller shades instead can avoid some of these heat-related issues.
The 4 Most Common Reasons Your Lava Lamp Gets Cloudy
Physical disruption from shaking or impacts is a common reason your lava lamp becomes cloudy. Even a small knock can cause tiny wax particles to shatter off the main blob. These fragments then float through the liquid, creating a murky appearance. To avoid this, handle the lamp carefully and resist the urge to shake it, as doing so can break the wax into small pieces that won’t reattach. For comparison, when selecting window coverings, single cell shades are often more prone to letting in light than their double cell counterparts. Proper installation of cordless blinds requires careful leveling to prevent the blinds from tilting and causing uneven wear. Similarly, choosing a bedside table with standard sizes ensures the lamp sits securely and remains undisturbed.

Mix and match the glob colors, glitter, and stickers to create your ultimate Lava Lamp!

Fit for 14.5" Lava Lamps: Designed for standard 14.5-inch classic lava lamps. This lava lamp cap kit features a precision opening for a secure fit. Helps keep the top cap stable without wobbling or shifting

PERFECT FIT FOR 14.5" CLASSIC LAVA LAMPS:Precision designed to seamlessly fit 14.5" classic lava lamp models. Our replacement top caps align perfectly with your lamp for stable, secure, and optimal performance, no wobbling or misfitting.
How Temperature Fluctuations Turn Your Lamp Cloudy
Temperature fluctuations can quickly turn your lava lamp cloudy, mainly because of thermal shock. Moving a warm lamp into a cooler room causes the wax to release and scatter, creating cloudiness. Similarly, placing the lamp in direct sunlight superheats the liquid, leading to color fading and wax discoloration that diminish clarity. If you position it near a heater, sudden temperature spikes speed up cloud formation.
Deviations from the ideal temperature range of 68 to 75°F make the problem worse. Rooms below 68°F hinder wax melting, leaving particles suspended and cloudy. Above 75°F, the wax breaks down, resulting in permanent discoloration and reduced transparency. Drafty windows cause uneven heating, which accelerates clouding. To restore clarity, allow the lamp to acclimate gradually by running it continuously for 3 to 4 hours after any temperature change.
How Aging Wax and Contaminants Create Chalky Sediment
Aging wax and contaminants create chalky sediment because wax degrades chemically over time due to heat exposure. Its long-chain molecules break into tiny particles that scatter light and settle at the lamp’s base. This deterioration speeds up as the master fluid also breaks down, losing its ability to keep particles suspended. Each heating cycle worsens sediment formation, as broken wax fragments coagulate and fail to fully melt back into the molten state. External contaminants such as dust, bacteria, or residual oils from manufacturing bind with the degraded wax, forming stubborn white deposits. As the emulsion deteriorates, the fluid’s density shifts, making it harder for particles to settle completely. To mitigate this issue, you can build a dedicated drying rack to help your lava lamp cool slowly and evenly between uses. For a more budget-friendly approach, you might consider using recycled materials to construct this rack, similar to DIY automated blind projects. This persistent chalky layer indicates advanced aging, where the wax no longer melts or flows properly, which limits your lamp’s performance. Using proper hanging hardware can prevent accidents when mounting heavy household items like mirrors, just as stable placement is key for your lamp.
3 Quick Fixes for a Cloudy Lava Lamp
Running a long-cycle operation for six hours on, six hours off repeatedly helps sediment settle into the wax naturally, restoring clarity to your lava lamp. Between cycles, removing the metal top hat speeds cooling and encourages sediment to settle faster. Position your lamp in a stable spot away from drafts and direct sunlight, as uneven heating can cause the wax to break down into chalky particles, leading to cloudiness. Additionally, adjusting the wax density with a gentle salt solution can clear up the cloudy fluid. Add about 4 grams of brine down the lamp’s side using a straw, then wait one to two minutes for the wax to settle before adding more. This subtle tweak can improve transparency without the need for a full refill. Over time, consistent operation allows sediment to filter into the wax naturally, improving clarity as observed in lamps used for years. For best results, always use distilled water when mixing any solution to avoid introducing additional minerals that cause cloudiness.

Premium Distilled Water: 1 gallon container of clear liquid distilled water suitable for household, cleaning, appliance maintenance, and general purpose everyday use

Distilled Water When You Need It: Pure Life’s Distilled Water helps prevent mineral buildup, making it ideal for multiple uses, including in household appliances that require distilled water to run at peak efficiency. One 1-gallon jug.

Great Product
How to Filter and Refill for Lasting Clarity
To ensure lasting clarity, start by letting your lava lamp cool to room temperature. Then, place the globe in a refrigerator to let the wax fully solidify, which helps prevent clouding and wax streaks during fluid removal. Carefully pour the fluid into a clean container, stirring gently to suspend any white sediment for complete removal later. Rinse the globe with water, swirling gently to loosen stubborn sediment, and repeat this process until the water runs clear—using distilled water for the final rinses. This process mirrors the selection of sheer curtains for a room, where clarity and light transmission are key. For optimal results, consider comparing the quality and performance of different filtration methods to ensure the best outcome. Attach a hollow fiber membrane filter to a bottle, place its tip inside the lamp, and squeeze the fluid through to remove any remaining impurities. While filtering, note that LED bulb types offer varying color temperatures that can alter the appearance of the lamp’s fluid. Refill the lamp with distilled water, leaving enough space for brine additions. Add small amounts of Epsom salt brine, waiting 1 to 2 minutes after each addition for the wax to settle. This method ensures the fluid remains clear and allows for color enhancements or aesthetic tweaks. To avoid overfilling, never add more than a teaspoon of brine at a time.

Package List: these activated charcoal sachets come in a large pack of 100 pieces, each weighing 2g, providing you with a nice stock that will serve your daily use and replacements; You no longer have to worry about running out too soon

Remove Pollutant: the distilled water filter will help to remove the pollutant and chlorine in the water, but pay attention to that carbon filter water tastes different, if your original filter has been applied for a long time and may have failed, the filter will bring a different taste

[High Efficient Performance] 750W water distiller is 4L/1.06 Gallon volume. Distill 1L of water per hour, for a total of 6 Gallons of water per day. Rapid, clean, safe. TIPS: Note: In order not to affect your use and taste, we kindly suggest you replace the filtering carbon pack once a week and clean this machine after using twice
How to Stop Your Lava Lamp From Going Cloudy
To stop your lava lamp from going cloudy, start with gentle heat cycling. Run the lamp for six hours on, then six hours off, repeating this cycle until the fluid clears naturally. This method helps soften the wax and allows impurities to settle or dissipate. After the wax has softened, run the lamp continuously for 8 to 10 hours to help dissolve the haze. Keep an eye out for overheating; if excessive bubbles or fogging occur, pause the process to prevent damage.
Next, clean the exterior of the lamp. Wipe it down with a soft, damp cloth to remove dust and skin oils. Follow up with rubbing alcohol for a polished, streak-free finish that enhances its luminous effect. For stubborn cloudiness that persists, you can refine the fluid itself. Add one tablespoon of salt to the fluid, let the lamp sit to allow separation, then gradually introduce small amounts of brine while the wax is fully melted. If cloudiness remains and you need to start over, consider using safe disposal methods outlined for old fluid and wax. Once the wax has softened completely, add two or three drops of gentle detergent to restore clarity. This approach helps remove lingering cloudiness without the need to replace the entire fluid.

Ultimate Jewelry Care: Maplefield Ultrasonic Jewelry Cleaner Solution delivers meticulous care for your cherished gold and diamond mementos. This jewelry cleaner solution for ultrasonic machines maintains your collection's brilliance with ease and efficiency

𝐀 𝐑𝐞𝐣𝐮𝐯𝐞𝐧𝐚𝐭𝐢𝐧𝐠 𝐒𝐩𝐚 𝐟𝐨𝐫 𝐉𝐞𝐰𝐞𝐥𝐫𝐢𝐞𝐬 - Rediscover the brilliance of your treasures with our USA-made ultrasonic jewelry cleaner liquid! With two 8 oz bottle, it delivers up to 37 machine refills for a long-lasting and cost-effective solution
When Should You Replace the Fluid Instead of Repairing It?
You should replace the fluid instead of repairing it when visible debris or sediment remains after a full 24-hour rest period. If the fluid’s color has faded from its original hue, it indicates chemical degradation that cannot be reversed through repairs. Persistent petroleum odors after draining also signal contamination that calls for replacement. When wax fragments break into small pieces or stick to the glass, repair efforts are unlikely to succeed. Fluid that is over one to two years old has typically deteriorated beyond salvage. Additionally, if past repair attempts have failed, further repair may be a waste of time and money. Cloudy fluid that raises safety concerns—such as increased risks of overheating or fire—should be replaced promptly. Ultimately, when the cost and effort of repairs outweigh the price of a new lamp, replacing the fluid is the safest and most effective choice. Using distilled water for filling prevents impurities that cause cloudiness. Choosing the right window covering, such as roller shades, can similarly prevent light-related degradation of nearby objects.

PERFECT HEAT FOR OPTIMAL WAX FLOW: Engineered specifically as a lava lamp light bulb replacement, this 30W R39 reflector bulb generates the precise heat required to melt wax evenly. Say goodbye to sluggish blobs; our lava lamp bulbs ensure your lamp reaches the ideal temperature quickly for mesmerizing, continuous motion.

Quick Preheat: The E17 lava lamp bulbs generate a large amount of heat and heat up quickly, The heat of the 25W lava bulb is evenly distributed to your lava lamp. The stable heating lamp glitter bulb is designed with high efficiency to reduce power consumption and provide long-lasting brightness

Quick Preheat: The E17 lava lamp bulbs generate a large amount of heat and heat up quickly, The heat of the lava bulb is evenly distributed to your lava lamp. The stable heating lamp glitter bulb is designed with high efficiency to reduce power consumption and provide long-lasting brightness