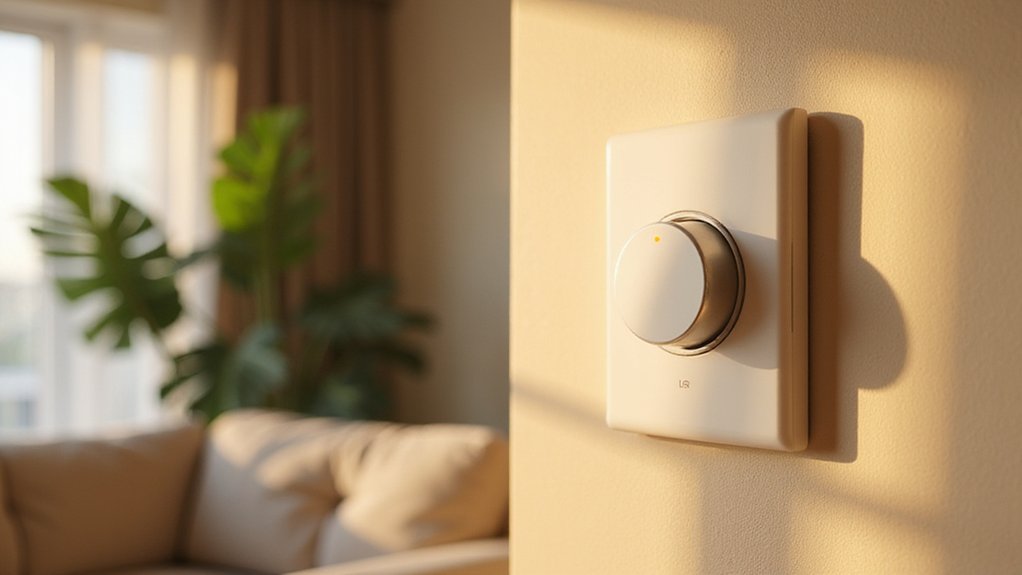
Ever wondered how a dimmer switch adjusts the brightness of your lights? At its core, it toggles the power going to the bulb by quickly cutting the electrical flow.
This allows you to set the perfect mood without wasting energy. Understanding how it works can help you choose the right type for your needs and avoid common issues.
Keep reading to see how these switches operate and what makes them tick.
How Dimmers Cut Power Without Wasting Energy
Modern dimmers cut power efficiently by rapidly toggling the electricity on and off instead of wasting energy as heat. This switching process smoothly controls bulb brightness without generating excess heat, allowing for precise lighting adjustments. The circuitry in these dimmers also improves safety by reducing the current flow and stress on fixtures. With LEDs, this method results in significant power savings because unused electrons are not diverted through resistors. When you dim a bulb to 50 percent, you actually use about half the electricity, though the exact savings depend on the type of bulb. For LED strip lights, a similar cutting method can be used to achieve precise lighting adjustments without wasting energy. This versatility makes dimmer switches particularly useful for vanity or desk areas where different lighting levels are needed for various activities. Using energy-efficient bulbs with dimmers maximizes overall energy savings because solid state dimmers switch current rapidly, enhancing efficiency and wasting less heat. However, flickering often occurs when LED bulbs are incompatible with the dimmer’s switching cycle, which can be fixed by checking the dimmer’s minimum load rating.
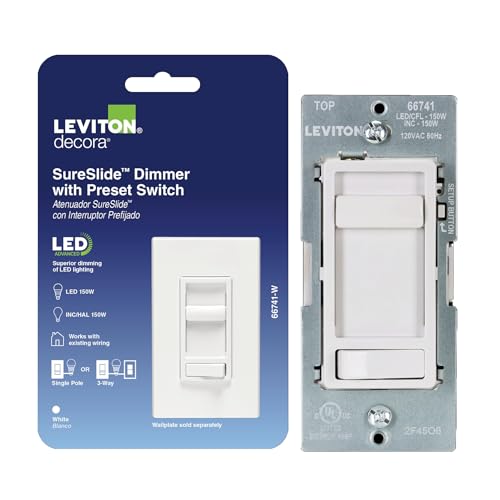
SET THE VIBE – SureSlide Dimmer Switch delivers smooth, reliable lighting control to adjust overhead lights—from bright task lighting to a soft ambient glow to create the perfect atmosphere

Designed for optimal control of dimmable LED and CFL bulbs. Also compatible with incandescent and halogen

WHEN QUALITY MATTERS: For flicker-free dimming, the Lutron Ariadni dimmer switch is continuously tested with today's LEDs for flicker-free dimming. Visit Lutron's LED compatibility tool to find the LED bulbs perform the best
Phase-Cutting: How Dimmers Slice the AC Sine Wave
The phase angle you select determines how much voltage is delivered to your bulbs. Slice off 90 degrees of the sine wave, and you reduce the voltage by half. Dimmer circuits work by switching your light on and off approximately 120 times per second, controlling the perceived brightness. This is achieved through phase angle control, which synchronizes pulses with the AC waveform to regulate current flow. When installing, it’s important to match your dimmer type to your bulbs. Leading-edge dimmers are best suited for traditional incandescent lights, while trailing-edge dimmers tend to be more compatible with LEDs. Choosing the right combination helps prevent flicker and ensures reliable dimmer performance. For a successful installation, you should also follow the manufacturer’s instructions for safely wiring the dimmer into your existing ceiling electrical box. Wiring an LED strip light installation also requires matching the dimmer type to your specific strip to maintain consistent brightness. Choosing a window film that allows you to see out but not in relies on similar phase-control principles to manage light transmission.
Inside the Dimmer: Triac, Capacitor, and Resistor
Inside a dimmer switch, a TRIAC, capacitor, and resistor work together to control your lights. The TRIAC switches on and off over 50 times per second, effectively chopping the AC sine wave. The capacitor charges gradually through a resistor network until it reaches about 30 volts, at which point it triggers the TRIAC to turn on. By turning the potentiometer, you change the resistance, which adjusts how quickly the capacitor charges. Higher resistance delays the firing of the TRIAC, resulting in a dimmer light output. However, manufacturing variations in these components can cause inconsistent dimming performance between units. The rapid switching of the TRIAC also generates electrical interference, which can produce a buzzing noise in nearby electronics. To mitigate this, quality dimmers include filters that suppress interference. For a related DIY project, you might consider building a window valance using similar budget-friendly principles. While the RC timing network isn’t perfect, it provides a reliable and straightforward method for adjusting lighting levels in most home settings. Additionally, the warm glow from a dimmed light can mimic the soothing ambiance of a salt lamp in your home. For optimal performance, choose a dimmer with a high-quality filter to reduce electrical interference and ensure smooth operation.
How Dimmers’ Rapid Pulses Affect LED Bulbs (And Cause Hum)
Rapid pulses from dimmers—often hundreds per second—cause flicker, hum, and instability in LED bulbs. Traditional phase-cut dimmers operate by quickly switching the voltage on and off, which creates these rapid on/off pulses. While your eyes perceive a steady, smooth dimming, the LED driver doesn’t interpret these pulses the same way. Instead, it sees a waveform that conflicts with its design, leading to flicker or audible humming. This occurs because phase cutting fundamentally reduces the area under the sine wave of the power supply, altering the waveform shape that the driver expects to see. Similar to how a lava lamp’s heating element cycles on and off to create its flow, a dimmer’s rapid switching disrupts the delicate electronic balance an LED driver relies on. Inconsistent heating, like a lava lamp turning into a big blob, can cause similar instability in the behavior of the lamp’s liquid. Using the wrong tools, such as a standard dusting cloth on faux wood blinds, can also lead to buildup and damage over time.
The compatibility of your LED’s driver with the dimmer type—whether it uses leading edge or trailing edge technology—determines how well they work together. When there’s a mismatch, the driver struggles to handle abrupt voltage changes, resulting in visible pulsing or humming sounds. Low-wattage LEDs particularly have trouble meeting the minimum current requirements of traditional dimmers, causing them to turn off or flicker instead of dimming smoothly. Additionally, these rapid voltage swings stress internal components, generating a high-frequency buzz. Without proper driver compatibility, you can expect both an audible hum and uneven, flickering light.

Precise Dimming: Achieve the perfect ambiance with precise dimming control using our MOSFET Trailing Edge AC LED Light Dimmer, compatible with both incandescent and DIMMABLE LED bulbs.

LED Dimmer switch: This smart switch implements the Trailing Edge dimmer solution. It is better than other dimmer switches for LED lights. It will bring you a new dimmer experience with larger dimming range, smoother dimming process, and less flickering

Trailing Edge MOSFET Dimmer: This dimmer controls the MOSFET's on-time to adjust voltage or current, offering smooth dimming. Compared to leading-edge dimmers, it's gentler on circuits and ideal for sensitive loads like LEDs
Picking the Right Dimmer Switch for Incandescent, CFL, and LED
To ensure your dimmer switch works well with incandescent, CFL, and LED bulbs, you need to check two main factors: compatibility and wattage load. First, verify that each bulb is labeled “Dimmable,” as non-dimmable CFLs won’t respond to any dimmer. For LEDs, choose a trailing edge (electronic) dimmer for smooth, quiet operation; incandescent bulbs work fine with either leading or trailing edge types. Additionally, confirm the presence of a neutral wire at the switch location, as this is crucial for proper LED dimmer switch function.
Next, calculate your total wattage by adding all bulb wattages together. Your dimmer’s rated capacity must meet or exceed this total to avoid flickering, hum, or switch failure. When dimming LED bulbs, divide the dimmer’s load range by 10 to estimate its capacity and compare it to your total load, ensuring it stays above the minimum load specified. If you’re unsure, consult the manufacturer’s compatibility sheet. Correctly matching the bulbs and load capacity helps prevent common issues like flickering, humming, and premature switch failure, keeping your lighting reliable and smooth.

SET THE VIBE – Toggle Slide Dimmer Switch delivers smooth, reliable lighting control to adjust overhead lights—from bright task lighting to a soft ambient glow to create the perfect atmosphere

ADD A SWITCH TO YOUR LAMPS: Avoid walking through a dark room to turn your lamps on or off. Simply plug the lamp into the lamp dimmer/switch and put the Pico remote at the entrance of the room. Perfect for bedrooms with nightstand lamps or living rooms that have lamps

SET THE VIBE – Decora Slide Dimmer Switch delivers high-end design with smooth, reliable lighting control to adjust overhead lights from bright task lighting to a soft ambient glow in any room