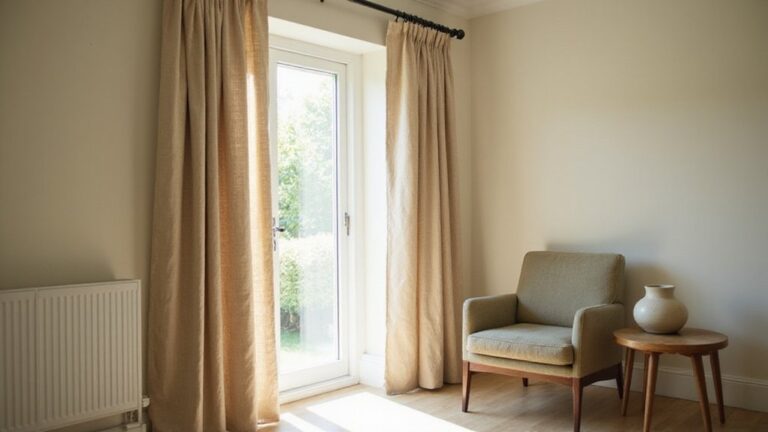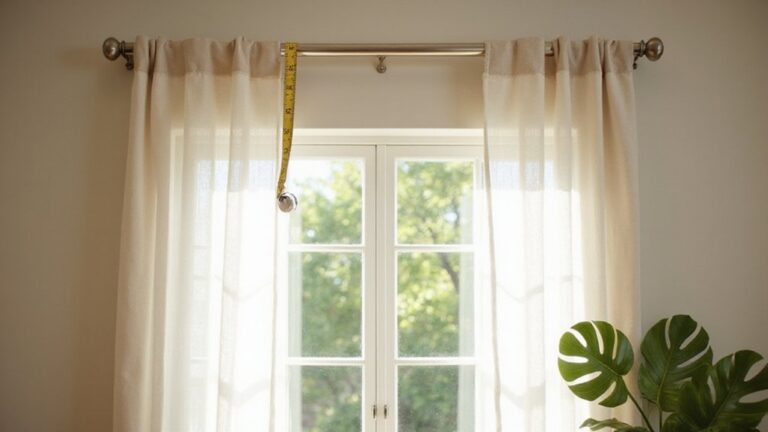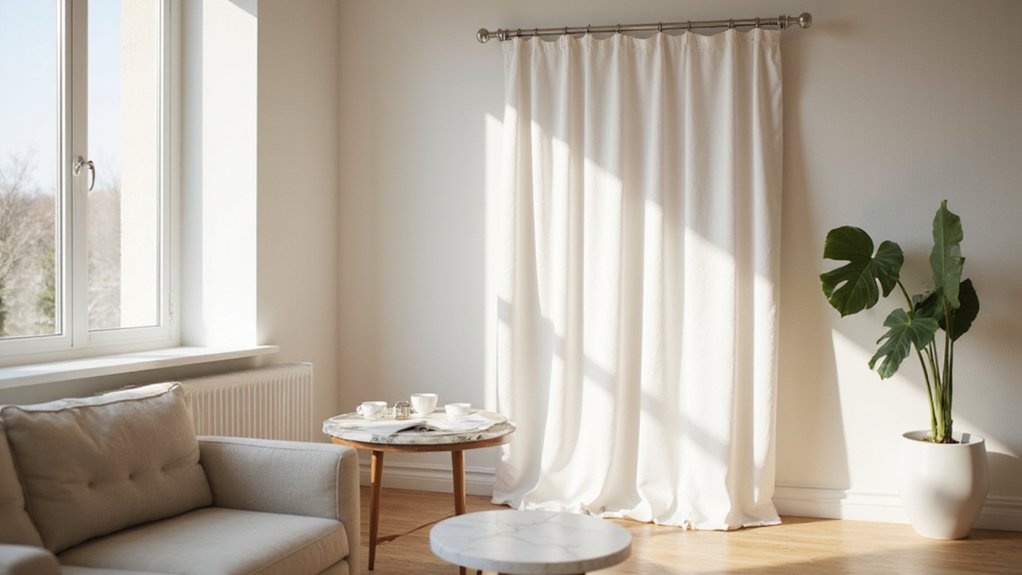
Wondering how high to hang your curtain rods for the best look? The right height can make your windows feel more expansive and your rooms look taller.
Generally, mounting 4 to 6 inches above the window frame works well, but raising them higher can create a more open and airy feel.
Keep reading to find out the ideal measurements for your ceiling height.
What’s the Standard Curtain Rod Height Above a Window Frame?
The standard curtain rod height above a window frame is typically 4 to 6 inches. This range strikes a balance between practicality and aesthetics, making your window appear taller and more proportionate. For most rooms with standard 8-foot ceilings, placing the rod at this height creates a clean, polished look. If your room has crown molding or other decorative trim, dropping the rod 2 to 3 inches below the molding helps maintain a streamlined appearance. Remember to consider your wall color and fabric texture—heavier drapes may require a slightly higher placement to prevent a bulky look. LED bulb flickering often results from incompatible dimmer switches, which can also affect the visual stability of your lighting setup. Starting with this guideline ensures a professional, visually appealing result. For privacy, a see out, not in window film can complement your curtains by allowing natural light while blocking outside views. For further refinement, consider how curtain rings interact with your rod height to ensure smooth operation and a tailored fit.

KENNEY MANUFACTURING: Celebrating more than 100 years, Kenney Manufacturing is defined by its strength, integrity, and consumer-first mindset—crafting window hardware, bath accessories, and storage products built to last.
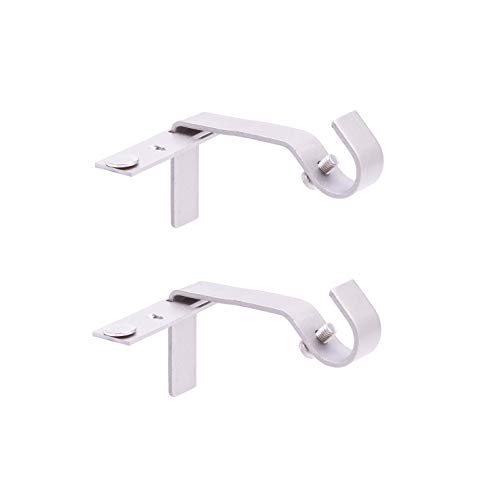
NO DRILL, NO MEASURE INSTALLATION FOR QUICK SETUP Fast Fit design installs easily without drilling or measuring, helping save time and reduce wall damage during setup.
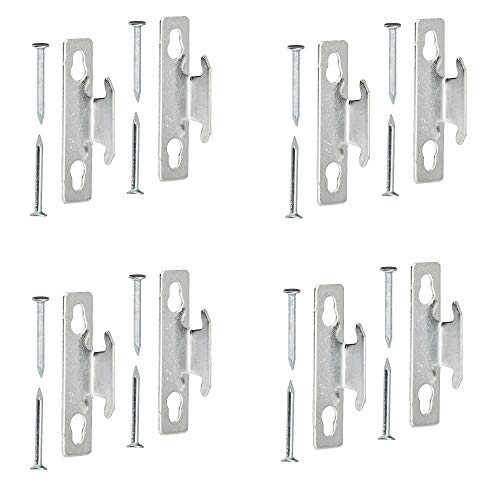
1 case of 4 Packs, 4 Count Total
Why Higher Curtain Rods Make Rooms Look Bigger and Taller
Raising your curtain rods higher instantly makes a room feel larger and taller. By placing the rods above the window frame, you draw the eye upward, creating a natural vertical line that emphasizes height. This technique prevents walls from appearing cut off at the frame, making ceilings seem higher than they are. To enhance this effect, choose floor-length curtains that extend from high rods, avoiding horizontal breaks and maintaining wall continuity. Extending the rods wider than the window frame also enlarges the visual space, allowing more natural light to flow in and offering an unobstructed view. When weighing style and function for your space, it is important to balance aesthetics with practical needs, just as choosing between a vanity or a desk depends on your priorities. When working with limited ceiling height, balancing high placement without overdoing it ensures a proportionate, luxurious look. For a cohesive design, consider pairing your curtains with a macrame plant hanger to add organic texture and vertical interest. Using a pinch pleat style for your curtains can further enhance the tailored, vertical lines that draw the eye upward.
What’s the Best Curtain Rod Height for 8-Foot, 9-Foot, and 10-Foot Ceilings?
For 8-foot ceilings, mount the curtain rod 2 to 3 inches below the ceiling or 6 to 8 inches above the window trim. This placement creates the illusion of height without overpowering the space. Use 96-inch curtains to maintain a tall, elegant look. For 9-foot ceilings, hang the rod 8 to 12 inches above the window trim, roughly two-thirds of the way up the wall. Opt for 96-inch or longer panels to accentuate the height. For 10-foot ceilings, position the rod 10 to 14 inches above the trim, but keep it 2 to 4 inches below the ceiling to balance proportions. Use 108- or 120-inch curtains for a dramatic, elongated effect. Always avoid mounting the rod closer than 6 to 8 inches above the casing to ensure proper clearance and a clean look. Adjusting your curtain rod height according to ceiling height enhances the vertical space and complements your room’s proportions. For outdoor spaces, similar principles apply when choosing a weatherproof outdoor storage bench to maximize both style and function.
Curtain Rods Near Crown Molding or Tray Ceilings: Where to Put Them
When crown molding or a tray ceiling is present, position the curtain rod 1 to 2 inches directly below the molding to maximize the perceived height of the room. Install the brackets just beneath the base of the crown molding to create the illusion of taller ceilings and to make your window appear larger. This placement works well with crown molding because it maintains a clean, proportionate look and ensures the curtains complement the ceiling design. For windows with a 15-inch gap from crown to frame, prefer to measure 8 to 10 inches from the frame for the rod placement. Additionally, incorporating a salt lamp on a nearby surface can enhance the warm, relaxing ambiance that tall curtains help create. For the best overall glow, consider choosing a night light that offers adjustable brightness settings to match the mood. With proper film tools, you can also apply tinted window film directly to the glass for added privacy and light control.
If the space between the crown molding and the window frame is large, apply the rule of thirds for optimal placement. Measure the distance from the window frame to the crown molding, divide that length by three, and then mark that measurement above the frame. For example, with a 45-inch gap, place the curtain rod about 15 inches above the window frame. This technique prevents the curtains from settling awkwardly in the space and helps keep the visual connection between the window and the curtain, creating a balanced aesthetic.
For ceiling heights that are considerably taller with a tray ceiling, avoid placing the curtain rod immediately below the crown molding. Instead, hang the curtains 8 to 10 inches above the window frame to preserve the proportion and avoid cluttering the space. When the gap between the window frame and the ceiling is between 6 and 12 inches, position the rod approximately midway—around 3 to 6 inches above the frame—to balance functionality with visual appeal.

NO DRILL, NO MEASURE INSTALLATION FOR QUICK SETUP Fast Fit design installs easily without drilling or measuring, helping save time and reduce wall damage during setup.

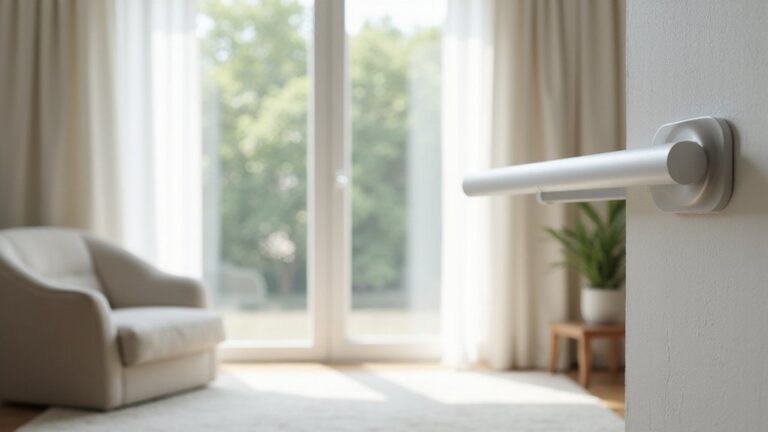
Installs in Seconds: Easily install these no drill curtain rod brackets in seconds! Just place, tap and hang for a secure hold. No screws or nails required. The damage-free installation ensures your walls stay intact. Quick and easy hassle-free curtain hanging.

Heavy-Duty Metal Structure Design: These curtain rod brackets are crafted from premium thickened iron metal with enhanced hardness and sturdiness. Solid integrated metal construction delivers excellent load-bearing capacity, not easy to bend or break, ensuring long-lasting durability for indoor and outdoor use.
When to Use the 8-to-12-Inch Designer Rule for Curtain Rod Height
The 8-to-12-inch designer rule is ideal for rooms with ceilings that are 9 feet or higher. It allows you to position the curtain rod well above the window trim, creating a striking vertical line that makes the ceiling appear taller and the room feel more spacious. This rule is most effective when there is at least 12 inches of wall space between the top of the window frame and the ceiling. In rooms with ceilings of 10 feet or higher, you can push the rod even further — up to 10 to 14 inches above the window trim — for an even more dramatic effect. However, if your ceiling height is only 8 feet, it’s better to keep the rod just 6 to 8 inches above the trim to avoid overwhelming the space or crowding the ceiling. The goal is to accentuate the vertical dimension of the room without wasting wall space or creating a floating effect that diminishes the room’s height. Especially in rooms where you plan to use dimmer switches, the ability to soften or brighten the light can further emphasize the vertical lines created by the curtain rod placement. A similar principle applies when building a DIY clothing drying rack, as maximizing vertical space is key to fitting more laundry in a compact area. For a cohesive design, consider that cutting LED strips at designated points allows you to customize the lighting to precisely fit the window’s width.


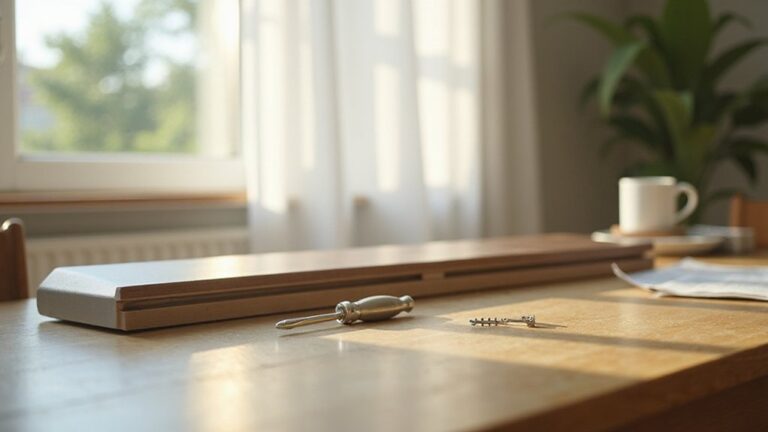
EXCELLENT DESIGN: The curtain rod brackets have T shaped design, easy to install with screwsdriver. The more longer screw position distance let the rod holder have more weight capacity

Anndason Heavy Duty Adjustable Curtain Rod Brackets,add a dash of Style and Elegance to your – home, office or anywhere else you decide to use then.
What Happens When Curtain Rod Height Is Too Close to the Ceiling?
Placing your curtain rod too close to the ceiling—within 2 inches—can make your room appear shorter and more cramped. This positioning compresses the visual space, drawing attention downward and reducing the perceived height of the ceiling. As a result, the room feels less spacious and more confined.
It also causes proportion imbalances, especially if your curtains aren’t long enough to reach the floor, leaving an awkward gap at the bottom. Light leaks at the top corners become noticeable because the curtains can’t seal properly against the frame. Additionally, fabric patterns become squished when the stack width is limited, and hardware such as finials can look cluttered and jammed into the upper wall area. Overall, mounting your rod too close to the ceiling creates a crowded, unpolished look.
To maintain an open, airy feel, aim to position your curtain rod 6 to 10 inches above the window trim. This height enhances the illusion of height in the room without sacrificing style or functionality.
Adjusting Curtain Rod Height for Special Window Types (Arch, Transom)
For arch and transom windows, the curtain rod should be positioned at the highest architectural point or halfway to the ceiling, rather than at the window base. For arch windows, mount the rod at the peak of the arch to emphasize its shape. For transom windows, install brackets 4 to 6 inches above the main frame, or 1 to 2 inches below the ceiling if the transom is low. Extend the curtain rod 6 to 10 inches beyond each side of the window to allow curtains to stack back fully and to maximize natural light. This extra length also displays your decorative finials effectively. When selecting lighting to highlight these curtains, LED vs tungsten bulbs can affect the warmth and style of the room’s ambiance.
Choosing the right curtain fabric is crucial for these window types. Opt for extra-long panels, approximately 15 to 20 inches longer than the window height, to accommodate the vertical drop necessary for arches and transoms. Avoid mounting the rod directly over the transom, as this can block light and hide architectural details. Instead, use the highest point of the arch or transom as your primary reference to ensure balanced proportions and an elegant look. For a cohesive room design, consider how can light drop ceilings affect the available vertical space for mounting hardware.
How to Match Curtain Length to Your Rod Height
To match your curtain length to your rod height, measure from the top of the installed rod down to your preferred floor point. For a casual look, add 1 to 2 inches; for a more dramatic puddle effect, add 2 to 4 inches. Keep in mind that decorative finials can add visual width but don’t influence the length measurement. If you are using grommet curtains, add 3 to 4 inches to accommodate the space above the grommet’s center. For pinch pleat styles, measure from the bottom of the ring rather than the rod itself. Always round up your final measurement to common panel lengths, such as 84 or 96 inches. This ensures you select panels that fit without requiring custom tailoring.
The Best Way to Measure Curtain Rod Height for Fullness and Light
Mount the curtain rod 6 to 8 inches above your window frame. This height balances allowing natural light to fill the room while preventing the curtains from looking squat or cramped. Extending the rod 6 to 12 inches beyond each side of the window frame ensures the fabric hangs beside the glass, opening up the proportions of your window and letting in maximum daylight. When choosing curtain fabric, consider the style: for rod pocket curtains, aim for panels with a total width 1.5 to 2 times the window width to achieve proper gather, while pencil-pleated and grommet styles require double the width for fullness, and tab-top curtains look best at 1.5 times. Avoid mounting the rod too close to the frame, as it shortens the visual height of your window and limits light flow. Following these measurements helps create a balanced, bright, and open look. To further enhance the space, keep in mind that energy efficiency can also be an important factor when selecting your room’s lighting, similar to how choosing between different bulb types reduces electricity use. For a cohesive room design, applying budget-friendly ideas from shelving projects can inspire cost-effective ways to style your window treatments. Using the correct hardware, such as a stud finder and a level, ensures the rod is securely anchored and perfectly straight.

EXCELLENT DESIGN: The curtain rod brackets have T shaped design, easy to install with screwsdriver. The more longer screw position distance let the rod holder have more weight capacity

LOCKING BUCKLE DESIGN – Curtain rod bracket features a plastic buckle to hold the rod firmly in place without wobbling. NOTE: curtain rod hooks fit 1 INCH diameter rods only; the anchors provided are not for drywall.

SET OF 2 PANELS: Package includes two curtain panels, 60 in x 84 in (W x L, plus attached valance). Measure your window before ordering.