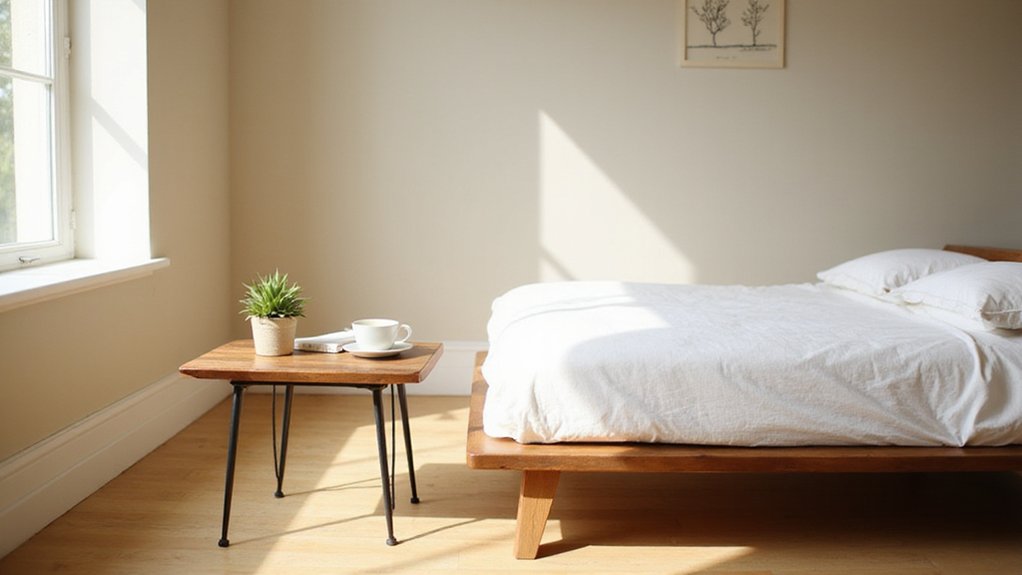
Thinking about building your own bedside table but unsure where to start? A simple DIY project can save you money and let you customize it perfectly to your space and style.
By choosing the right wood, cutting precise legs, and a sturdy top, you’ll create a functional piece that fits your needs perfectly.
This guide will walk you through each step so you can confidently craft your own bedside table from basic materials. Keep reading to find out how to get started and achieve professional-looking results.
Why Build Your Own Bedside Table Instead of Buying One?
Building your own bedside table saves you money by cutting out retail markups and allows you to select affordable or reclaimed materials that fit your budget. You have full control over the size, ensuring it matches your mattress height and room dimensions perfectly. Plus, designing your own piece lets you choose a style and color that seamlessly integrate with your bedroom decor, something mass-produced furniture rarely offers. When you build it yourself, you can use solid hardwood and apply durable finishes, resulting in a higher-quality piece. Finally, crafting your own bedside table provides a satisfying project that helps you develop new skills in a single weekend. In contrast, deciding between a vanity or desk requires weighing their different storage and mirror needs against your available floor space. You should also consider the style, cost, and function of each piece to ensure it complements your overall bedroom layout. For larger storage solutions, learning how to build a closet system can help you maximize vertical space and organize your entire room efficiently.
What Wood and Tools Do You Need for a Bedside Table?
You need several types of wood and essential tools to build a bedside table. For wood, oak provides high durability and a striking grain pattern, making it ideal if you want a long-lasting piece. Pine is a budget-friendly option that’s easy to work with, perfect for a simple project. Cherry offers straight grain resistance to scratches, providing a smooth surface with a rich look. Hickory is known for superior dent resistance, making it suitable for a sturdy, heavy-use table.
Tools required include a circular saw for cutting your boards accurately and a drill to create holes for hardware installation. Always prioritize safety: wear goggles to protect your eyes and secure clamps to keep your wood steady while working. An orbital sander speeds up surface finishing, resulting in a smooth, professional appearance. After assembly, use wood glue and screws to ensure sturdy joints. Finish your table with paint or stain to protect the wood grain and enhance its appearance. Proper materials and tool safety ensure a durable, attractive bedside table.

Timeless Mid-Century Modern Style: Featuring a classic curved silhouette with softly rounded, anti-collision corners, this Decofy night stand brings retro charm while keeping kids and adults safe from bumps. Its warm wood-tone finish blends effortlessly with any bedroom or living room décor for a cohesive, inviting look.
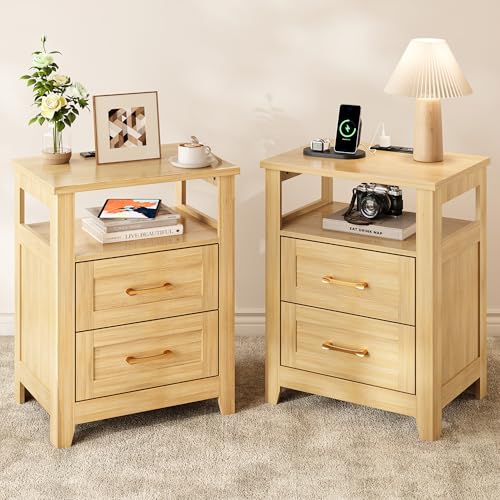
Nightstand with Charging Station for Everyday Convenience: This nightstand with charging station features 2 standard AC outlets, 1 USB port, and 1 Type-C port, making it easy to charge phones, tablets, headphones, or other small devices right by your bed. The built-in charging hub helps keep cables organized and your bedside space neat
How to Cut and Prepare Your Table Legs and Top?
Start by selecting your wood and tools. Cut your table legs from 2×2 pieces at a 45-degree taper using a miter saw or a precise cutting setup. Ensure each leg is aligned properly before marking and cutting, as accuracy is key for a clean look. To get all legs the same length, tape the uncut legs together, then saw them simultaneously—this guarantees uniformity. For the top, rip your boards into square blanks after jointing one edge to create a straight reference. Cut the top pieces slightly longer than your final dimensions to allow for squaring during the final assembly. Sand the legs thoroughly, starting with 80-grit abrasive to remove roughness, then switch to 220-grit for a smooth finish. Wipe away all dust with a damp cloth to prepare for sealing. To prevent water absorption, seal the freshly cut ends of the wood with epoxy resin. After the first coat cures, apply a second coat for added durability. For routing and shaping, mount a template using custom two-sided tape to ensure easy removal without excessive stickiness.
How to Assemble the Frame Without Wobbles?
To assemble a wobble-free frame, start by applying wood glue to all leg-to-apron joints. Clamp the legs and apron tightly before inserting screws or bolts to ensure a secure, square connection. Using solid hardwood is advisable because it resists flex and maintains stability over time. Measure the diagonals of the frame; if they are unequal, adjust by re-clamping or shimming until the frame is perfectly square. Consider using joinery techniques like wooden corner blocks instead of metal brackets, as they improve the long-term stability and reduce wobbling. Pre-drill all fastener holes to prevent splitting and ensure precise placement. Place the frame on a flat surface and check for any legs that lift; gently file them down if necessary. For uneven floors, add adjustable levelers to the legs for fine-tuning. Attach a cross-brace between the legs to improve lateral stability. Finally, reattach the back panel with small nails to lock everything in place, creating a rigid structure. Allow the glue to cure for at least 24 hours before placing any load on the frame. Mortise and tenon joints provide a century-old solution that locks the legs securely with no visible fasteners.
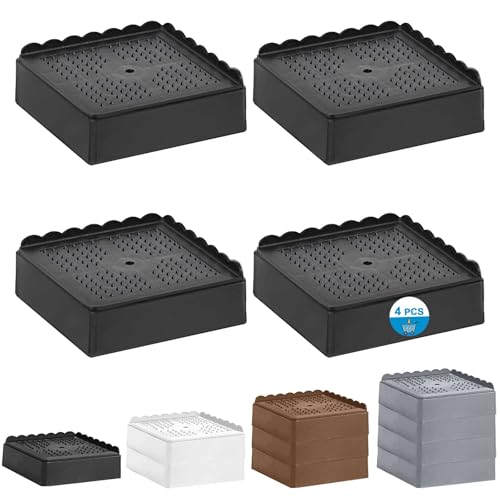
👍【Sturdy And Stable Bed Risers】 Our table risers are made of high quality thickened PP plastic, which is strong enough to support any heavy furniture for home or office. The internal mesh reinforcement design greatly increases its load-bearing capacity. Top bumps and removable thick rubber pads on the bottom of the desk risers can firmly grip the furniture legs, shock absorbing and anti-slip to avoid furniture sliding, protect floors from scratches or dents.

QUICK & SIMPLE SETUP - These black bed frame corner protectors come with pre-taped adhesive for hassle-free installation. Just clean the corner surface, peel off the tape, align the bumper, and press firmly. No tools or additional adhesives required, making it ideal for busy households. The strong tape ensures long-lasting grip without damaging furniture finishes.

Item Description: 1 1/8"W x 6 1/2"H x 1 1/8"P Americraft Solid Paint Grade Wood Universal Baseboard Outside Corner Block for Profiles up to 5 1/4"H x 1 1/8"P, Primed Pine
How to Reinforce Joints for a Sturdy Bedside Table?
Reinforcing the joints on your bedside table is essential for ensuring its durability and stability. Start by installing heavy-duty steel or zinc-plated L-brackets on the inside corners to lock the frame in place. Before attaching these brackets, apply wood glue to the joint surfaces to create a strong, dual-benz bond. Pre-drill screw holes slightly smaller than your screws to prevent splitting of the wood. Drive screws through the brackets at different angles to enhance the grip and stability. For maintaining the fabric on nearby window coverings, use a soft brush attachment to gently vacuum dust from roller blinds.
For additional reinforcement, cut triangular wood blocks and secure them with wood glue and screws at the intersections of frame pieces. This approach minimizes movement and significantly boosts overall stability. If you notice loose joints, consider using wider corner plates that distribute stress more evenly across the connection points. In extreme cases where the frame wobbles excessively, replace the backing with a 1/4-inch plywood sheet and fasten it every 4 to 6 inches. Always test the stability of your table after the glue has fully cured to ensure safety and durability. Remember that hot and humid environments cause wood to expand and contract, which can loosen joints over time. For a more reliable build, consider selecting brightness and performance features from high-quality night lights to guide your lighting choices near the table.
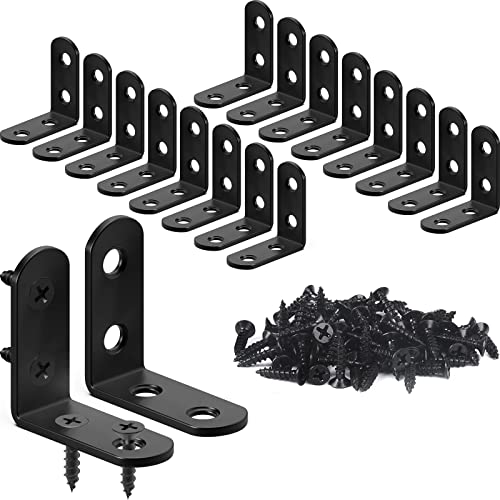
GREAT VALUE & WITH STORAGE TIN: You will get FATLODA 18PCS L brackets (with 72PCS screws) and they come in a cute reusable tin, very convenient to store or carry. Each corner bracket size: 40*40*16mm/ 1.57*1.57*0.63in, the thickness: 2mm/ 0.08in, and the hole diameter: 5mm/ 0.2in. The screw length: 16mm/ 0.63in, screw head diameter: is 7mm/ 0.27in.

【Beautiful and Powerful】 Our reinforced triangular bracket is easy to hide, making the furniture more durable and durable. It is beautiful, it can make the structure stronger when it needs reinforcement, and the structural fasteners are easy to install.

Heavy-Duty Stainless Steel Construction: Crafted from robust stainless steel, our quick fitting furniture panel joint bracket offers unmatched strength and durability. These brackets provide steadfast support for all types of wooden furniture, ensuring your pieces remain stable and secure
How to Sand and Finish Your Bedside Table?
Once the joints are secure and the table stands stable, it’s time to sand and finish the surface. Begin with an 80-grit belt sander to remove any old varnish or rough areas quickly. Progress to a 180-grit paper for smoothing out deeper scratches and preparing the surface for finer finishing. Finish with a 240-grit paper to create a raw, fiber-free timber surface ready for staining or sealing. When sanding wood like veneer, avoid going beyond 240 grit to prevent sanding through the thin surface layer. If you encounter flickering from a nearby light fixture, note that LED bulb flickering can often be caused by incompatible dimmer switches, not the sanding process itself. For proper lighting in your workspace, consider can light ceiling placement to avoid shadows during your project. To enhance the workspace, choose warm white color temperature LEDs to reduce eye strain.
Keep the orbital sander flat on edges to avoid rounding them unintentionally. Use consistent, light pressure to prevent gouges and uneven surfaces. After sanding, inspect the surface under bright light to catch swirl marks or scratches left behind. If you find any, hand-sand those areas with 220-grit paper to achieve a uniform finish.
Vacuum the entire table thoroughly to remove dust particles. Follow up with a damp cloth to wipe down the surface and eliminate residual debris. This prep ensures a smooth, clean surface for your chosen finish. When applying your finish, consider using a gel stain for added warmth and depth, then follow with a clear polycrylic topcoat to protect the surface. For even application and to minimize brush marks, use a spray gun. Once the finish is dry, seal your table with two coats of Supreme wax polish, applied with a soft cloth, for durable protection. Allow complete drying before adding hardware or placing items on the table.

120 Grits: Includes 8 sanding blocks (120 grit, medium), our sanding sponge is reusable, washable, and suitable for all your sanding needs
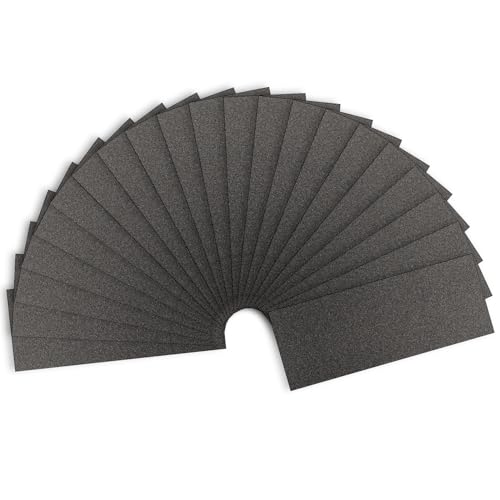
High-Precision Abrasive Paper: This Shineboc sandpaper set comes with 21 sheets of 120 grit sandpaper, providing ample supply for demanding sanding tasks.

【PREMIUM MATERIAL】Premium Wet Or Dry Sandpaper Is Constructed with white fused alumina abrasive which is the purest alumina(Alumina powder content 99%), Low heat generation and high grinding efficiency, Fast and long lasting cut with a consistent scratch pattern The abrasive will not discolor the surface you are sanding.
How to Customize the Design to Match Your Bedroom Style?
To customize your bedside table to match your bedroom style, start by ensuring its proportions complement your bed and room layout. The ideal height is level with the top of your mattress for easy reach. Keep the depth under 24 inches to prevent clutter and maintain a streamlined look. For a minimalist aesthetic, choose a sleek, simple table that pairs well with an upholstered bed. If your bed frame is more decorative, select a more ornate piece that adds character.
Next, focus on color coordination and texture blending. Incorporate neutral tones such as timber, steel, or glass to align with current trends. Introduce warmth and visual interest through layered textures—think woven baskets, ceramic bowls, or linen trays. These elements add depth without creating visual clutter.
Finally, make your bedside table a reflection of your personality by choosing statement pieces. Repurpose vintage finds like thrifted crates, or incorporate industrial salvage for a unique metal and wood look. Selecting pieces that resonate with your personal style ensures your bedside table not only enhances your bedroom but also feels truly yours.