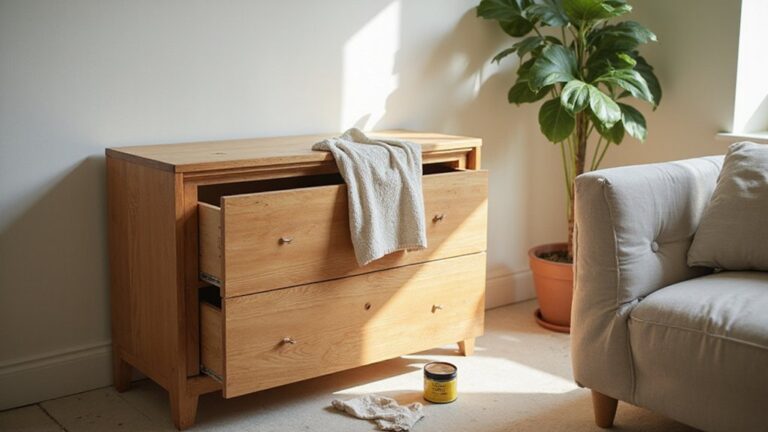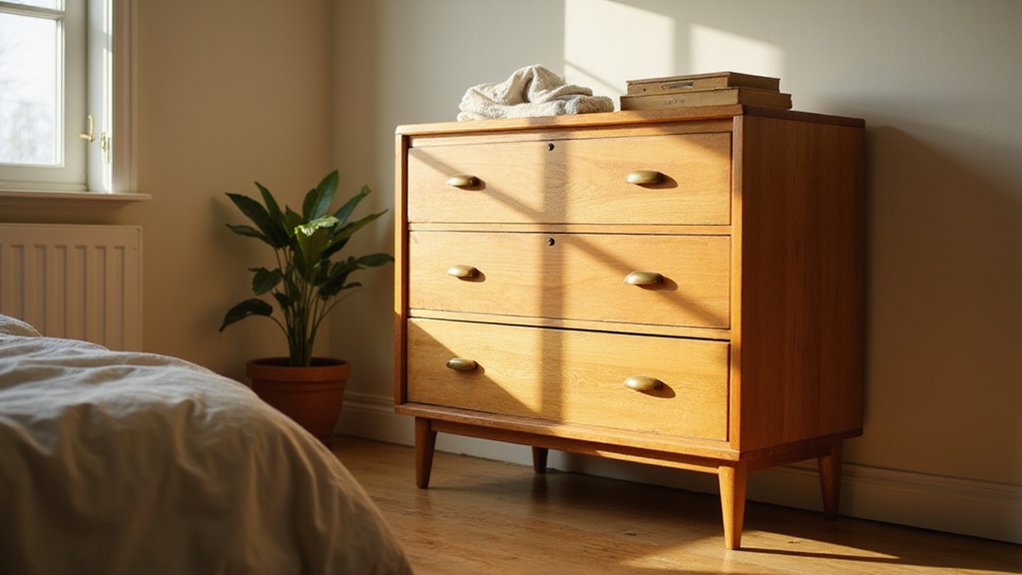
If your chest of drawers is wobbly, sticking, or falling apart, it’s a common fix you can try yourself. From tightening loose screws to realigning slides, many issues are simple to repair and can make your furniture feel like new again.
By understanding the basics of drawer mechanics and materials, you’ll be able to troubleshoot most problems effectively.
Keep reading for straightforward steps to get your drawers sliding smoothly and looking great.
Find the Cause of Drawer Problems Before Repairing
To diagnose drawer problems effectively, start by checking the guides, runners, or slides, as these are almost always the source of issues rather than the visible front panel. First, look for misalignment: a drawer sitting off-center typically indicates loose screws that have shifted the track. Tighten all fasteners and make sure the track is properly centered before testing the drawer’s movement.
Next, inspect the tracks for dirt and debris such as crumbs or pet hair, which can create friction and cause sticking. Clean the tracks thoroughly and apply a suitable lubricant to ensure smooth sliding. Humidity also plays a role; wood expansion from moisture can cause drawers to bind tightly or become hard to open. If you notice swelling or tightness, consider allowing the wood to dry or adjusting the fit. Additionally, check for worn or loose stops that can cause the drawer to fall out when opened completely. This issue is similar to how loose electrical connections can cause LED bulbs to flicker by creating intermittent power flow. For a more organized storage solution, you might consider exploring a DIY hat rack project using similar hardware and mounting principles. Proper lighting in your workspace, such as with a can light drop ceiling, can help you see these small components more clearly during repair.
Finally, examine the slides for signs of wear or damage. Worn or damaged hardware can cause sagging or sticking, indicating that replacement may be necessary. Addressing these mechanical issues first will help ensure the drawer operates smoothly before applying any painting techniques or replacing decorative hardware.

Used to replace damaged or missing drawer track hardware

Ideal Use: Replaces worn or damaged rear mounting brackets on side-mounted drawer slide systems to restore smooth drawer operation

Wide Compatibility :This universal drawer rail guide is designed to replace parts of similar shape and size, ensuring a perfect fit for popular brands like Vaughan Bassett, Legacy, Pulaski, Amish, Danish, Broyhill, Ashley, Pottery Barn, and more. ✅ Please refer to images 2 and 3 for visual references to help you identify compatibility. If you have any questions, feel free to reach out—we’re here to assist.
Fix a Wobbly Frame and Loose Joints First
Start by stabilizing the back panel because it provides most of a chest’s lateral support. If it’s loose or missing, you will feel a wobble first. Secure it with screws or nails, drilling pilot holes to prevent splitting. Replacing the entire plywood panel offers the best reinforcement for the frame. Next, check loose corner joints. Clamp the case square, then reinforce with angle brackets or corner braces. Re-glue any open mortise-and-tenon joints after cleaning surfaces and clamping for 24 hours. If you notice bowed structural members, straighten them with metal braces screwed into solid wood. Finally, inspect all fasteners and load-bearing points, re-fastening as needed. For those seeking a complete replacement, reading Best Closet With Dresser Reviews can help compare quality and value for purchasing a new unit. Do not move on to installing drawer runners until the frame is squared and stable; any remaining wobble will compromise later repairs. For side panels that have shifted outward, reinforce the sides with internal support strips screwed to the inner faces, which realigns them with the top frame. Use the same pilot-hole technique from installing closet wire shelves to prevent wood splitting when securing any new brackets or braces. Ensure the closet rod is mounted at the correct height to allow for proper hanging space.

Material :L shape Angle guard made of iron, surface electroplating treatment, not easy to fade.

[L Corner Braces] : The package comes with 12Pcs of black angle mending brackets in 12mm/ 0.47" length, 12mm/ 0.47" width, 9mm/ 0.35" height, 1mm/ 0.04" Thickness and 3mm/ 0.12" mounting hole dia. with some Mounting Screws in M3 Dia. and 10mm Length

EXCEPTIONAL STRENGTH & DURABILITY: Bxbdcha Brand angle brackets are crafted from heavy duty stainless steel,ensuring super strength and durability.Thus,Corner braces for wood can be for outdoor projects.These sturdy metal brackets for wood feature a smooth surface without sharp edges,keeping your fingers safe.Their robust construction makes them ideal corner connectors for wood and cabinet brackets,perfect for reinforcing loft beds or revitalizing old cabinets.Choose durable 90 degree brackets for DIY
Replace Worn Drawer Runners and Slides for Smooth Motion
If your chest of drawers sticks, scrapes, or wobbles side to side when you pull it open, the drawer runners or slides are likely worn out. Start by removing the drawer and marking the position of the existing hardware. Next, take out all screws, nails, or hidden fasteners holding the slides in place. Clean out any debris and old screw material from the mounting areas. Measure the length of the existing runners, the depth of the drawer box, and the width of the cabinet opening to ensure correct replacements. Remember that side-mount and bottom-mount systems are not interchangeable. For durability, choose metal slides; if you’re fixing wooden runners, replace them with hardwood strips. If your plastic slides are worn or have elongated screw holes, replace them entirely rather than attempting to reuse them. When mounting the cabinet-side rail, ensure it is square and level to prevent misalignment. Use pilot holes to avoid splitting the wood. Applying a light lubrication of slide-specific lubricant or silicone reduces friction and promotes smoother motion. Finally, make small adjustments to achieve even spacing, ensuring the drawer opens and closes effortlessly. Proper pairing of drawer materials and hardware will help prevent future wear and maintain smooth operation. For most standard replacements, a pair of runners costs around six pounds, making them an affordable fix. Solar shades can also enhance a room’s decor by filtering natural light while reducing glare. For additional guidance, consult expert insights on proper installation techniques to avoid common mistakes. When customizing other household components, similar care is needed, such as using a sharp blade to ensure clean cuts on adhesive surfaces.

【Heavy Duty 100 lb Capacity】 BAIDICE full extension drawer slides are built with 1.0mm cold-rolled steel and dual industrial-grade ball bearings, supporting up to 100 lbs—40 lbs more than standard slides. The precision ball bearing mechanism ensures smooth gliding even under heavy loads, while the built-in rubber crash pad keeps operation as quiet as 35 decibels.

[4 pairs Soft Close Drawer Slides]:You will get 4 pairs(8pcs) soft self close drawer slides ,10 inch.And each drawer slides match with 12pcs screws.Sulawskys self close drawer slides designed with ultra smooth soft-close function. Continuous bearings ensure smooth and quiet performance that offer less noise at closing and opening creating a silent life environment for your family.

【Heavy Duty & Anti-Rust Construction】Crafted from high-grade cold-rolled steel with a professional zinc-plated finish. These drawer slides offer superior oxidation resistance and long-lasting durability. Rated for heavy-duty use with a load capacity of up to 100 lbs, perfect for both home renovation and industrial projects
Rebuild Damaged Drawer Boxes and Replace Broken Bottoms
To rebuild damaged drawer boxes and replace broken bottoms, start by examining the extent of damage. Separate the drawer front and hardware to access broken joints directly. For drawer joint repair, clean out old glue and debris, then reassemble split corners with fresh wood glue. Clamp the joints tightly and ensure the box remains square during drying. Reinforce repaired butt joints with small nails or corner brackets for added strength. If the damage is too extensive or the joints cannot be salvaged, replacing the entire drawer box is the most effective solution. When replacing, use MDF for the sides to ensure better stability than the original particle board. If you are choosing a new piece of furniture instead of repairing, consider whether a vanity or desk better suits your style and functional needs. For those focusing on proper lighting for such tasks, selecting an appropriate ceiling light fixture can significantly improve visibility and accuracy during repairs. Always consult the step-by-step instructions for dismantling the drawer to avoid damaging the front piece.
For bottom panel replacement, push a loosened panel back into its grooves. Apply a continuous bead of glue along the groove before reseating the panel but avoid gluing it solid—allow room for wood expansion. If the bottom is severely warped, cracked, or too thin, staple in a new panel made from plywood or MDF. This approach keeps the drawer sturdy and ensures a smooth glide. When replacing the bottom, take care to align the panel properly and secure it firmly to prevent future warping or falling out.
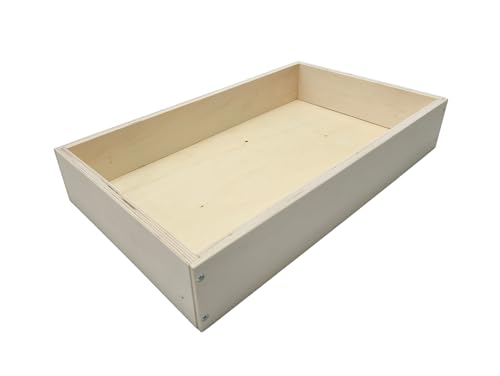
【What You Get】 – 19" deep replacement kitchen drawer box made of durable plywood, designed for cabinets with 19–21" drawer slide depth. Ships unassembled with pre-cut panels and pre-drilled holes for fast setup. Screws included. Assembly typically takes about 5 minutes.
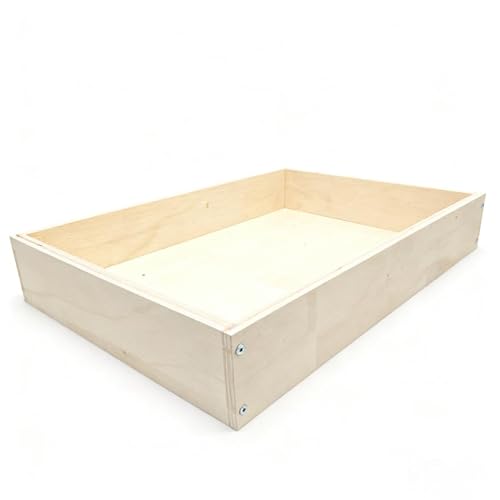
【What You Get】 – 14"W x 19"D x 3 1/2"H replacement kitchen drawer box made of durable plywood. Thickness of side panel: 1/2 inch (12mm). Ships unassembled, but all panels are pre-cut with pre-drilled holes for quick setup. Screws are included. Assembly is straightforward and takes about 5 minutes.

FULLY CUSTOM DRAWER BOX SIZE: Built to your exact width, depth and height in 1/32 in increments for side mount or undermount slides, frameless or face frame. Send your cabinet opening measurements and we cut the box to fit.
Stop Drawers From Sticking, Sagging, or Falling Out
To stop drawers from sticking, sagging, or falling out, start by removing the drawer completely. Wipe the tracks thoroughly and scrape off any old glue. Apply silicone spray sparingly to lubricate the slides—avoid oil-based products, as they can attract dust and cause buildup. Tighten any loose screws on the slides and straighten minor bends to restore proper alignment. Re-align the slides to ensure smooth, even movement.
For sagging bottoms, push the drawer panels back into the grooves, then glue and clamp them securely. To reinforce and prevent future sagging, add corner braces or support blocks inside the drawer. Prevent overextension by installing or repairing drawer stops; test by pulling the drawer to its normal full extension and ensuring it doesn’t come out entirely. Managing the load also helps: store heavier items lower in the drawer to reduce stress on the slides. For wide drawers that have bowed, a Drawer Doctor kit with plastic strapping can realign and secure the base without specialist tools.
Regularly clean the tracks and keep load weights balanced to maintain smooth operation. Checking and tightening handle screws periodically prevents misalignment that could torque the drawer face and cause binding. If handles are crooked, realign and tighten screws to straighten them. Consistently inspect all screws and hardware to ensure everything remains secure, allowing your drawers to glide smoothly without sticking, sagging, or falling out.

Specially formulated to lubricate, waterproof slide-outs
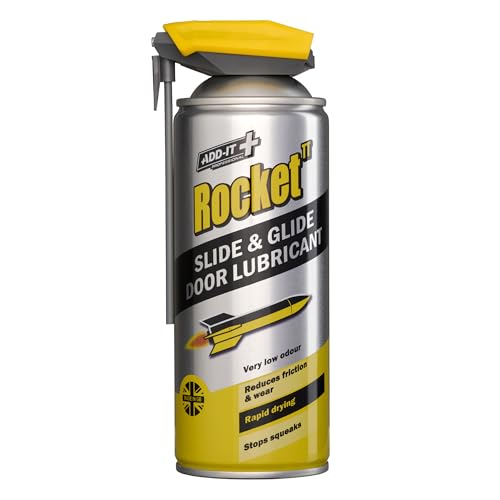
ADVANCED 100% SILICONE FORMULA: Premium fast-drying silicone lubricant delivers smooth, reliable door operation without oily or sticky residue.

Precision Lubrication, Zero Mess No spray, no spills. Lemenyaa’s needle-tip design lets you apply just the right amount of lubricant exactly where it’s needed—clean, controlled, and efficient.
Fill Dents, Repaint, and Replace Hardware Last
To properly prepare for repainting, start by filling dents. Use steam for shallow marks to soften and reshape the wood or surface, and apply wood filler for deeper gouges. Overfill slightly to ensure the dent is fully filled, and take care to eliminate any air bubbles to achieve a smooth, flush finish. Match the filler color to the wood tone, choosing lighter shades rather than darker ones so that the patch blends seamlessly once painted. Allow the filler to cure completely—this typically takes several hours or as directed—then sand it flush and feather the edges to prevent any visible transition lines once painted. Use a hard fill stick heater to apply filler for small to medium-sized voids, ensuring a smooth application. Just as a lava lamp can degrade over time, checking the filler’s expiration date ensures the material hasn’t hardened or separated beyond use. For a professional touch, treat the filler like curtain rings to ensure even pressure and distribution across the surface. Consider the same quality and performance standards used when evaluating night lights to choose a filler that remains stable and consistent over time.
Next, thoroughly clean the repaired area to remove dust, grease, or residue. When selecting your paint, ensure it is compatible with the existing finish. Use a primer if necessary to promote adhesion and durability. Apply thin coats of paint, extending slightly beyond the patch to blend the new surface with the surrounding area. Smooth out the edges before each coat cures to improve the seamless appearance. Wait until the paint is fully dry before proceeding to the next step.
Finally, replace hardware such as pulls and knobs last. Installing hardware before painting can block sanding and painting, making it difficult to achieve a smooth finish. Also, hardware installation afterward preserves proper fit and alignment, as the finished surface thickness may affect how well the hardware sits and functions.