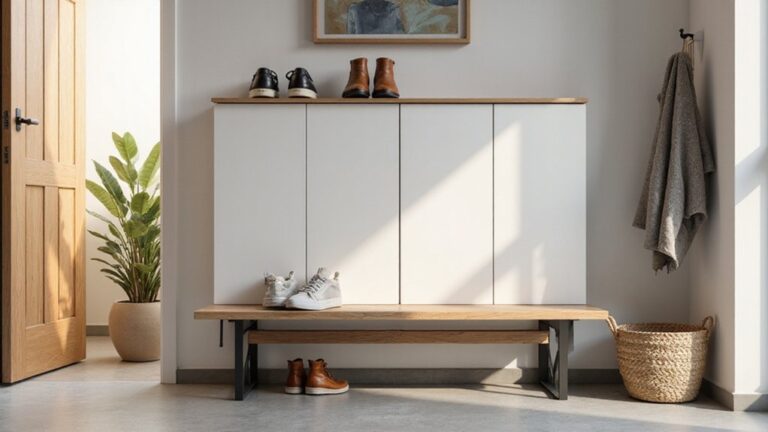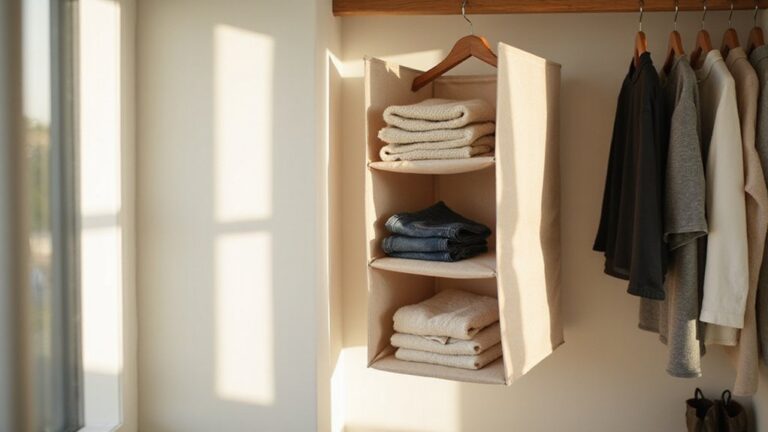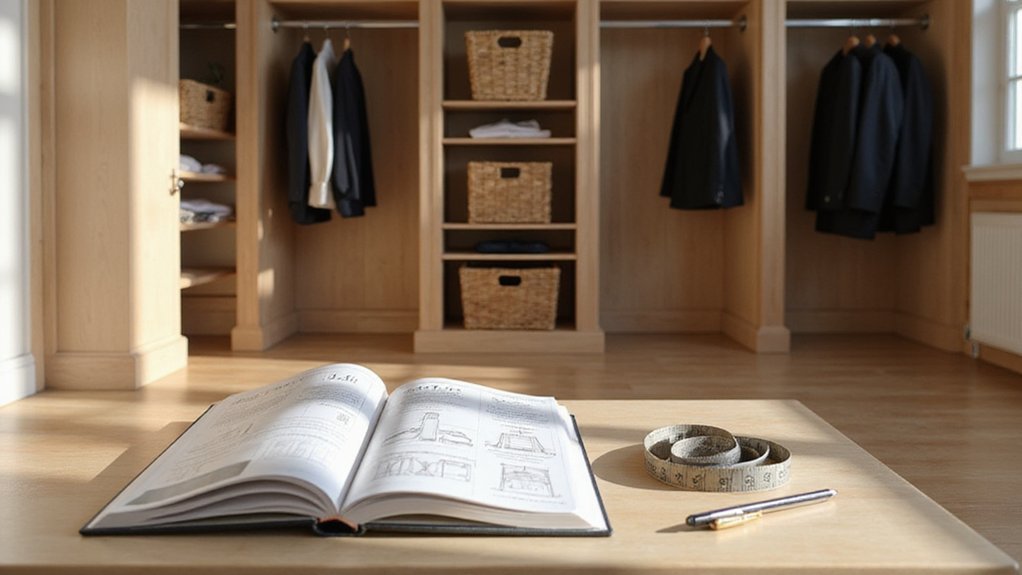
If you’re wondering how to build a sturdy, custom closet that lasts, you’re in the right place. The key is taking precise measurements and choosing durable materials like hardwood plywood.
An organized plan ensures your shelves and supports fit perfectly, making your closet both functional and strong.
By the end of this, you’ll know how to plan, measure, and assemble your closet system step by step.
Let’s dive into the details to help you create your ideal storage space.
How to Measure Your Closet for a Custom Closet System
To accurately measure your closet, start by clearing out everything—clothes, boxes, old fixtures—so you have unobstructed access. Gather a tape measure, a level, a notepad, and a pencil. Enlist a partner to hold one end of the tape measure along the length of long walls for better accuracy. Create a rough sketch of your closet layout, labeling each wall. Measure the width at both floor level and chest height, taking three readings—front, middle, and rear—and record the smallest value. Be sure to measure each wall two times at different heights to check for irregularities or distortions. Repeat this process for the back wall and the front opening. Measure the height at two opposing corners, and determine depth by measuring from the back wall to the front edge on both sides. Ensure your closet has at least 20 inches of depth to accommodate hanging clothes comfortably. Note the height of the baseboard, outlet locations, and HVAC vents, as these features will influence lighting and fixture placement. If you have LED bulb flickering issues from incompatible dimmers, check the voltage at the fixture. If you want double rods, confirm at least 85 inches of height. Consider the overall style of your room, as a vanity or desk might influence how you allocate space for accessories. Always measure from the top of the rod to the floor for accurate curtain length, ensuring consistency with window treatments. Taking these precise measurements ensures your custom closet system fits perfectly and functions efficiently.

ALL IN ONE CLOSET ORGANIZER: Wood closet organizer set with tower, (3) expandable rods and (5) interior shelves (2 adjustable)

Sleek Black, Oil Rubbed Bronze, Satin Brass or Satin Chrome Finish: Provides a modern and stylish look to any closet or wardrobe.
Map Obstacles and Mark Studs Before You Build
Start by locating electrical outlets, as they’re mounted on one side of a stud. Remove the outlet cover and use a flashlight to see which side the electrical box attaches to—this indicates the stud’s location. Measure out ¾ inch from this point to find the center of the stud. To help visualize where the studs are behind the wall, apply painter’s tape at multiple heights, creating horizontal reference lines. Mark each vertical line where you detect a stud, noting that studs typically run straight up and down while pipes may shift direction. Confirm the spacing between studs is usually 16 or 24 inches apart, which helps you determine where to place fasteners. Use a stud finder on a non-stud area first, then slide it across the wall until it beeps, indicating a stud. Before attaching your closet tracks, drill a small pilot hole at the marked location to verify the stud’s position. For an added accuracy check, use a level to verify the perpendicular alignment of the stud to the wall. When installing tracks, consider using string light hooks for temporary support of components while you fasten them securely. For a similar approach in other projects, curtain rings can also be used to organize lightweight hanging items on a simple rod. For a more complete organization solution, consider building a jewelry organizer with simple materials like a wooden frame and hooks.
Choose Durable Materials for Closet Shelves
For closet shelves, 3/4-inch hardwood plywood is the best choice for strength and stability. It resists sagging better than MDF and can support spans up to 36 inches without additional support. For higher durability, consider solid oak or maple, which can handle spans of up to 48 inches and provide excellent hardware holding strength. Melamine and TFL are also good options, offering moisture and scratch resistance ideal for daily wear. When planning longer spans, add middle support to prevent sagging and maintain structural integrity. For a well-lit space, proper lighting enhances visibility and reduces strain when selecting stored items, with quality and performance being key considerations. Standard closet shelf depths range from 12 to 16 inches to accommodate most folded clothing and storage bins.
To reinforce shelving, add front nosing or glue 2-inch strips to the bottom of plywood shelves. This enhances load capacity and prevents sagging. Avoid using MDF for long spans, as it requires support every 24 inches to avoid collapse. Use MDF only for short, light loads. Remember, investing in durable materials like plywood or melamine upfront can save you from future problems with sagging shelves. When choosing between tungsten bulbs and LEDs, the decision often comes down to balancing warm ambiance with energy efficiency.
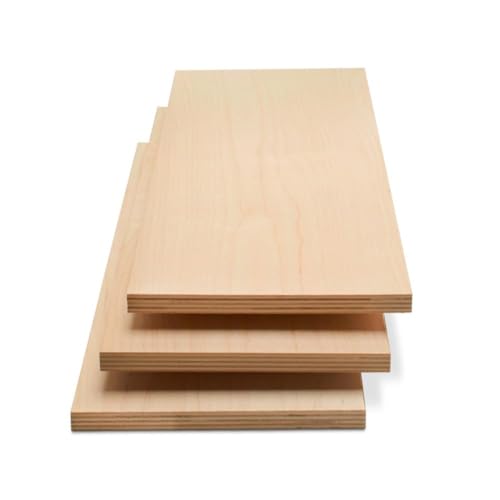
STRONG, DURABLE, HEAVY-DUTY - These craft wood pieces of multi-coated Baltic Birch plywood offer exceptional durability, rigidity, and stability for all your woodworking needs. The surfaces provide excellent holding power for glue and screws and the birch edges create cleaner joinery.

STRONG, DURABLE, HEAVY-DUTY - These craft wood pieces of multi-coated Baltic Birch plywood offer exceptional durability, rigidity, and stability for all your woodworking needs. The surfaces provide excellent holding power for glue and screws and the birch edges create cleaner joinery.
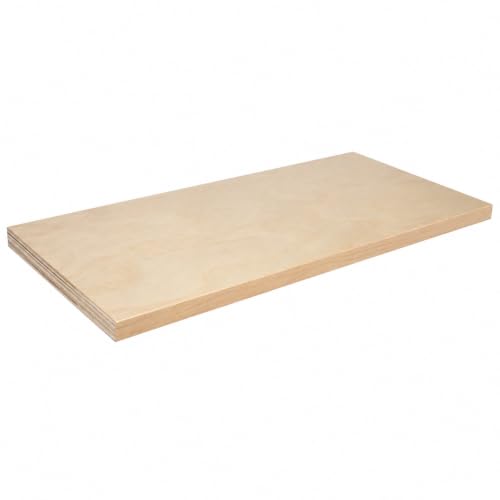
✔ REPLACE YOUR CABINET SHELVES – PERFECT FIT Custom cut to your exact width and depth for a seamless replacement inside your cabinets or pantry.
Create a Cut List for Your Closet Shelves
Start by measuring each closet wall individually. Irregularities and non-square corners mean you’ll need to cut every shelf to its own specific length. Be sure to note any vents or sloped ceilings that impact placement. Record each shelf’s exact width for accurate cutting. Organize your cut list based on assembly—side units, center units, and supports. List each panel’s finished dimensions, quantity, and part name clearly. Label every piece immediately after cutting to prevent confusion during assembly. Similarly, for window film applications, it is essential to use precise measurements to avoid wasted material and ensure a perfect fit. A similar approach using a spray bottle of soapy water can help lubricate the film during removal, preventing tears.
For shelf support spacing, cut supports 0.5 inches less than your shelf depth to allow for proper clearance. Confirm supports are at least 2 inches wide to ensure stability. Perform all lengthwise cuts first, followed by crosscuts to reach final lengths. After cutting, sand the edges with 180 or 220 grit sandpaper to achieve smooth edge finishing. This precision helps prevent alignment issues and makes installation smoother, saving you frustration later. When creating your cut list, use shelves that are 12 inches deep to maximize storage in the available space. Ensure all straight cuts are clean, using a sharp utility knife for precision to match the accuracy required when fixing LED light strips.
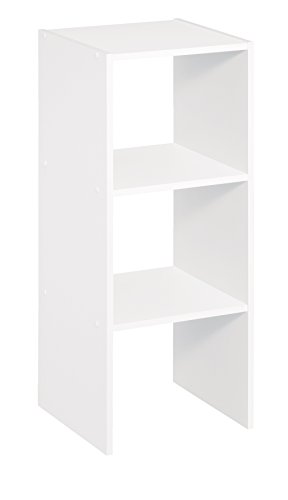
OPEN BACK: Cube storage with an open back panel offers trendy, open design

Deep Floating Shelves Black for Wall Set of 4 - You will receive totally 4 Sets 12 inch deep floating shelves. There has 4pcs 15.8 inch x 12 inch wide wooden boards, 8pcs steel brackets, 17pcs drywall anchors, 17pcs concrete/brick wall anchors, 17pcs long screws, 25pcs short screws, 1 illustrated manual.

Upgrade 12" Tall Design: Designed for closet organization, 12" height allows you to create higher compartments and significantly increase vertical storage capacity
Install Top and Bottom Supports for Closet Shelves
To install the top and bottom supports for your closet shelves, start by measuring the back and side walls. Cut the supports to length, subtracting 1½ inches from the back wall measurement to accommodate the support thickness of the side walls. Next, set the support height accurately: attach the top shelf supports with their top edges 84 inches above the floor, and position the bottom supports at 76 inches.
Ensure your support lines are level before marking the holes for mounting. For stability, space supports approximately every 36 inches, placing one at each end. The supports should fall within 6 inches of those intervals if you are installing a wire shelving system. For maximum durability, consider choosing ceramic window films for any nearby glass surfaces to reduce UV damage.
Use a stud finder to locate wall studs, then mark their positions with a pencil and level. Before fastening the supports, verify that at least one mounting hole aligns with a stud to maximize sturdiness and safety. For precise stud detection, it is critical to use a stud finder and mark the centers accurately.
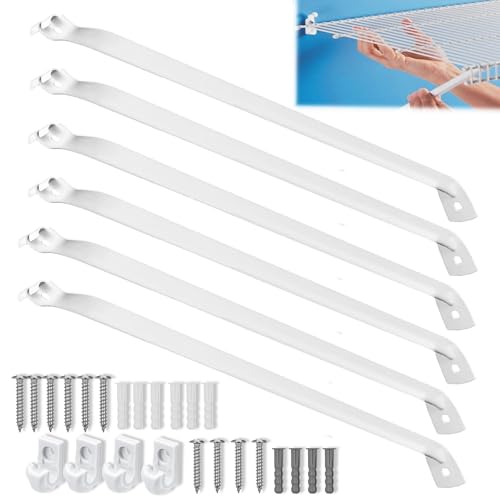
Kit: You’ll receive Ojeemii 6 PCS 12 inch wire shelf brackets and 4 PCS shelf clips, along with all necessary hardware for quick and easy installation

【Triangle & Standard 90°Bending】The closet rod brackets with triangle structure, enhance load-bearing capacity and stability, bright powder coating, bring a new visual experience, Standard 90°ensure items stay level and don't tip over

Heavy Duty High-Quality Steel - KOVOSCH heavy duty shelf bracket are made from high quality steel with a fine painted surface, strong and long-lasting use.
Assemble the Central Shelf Unit and Attach It
To assemble the central shelf unit and attach it, start by cutting six 1-inch by 3-inch shelf supports from your plywood pieces. These supports will hold the shelves in place. Next, cut the two 11 7/8-inch side boards to fit the back and side wall measurements of your closet. Mark the shelf locations on the side boards, ensuring they’re evenly spaced and level. Pre-drill the holes with a countersink bit to prevent splitting, then join the supports to the side boards using a Kreg pocket hole jig with 1 1/4-inch screws. Clamp the boards securely while tightening to ensure a tight fit. For a budget-friendly approach, reclaimed lumber can be used to reduce material costs while maintaining strength.
Once assembled, position the unit in the closet and trim any excess wood with a hand saw for a snug fit. To support the shelves, lay a long shelf on the lower supports, then attach it with wood screws through pre-drilled holes. Mark and attach a 12-inch 1 by 3 support on both sides, then place the lower shelf on these supports and secure it with screws. This completes the core structure of your closet system. Remember that the side panels are designed to bear most of the weight of the organizer, so anchor them to wall studs for maximum stability. A similar principle of using a clear container for the base helps ensure the lava lamp’s visual effect is fully visible and secure. To achieve precise fabric folds in your home projects, consider using pleater tape to evenly space the material.

These pegs are used by many furniture manufacturers to support cabinet shelves

Dimensions: 3-1/2 in. Width x 7 in. Depth x 9 in. Height

Well Constructed Shelf Brackets: Made of solid iron with a reinforced 90° right triangle design for reliable wall support. These black shelf brackets feature a powder-coated matte finish that resists scratches and rust for long-term indoor or outdoor use. Precision iron construction adds durability for long-term use
Reinforce Joints for Long-Term Stability
To ensure long-term stability, you should reinforce every joint before adding shelves. Begin by applying high-strength wood adhesive to all joint connections. Spread the glue evenly to create a strong bond that resists separation over time. Clamp each joint for at least 24 hours to allow the adhesive to set fully, which is crucial for durable connections. When selecting hardware, always measure the standard curtain rod sizes to ensure proper fit and support for your system.
Don’t rely solely on glue; countersink screws into the wood at each joint. This mechanical fastening locks everything tightly and prevents loosening from daily twisting or movement. When possible, use interlocking joinery methods like mortise-and-tenon, which inherently provide strong, long-lasting connections.
Reinforce the structure by installing back panels made from thick plywood, increasing overall rigidity. Add vertical support beams at the center of shelves to prevent sagging that can weaken joints. Under the front edges of shelves, install L-brackets to stop drooping, especially in larger or heavier units. If hitting a stud is not possible, use toggle bolts inserted through the clip’s hole to expand behind the drywall for secure support.
Check all screws and joints every six to 12 months. Tighten any loose fasteners immediately to maintain stability. Combining adhesive reinforcement with mechanical fasteners and thoughtful support ensures your closet system remains stable and durable for years.
Finish With Caulk, Paint, and Trim for a Seamless Look
Finish with caulk, paint, and trim to create a seamless, professional look. Once the structure is stable and reinforced, apply painter’s tape along edges to achieve sharp lines. Cut the caulk tip at a 45-degree angle, then run a steady bead into seams or gaps. Smooth the caulk with a wet finger or a caulk-smoothing tool before removing the painter’s tape to prevent smudges. Ensure all face frames are flush at the top before applying caulk, as they are secured with glue and brad nails to maintain a polished appearance. Install trim using wood glue and finish nails. Fill all nail holes and gaps with a paintable filler, then sand smooth once dry. Primer applied with a spray gun provides a smooth base, with a second coat after first inspection to cover wood grain rise. Prime raw wood to prevent tannin bleed, especially on pine or cedar. Paint the trim first with a quality urethane trim enamel for durability, then proceed to paint the walls. For consistent coloring, use color-matched paint across all surfaces. After the paint dries fully, install hardware such as handles or knobs to finalize the system. Allow all components to cure completely before loading your closet to ensure a clean, polished appearance. Just as you would fine-tune light levels with a dimmer switch to set the perfect ambiance, adjusting the pressure and bead size of your caulk application ensures a flawless finish. To maintain organization after completion, consider donating unused metal hangers to a local thrift store, as many locations accept hangers for reuse.