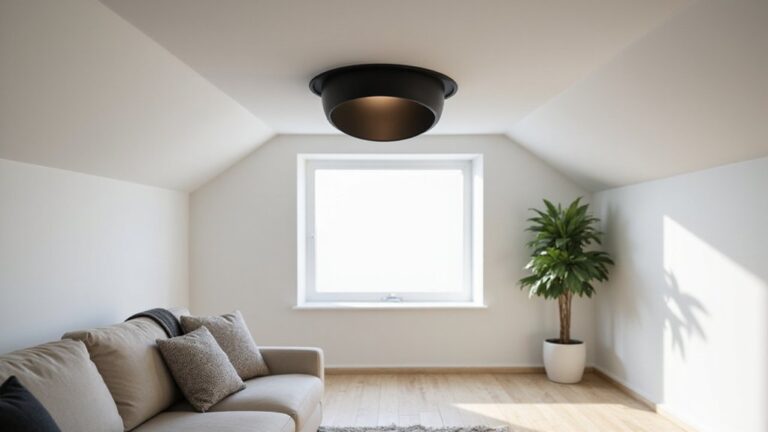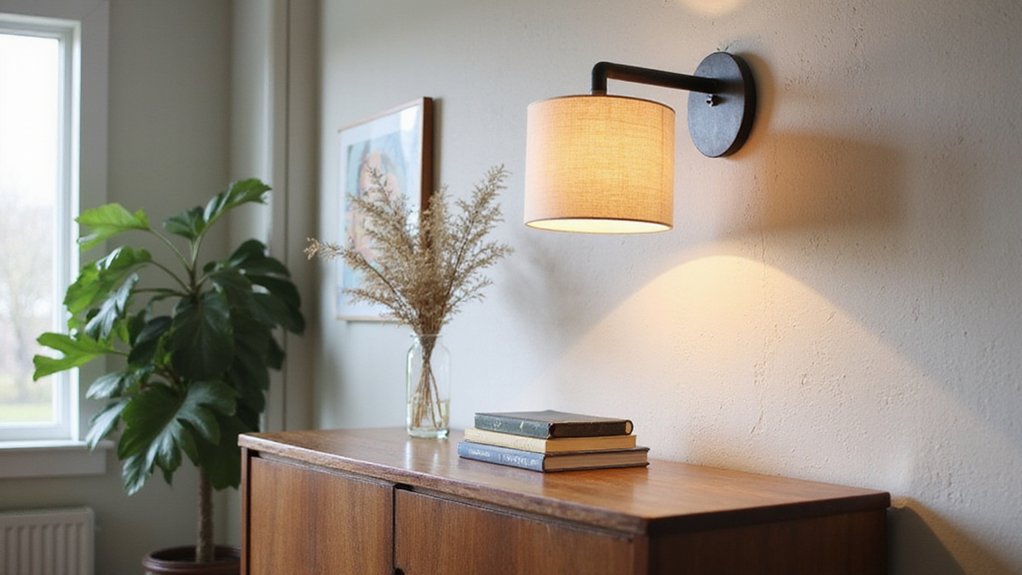
If you’ve ever wondered how to craft eye-catching wall sconces without breaking the bank, you’re in the right place. You can make stunning, custom fixtures for under $15 using simple items from the dollar store like picture frames or cooling racks.
With some spray paint, LED lights, and a few tricks, you’ll have a stylish new addition to your home. Keep reading to see how easy it is to bring your wall decor to life.
Why Dollar Store Materials Work Perfectly for Custom Sconces
Dollar store materials work perfectly for custom sconces because they cost under $15 per piece—much less than retail fixtures that can be $50 or more. This affordability lets you experiment without worrying about wasting money. You can find budget-friendly options like plastic vases, picture frames, and napkin holders for just $1 to $3 each, making it easy to try different designs. Spray paint and craft vinyl from dollar stores help you create custom colors at a fraction of the regular price. A vanity or desk can also be stylishly lit with these affordable fixtures, proving that function and form don’t require expensive store-bought lighting.
Using recyclable materials such as cardboard backing and foam board offers guilt-free flexibility, allowing you to modify or replace parts easily. Battery-operated puck lights provide cordless illumination, making your sconces suitable for rentals or outdoor spaces. However, if your puck light flickers, it may be due to a loose connection or incompatibility with the battery, which is a common issue with low-cost lighting components. By combining simple items like cups, dowels, and gems, you can craft a luxurious-looking sconce that masks each piece’s humble origins, all while keeping costs minimal. A metallic foil placemat and Mod Podge can transform a basic plastic vase into a shiny, high-end base.
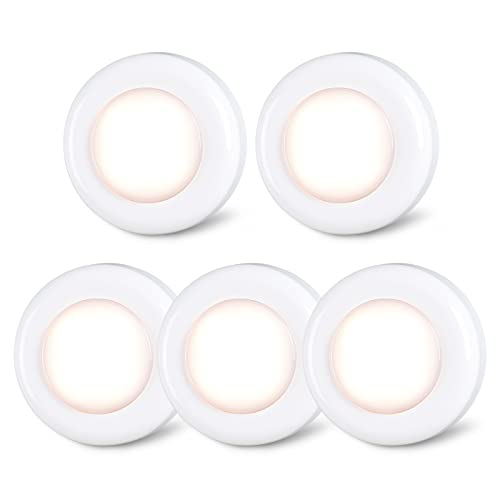
Press Control, Easy Operation: Just press the center lens of the LED push light to turn it on and emit soft light. Press it again to turn off the light. Very suitable for the elderly and children, even some pets can use it easily
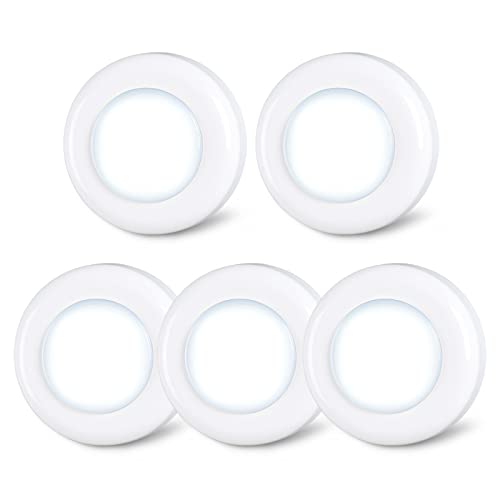
Press Control, Easy Operation: Just press the center lens of the LED push light to turn it on and emit soft light. Press it again to turn off the light. Very suitable for the elderly and children, even some pets can use it easily

BRIGHT LED LIGHTING: Puck lights provide 50 lumens of high-quality lighting, perfect for cabinets, shelves, garages, attics, RVs and more
The 7 Essential Tools and Hardware for DIY Sconces
You need a variety of tools and hardware to ensure a safe and secure sconce installation. Start with a power drill that has variable speed settings to control drilling and screw driving. Use drill bits suitable for pilot holes and driving screws, which prevent wood or drywall from splitting. Wall anchors are essential if you’re attaching the sconce to drywall without hitting a stud; tap them flush into the wall with a hammer. A stud finder helps locate sturdy places to mount, reducing the risk of instability. Mark your spots with a pencil and use painter’s tape to hold templates or paper patterns in place while measuring and aligning. When selecting a bulb for brightness and safety, consider that LED lighting offers longer life and greater energy efficiency than incandescent options. For shaping and smoothing the wooden components of your sconce, use a saw and sandpaper. Crown staplers can reinforce joints, especially on wooden frames or decorative elements. Strong adhesive, like Liquid Nails, is useful for attaching dowels or securing parts that need extra hold. Painter’s tape also protects surrounding areas from paint drips or rough textures when you’re customizing your wall finish. When it’s time to mount the sconce, keyhole hangers or tube clamps provide a clean, professional-looking finish. Secure the fixture with screws from the mounting plate, ensuring they are tight enough to hold the weight. Finally, use a screw-in battery bulb to power the sconce, choosing an appropriate wattage for your desired brightness and safety.

【20V MOTOR WITH 266 IN-LBS OF TORQUE】 This cordless drill delivers up to 266 in-lbs (30 Nm) for everyday drilling and driving—assembling furniture, hanging curtains, and drilling wood, drywall, plastic and light metal. Low speed (0-350 RPM) drives screws with control; high speed (0-1300 RPM) powers through holes. A home and DIY tool, it is not intended for concrete, masonry or heavy-duty industrial jobs

Powerful 7. 5-Amp Motor – Corded hammer drill tackle the most demanding projects

8-amp motor of the electric drill delivers high performance in heavy-duty applications
Build a Battery-Powered Sconce From Scrap Wood in 10 Steps
To build a battery-powered sconce from scrap wood, follow these 10 clear steps. Begin by selecting reclaimed wood from sawmills or previous projects, as it adds a textured look and is environmentally friendly. Age the wood with a vinegar and steel wool mixture to give it an antique finish, then darken the edges using a char pen for added contrast. Glue the pieces together and cut them to your desired size. This approach aligns with the wireless wall sconce hack concept, as it avoids the need for electrical wiring altogether. For a cleaner build, simply resist the urge to lick a salt lamp, as the salt could cause irritation or damage.
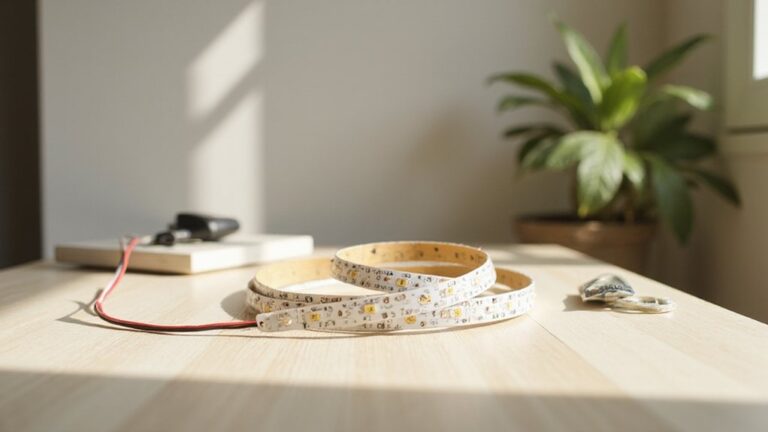
For battery integration, attach the battery packs to the back of the wood using Velcro strips, ensuring the power switch remains accessible. Cut LED strips at the designated manufacturer marks and position them strategically on the wood for even illumination. To support the batteries, place small wooden blocks taller than the packs underneath to secure them firmly.
Drill keyhole slots on the back for wall mounting. Decorate the sconce further by adding stenciled letters or other details to enhance its aesthetic. Smooth all surfaces with fine sandpaper to remove splinters, then apply a polyurethane finish to protect the wood. Attach hanging hardware to complete your battery-powered sconce, ready for display without any wiring.

【Wood Aesthetic】Distilled to its purest form,DetarZinLED wall sconce battery operated are precision CNC milled from a solid piece of thoughtfully selected wood and hand-finished to a refined plainness.Showcasing the piece’s natural grain with thoughtful consideration to proportion,feel at home as a minimalist wall deco,appropriate for addition lighting above bed or sofa.
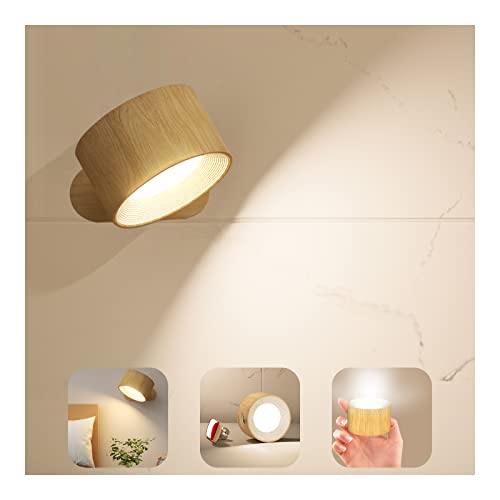
【Touch Control 3 Brightness Levels & 3 Color Temperature & ON/OFF】Dimmable wall lights Lightly touch button to adjust between low, medium and high 3 brightness and ON/OFF. Long press to adjust the 3 color temperature : 2700K(Warm White), 4000k(Natural White), 5700k(White Light).You can DIY the brightness and color temperature. Cordless LED wall sconces will help you remember the last mode and brightness that you used for more convenient to next time.

Bohemian Woven Design: Blending rustic charm with modern elegance, the rattan-wrapped brass arm and white linen shade bring a coastal, beachy vibe to your space. This two-piece set of boho wall lights complements a variety of interiors—bedside, entryway, or hallway.
How to Wire a Plug-In Sconce Without Calling an Electrician
First, strip about three-quarters of an inch from the end of each wire. Use wire nuts to connect black-to-black and white-to-white wires, making sure no bare wire is exposed. For added security, wrap each connection with electrical tape. If your fixture has a ground wire, attach it to the green screw on the mounting plate. For longer wire runs, you can use solderless connectors to join additional wire segments securely. Some fixtures also benefit from lightweight stylish storage solutions to keep spare parts organized nearby. For safety, always double-check that you have a proper ground connection before finishing. Tuck all wires into the canopy, align it with the mounting plate, and secure everything with screws. Finally, plug it in and turn on the switch—you’ve successfully wired your plug-in sconce without calling an electrician. Always turn off power at the main breaker before starting any electrical work.

🔘 What you can get: 350 pcs wire caps in total, includes 100 pcs Grey, 100 pcs Blue, 70 pcs Orange, 50 pcs Yellow, 30 pcs Red.
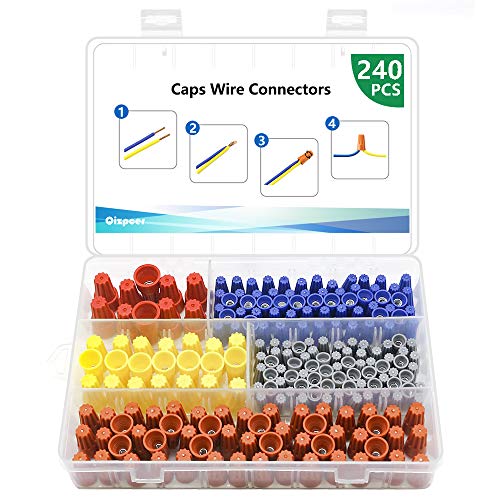
Easy Practical: Great for connecting wires without soldering; push the stripped conductors into the connector and screw on

Housing: ERPP thermoplastic engineering plastic molded casing, UL94V-2 flame retardant rating, excellent insulation, resistant to aging
Turn Picture Frames Into Geometric Sconce Cubes, Panels, or Lamps
Standard picture frames from dollar stores or thrift shops make an ideal base for geometric sconce cubes. To prepare your materials, choose your frame customization first. Apply mirrored contact paper behind the glass to direct light outward, or use aluminum foil on cardboard for a bright but soft glow. Build your cube with twenty wood strips, each with 45-degree mitered ends. Join these strips using hot glue for quick assembly, reinforced with wood glue for added security. Use a 90° corner block to ensure a snug fit during gluing, as precise alignment is critical for the frame structure. To control the lighting ambiance, cut out the center of one cube side while leaving a one-inch margin around the edges for the lamp. Keep the bottom open to allow easy access for wiring. Tape vellum over the openings to soften the light, creating panels that transform your picture frame into a striking geometric sconce. This method results in a customized, luminous piece that doubles as both wall decor and functional lighting. For best results in keeping the frame stable, refer to a step-by-step instructions guide for measuring and cutting your wood strips accurately.

Clutter-Free Design] Designed for hassle-free installation without visible cords, this wall-mounted picture light enhances your artwork while maintaining a clean and polished appearance. Ideal for spaces where electrical wiring is limited or unavailable.

【 Painting Hanging Kit 】: Picture hanging system includes brass rod, perforated brackets, metal picture rail hooks, brass chain with hooks, stoppers, D-ring and screws, which are strong, not easy to break, and can be used for a long time

Complete and Professional Hanging Kit: Our picture rail hanging system features a robust 13 mm (1/2 in) diameter brass rod, adjustable chains, hooks, D-rings, and all necessary mounting hardware. Each chain has a safe load capacity of 5 kg (11 lbs), ensuring your artwork is displayed securely.
Bend Cooling Racks and PVC Into Modern Minimalist Sconces
To create sleek, minimalist sconces using cooling racks and PVC, start by preparing your materials. Cut PVC sheets with a jigsaw to the desired size, then carefully bend them into angular shapes by folding along scored lines, mimicking paper folds. Use super glue paired with an activator to secure seams and reinforce triangular internal supports for stability. For cooling rack sconces, cut a flower mesh wrap to fit along the raised edges and glue it in place. Attach four wires along the widest curve to serve as hooks or structural elements. Add a foam board backing behind the design to provide additional stability, using a razor for precise measurement and cutting for proper placement. Finish your sconce by applying metallic spray paint after cleaning all surfaces with acetone to ensure adhesion. When painting, work in a well-ventilated area and apply thin, even coats to prevent drips and achieve a smooth finish. Organize your tools and materials in a best dresser drawer to keep your workspace tidy and efficient. Install 3–4 watt LED bulbs inside appropriately sized glass globes to prevent overheating and ensure energy efficiency compared to older bulb types. Secure the finished piece with self-tapping screws. Allow the paint to dry completely before mounting to ensure your sconce stays looking sharp.
Add Sparkle With Gems and Rhinestone Mesh on Any Sconce
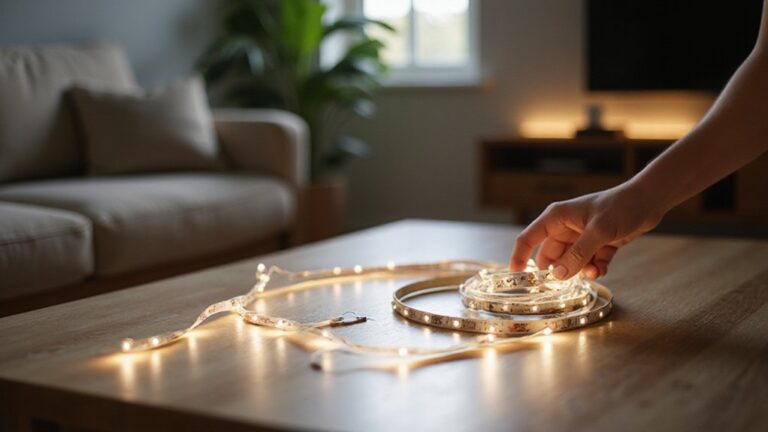
To add sparkle with gems and rhinestone mesh on any sconce, start by spray-painting the base metallic silver. This creates a reflective background that makes each gem stand out. For lighting effects, weave string LED lights behind the spoon arms so they shine through gaps in the rhinestone strands. Attach self-adhesive silver trim along the edges to frame the design neatly. Layer four rows of bling wrap from front to side to hide seams and create a continuous sparkling surface. Then, place clear gem stickers or flat-back gems behind the wrap for an extra polished look. To secure the gems, puncture the center of each part with a hot glue tip, insert the gem point, and hold it in place with a small glue dot. This method ensures your gems stay firmly attached while giving your sconce a dazzling, personalized appearance. Consider choosing a style that complements your kitchen window curtains for a cohesive room design. For added depth, consider using rechargeable puck lights to illuminate the reflective surfaces and enhance the shimmer of the gems. When selecting your light source, prioritize quality and performance to ensure the gems sparkle brilliantly over the long term. A step-by-step wiring guide can help you connect the LED strips to a power source properly for safe and reliable operation.
Mount Your Sconces Without Drilling a Single Hole
To mount your sconces without drilling, start by thoroughly cleaning the wall to ensure strong adhesion. Light frames are ideal for adhesive strips because they won’t weigh down the strips or cause slipping over time. For wall mounting, use Command hook-and-loop strips by attaching two sets to the mounting plate, keeping the pull tabs accessible for removal later. Trim the strips to match the dimensions of the plate for a secure fit. Peel off one backing, press the plate to the wall, and hold it level for at least five minutes to set the adhesive properly. To reduce weight, avoid adding the steel bracket. Assemble the sconce by securing the wire and bulb holder, then hot glue a puck light into the socket. Wait about 30 minutes before installing the bulb to allow the adhesive to cure fully. If the plate is off-level, gently release it and realign before pressing it back onto the wall. Finally, plug in your sconce and enjoy your no-drill installation.