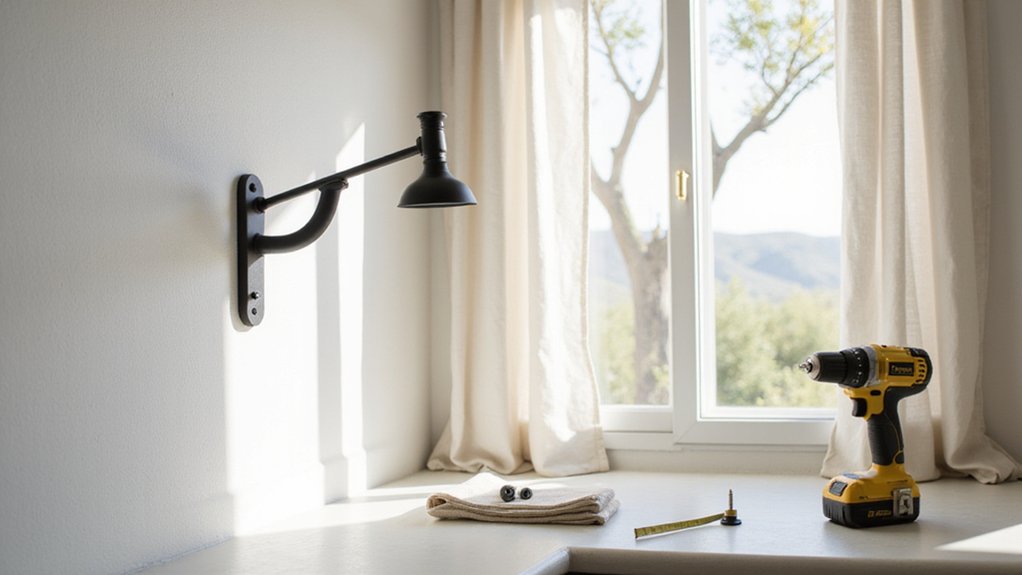
If you’re unsure about how to hang a curtain rod properly, you’re not alone. Getting the height and placement just right can make a big difference in how your space feels.
By the end of this, you’ll know the key steps to hang curtains neatly and securely, creating a polished look for your room.
How High and Wide Should Your Curtains Go?
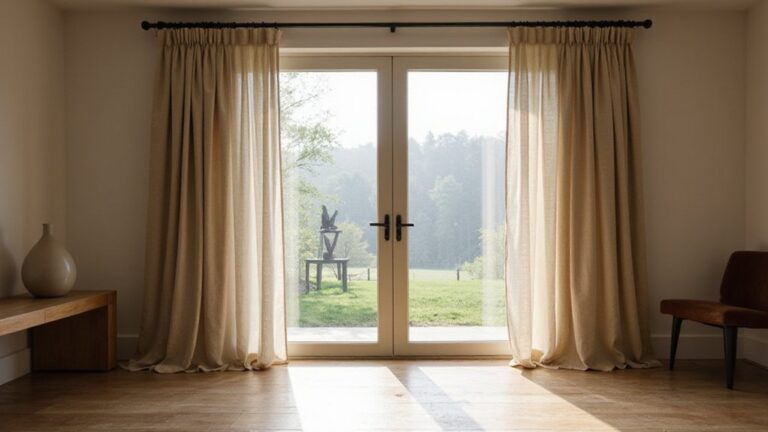
Once you determine the placement of your curtain rod, the height and width of your curtains are crucial for balancing the room’s proportions. For curtain rod height, mount it 4 to 6 inches below the ceiling or crown molding to create the illusion of higher ceilings and make your windows appear larger. For standard 8-foot ceilings, position the rod 3 to 5 inches below the ceiling; for ceilings 9 to 10 feet high, install it 8 to 12 inches above the window frame. Extending the rod 12 inches beyond each side of the window allows for maximum light and a more spacious look. For precise results, always use a metal tape measure and a pencil for marking before drilling. When hanging curtains, ensure they just kiss the floor for a polished appearance. Avoid short curtains, as they can shrink the space visually, so measure carefully from the rod to your desired floor height to achieve the perfect length. For a cleaner finish, removing window film first with a heat gun or steamer can prevent residue buildup on the frame. Be aware that if you use bulbs in nearby lamps, LED bulb flickering can be caused by incompatible dimmers or loose connections.
Gather the Screws, Drill, and Level You’ll Use
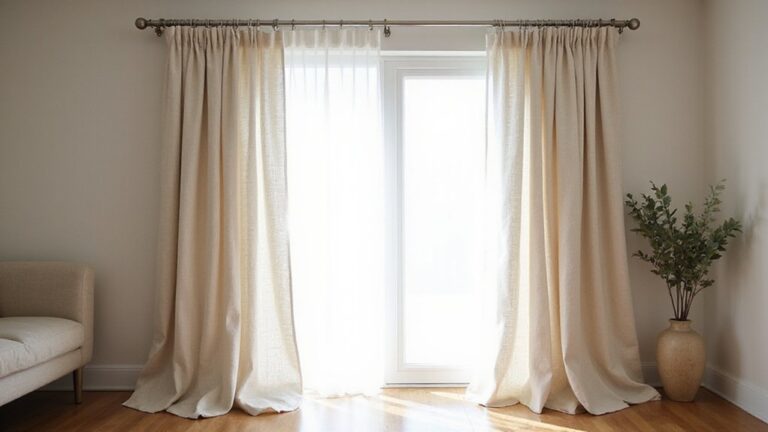
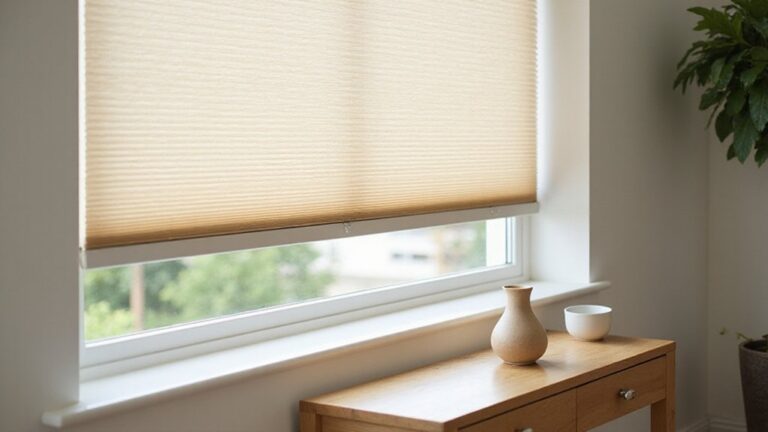
Gather the screws, drill, and level you’ll use before starting. Selecting the appropriate hardware is essential for a secure and level installation. The fabric you choose and the length of your curtain dictate which screws are best—lightweight fabrics need only 3-inch screws, while heavy drapes require 4-inch screws for added support. Use a power drill set to low torque to prevent stripping the anchors. If you are working in a space where a vanity is preferred over a desk, remember that the weight of fabric you choose dictates the necessary support. Begin with a 3/32-inch drill bit for pilot holes. If you plan to use drywall anchors, switch to a 3/16-inch bit to ensure a proper fit. For plastic anchors, gently tap them flush with a hammer once inserted. To guarantee the curtain rod is perfectly level, keep a spirit level nearby. Match your screw length carefully to the depth of the anchors, and stop drilling immediately if you encounter strong resistance to avoid damaging the wall or hardware. After installing each bracket, give it a firm tug to test its hold and make sure everything is securely in place. Choosing the right window curtain types can also influence the overall look and feel of the room. For those seeking a more modern or energy-efficient alternative, consider cellular shades as a window covering option.

PREMIUM NYLON WITH GLASS FIBER STRENGTH – Crafted from tough, high-grade nylon combined with robust glass fibers, these self-tapping wall anchors are built to last. Designed to hold up to 75 lbs, they offer a firm grip in the wall, perfect for hanging art, photo frames, paintings, shelf brackets, or curtain rods. The set includes 70 galvanized Phillips screws to ensure a strong, secure installation and reliable mounting.

MULTIPLE SIZE OPTIONS – This heavy duty toggle bolt assortment includes 3 sizes (1/8 in, 3/16 in, 1/4 in) to help you choose the appropriate size for drywall anchor applications based on wall type and intended use. Suitable for selected hanging projects such as hanging pictures, curtain rods, and plants when used correctly. Please refer to the size chart and installation guidance before use.

PREMIUM NYLON MATERIALS PLUS GLASS FIBER – Made of high-quality hard nylon plastic mixed with highly robust glass fibers, these self drilling wall anchors are super hard, durable, anti-aging and wear resistant. They can hold objects with maximum weight of 75lbs and provide strong and sturdy grip into the wall, and the anchor will not damage the dry wall. 70 premium galvanized Phillips screws ensures reliable installation and hanging.
Mark Curtain Rod Bracket Positions With a Level
After measuring the ideal bracket height and width, use a level to mark even positions on both sides of the window. Place the level horizontally across both marks, then adjust until the bubble is centered—that’s your leveling technique. Don’t skip this step; even a slight tilt can throw off the whole rod’s appearance. Using the original curtain panel container cardboard as a template ensures consistent placement across multiple brackets. To ensure proper bracket alignment, verify each mark sits at the same height in-plane. If the bubble drifts left or right, move your pencil marks until it stays centered. This guarantees both ends of the rod land at the same height, creating a level base for the brackets. Taking a few seconds to check the level now prevents crooked curtains later. For a more cost-effective approach, consider using scrap wood as a budget-friendly alternative to store-bought templates. Double-check the marks before proceeding, as precision makes installation easier and results more polished. Applying window film techniques to this step ensures the same attention to alignment that prevents visual distortion. Selecting the correct curtain ring size for your rod diameter avoids unnecessary friction and ensures smooth operation.

EASY INSTALLATION: Simply attach to your wood trim with two of the included screws.

PIN MOUNT, NOT ADHESIVE - each holder anchors with 4 stainless steel pins pushed into the wall, and a pair carries 25 lb of rod and curtain without the slow sag adhesive hooks develop in heat and humidity. No drill, no screws, no anchors, no wall studs to find.
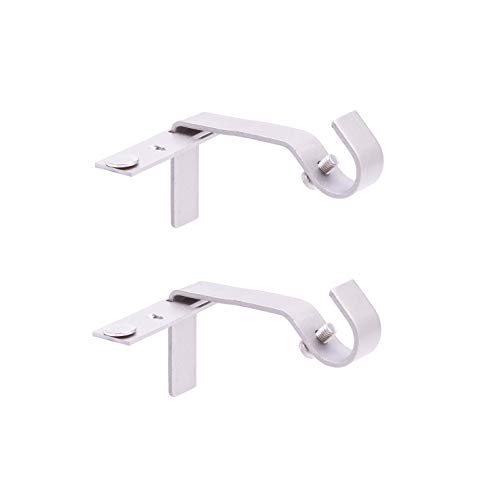
NO DRILL, NO MEASURE INSTALLATION FOR QUICK SETUP Fast Fit design installs easily without drilling or measuring, helping save time and reduce wall damage during setup.
Drill Pilot Holes and Secure Curtain Rod Brackets
Start by marking the bracket positions with a level to ensure straight placement. Once your marks are set, drill pilot holes with a 1/8-inch bit—this size is suitable for standard drywall and helps keep the drywall intact. If your marks don’t align with studs and you plan to use wall anchors, switch to a 3/16-inch bit to enlarge those pilot holes. Tap the heavy-duty wall anchors flush with the wall using a hammer to secure them properly. Then, drive the bracket screws into the anchors, leaving about 1/4-inch of screw exposed to hang the brackets. Tighten the screws until snug but avoid stripping the threads. For a cleaner look, consider using one-way window film that allows you to see out but blocks the view from outside. If you’re working on plaster walls, apply painter’s tape over your marks first to prevent chipping, and use a masonry bit for drilling. Keep your drill steady to produce clean, precise pilot holes that ensure proper alignment and secure mounting. For a more polished setup, you can apply the same soldering techniques used in LED strip connections to secure any exposed wiring near the brackets. As with a salt lamp, moisture in the wall can compromise your hardware, so check for humidity issues in the room before mounting.

10 Heavy Duty Zinc Plated Toggle Straps & 10 High Strength Carbon Steel Threaded Studs for a complete, Corrosion Resistant Master Toggle Kit to tackle your home projects

Intended for light duty applications

20 Heavy Duty Zinc Plated Toggle Straps & 20 High Strength Carbon Steel Threaded Studs for a complete, Corrosion Resistant Master Toggle Kit to tackle your home projects
Install the Rod and Check for Perfect Alignment
After installing the rod, step back and verify it sits level using a spirit level. Ensure there is an equal overhang on both sides of the window. If one end dips lower than the other, loosen that bracket and insert a small plastic shim behind it to raise its position. Tighten the bracket firmly once adjusted. Confirm that the distance from the ceiling to the rod is consistent on both sides. Open and close the curtains to check for smooth operation. The rod should feel solid with no shifting or wobbling when you apply sideways pressure. For a secure mount, remember to use a stud finder to locate studs near the window before finalizing the bracket positions. For optimal support, place brackets within a few inches of the window frame’s outer edge rather than at the rod’s very ends. For a similar lighting fixture installation, remember that can light conversion kits offer a clean alternative to traditional pendant mounts. If you encounter leftover adhesive from old window film, heating the residue with a hairdryer can soften it for easy removal.

4 Pcs Curtain Rod Brackets: You will receive 4 pcs universal plastic self adhesive curtain rod brackets with screw, which measures approx 3 * 1.8 * 2.4 inch. Suitable for curtain rods or towel rods with a diameter of 5/8'' to 12/8''. In addition, you can also hang small accessories such as hats, umbrellas, and towels.

Hang Curtains Without Drilling – The Curtain Shim is a patented, damage-free way to hang curtains without drilling holes in your walls or molding. No measuring, leveling, or complicated tools required. Great for renters, dorms, and homeowners.

Multipack for Daily Need: with this package of 8 curtain bracket spacers, you will not have to worry about constant replacements; This set of spacers enhances both the looks and functionality of your blinds and shades, making it a nice installation for your home or office environment
Fix Rod Sag and Hang Curtains for a Polished Look
To fix internal rod sag and ensure your curtains hang straight, insert a sturdy dowel inside the hollow rod for added rigidity. Tensioning a wire through the top interior of the rod can provide hidden support, preventing sag over time. If you want to reduce weight, opt for lighter fabric instead of heavy drapes or cut a foot off the bottom of your existing curtains. Before selecting hardware, calculate your curtain weight by multiplying the width and drop, then considering the fabric’s GSM (grams per square meter) to choose appropriate rods and brackets. For a door, consider best door curtains that balance style and function to avoid straining the hardware. For garage sales, constructing a clothing rack from PVC pipe offers an easy and affordable alternative. A night light can also serve as a soft illumination source for a dimly lit hallway near your curtains.
Next, straighten any minor bends in the rod and clean its surface to ensure smooth gliding. Use a spirit level to verify that the rod is perfectly horizontal. These steps will help your curtains hang evenly and give your window a polished, professional look.

Package Included: 2 x closet rod bracket with adjustable screws, 6 x mounting screws, 6 x hollow wall anchors. The U-shaped width fits for rod outside diameter in 1 inch, mounting hole spacing: 1.57 inch/40mm, 1.18 inch/30mm.

😀Crafted of durable metal

Premium Material and Finish: Constructed from durable stainless steel with an elegant black color finish that complements any decor