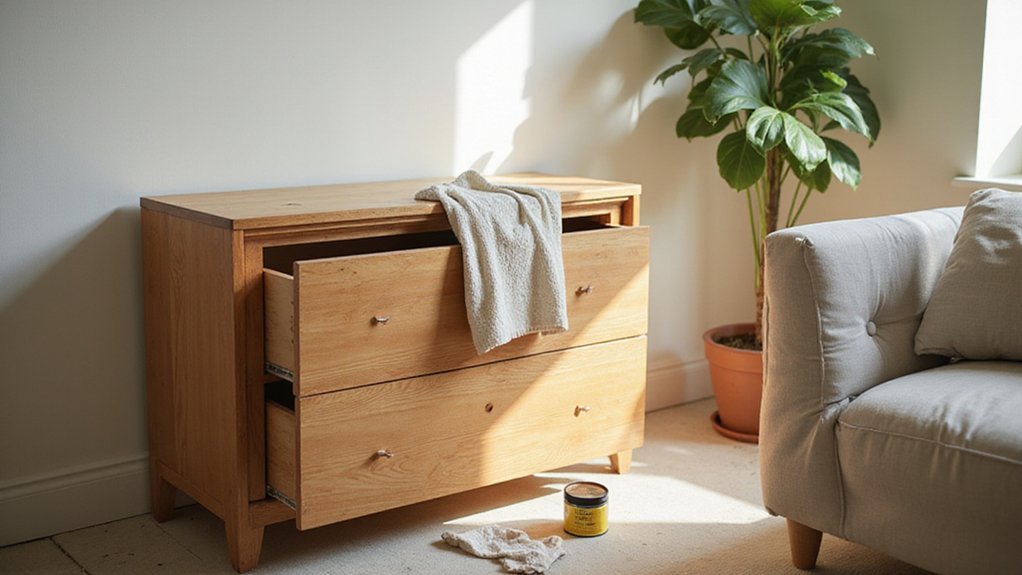
If you’re wondering how to give your chest of drawers a fresh new look, you’re in the right place. Refinishing furniture might sound complicated, but with the right steps, you can transform your piece and restore its beauty.
By the end, you’ll know how to safely remove old finishes, prep the surface properly, and fix common repair issues—all essential for a professional finish.
Keep reading for the full process to get your dresser looking like new.
How to Assess Your Dresser’s Finish Before Stripping
To assess your dresser’s finish before stripping, start by running your fingers across the surface to feel for uneven textures, ridges, or soft spots. This tactile check helps identify areas where the finish may be compromised or thin. Next, examine the surface under bright light to look for peeling, bubbling, or scratches that reveal the finish’s overall condition. These signs can indicate if the finish is flaking or deeply damaged, guiding your stripping approach. For delicate surfaces like veneer, you must use cautious judgment to determine if it can withstand stripping, preferring a liquid stripper over sanding to prevent damage. When considering your workspace, a vanity versus desk decision can also influence how you intend to use the finished piece after restoration. For a budget-friendly approach, consider using modular closet components to repurpose your dresser into a customizable storage system. For a similar decision regarding window treatments, you may weigh single vs double cellular shades to balance style, cost, and function in the room.
Conduct surface tests with solvents to determine the type of finish. Apply a small amount of lacquer thinner to a hidden spot—if it softens or dissolves, the finish is likely lacquer. Use denatured alcohol on another spot to see if it softens; this suggests shellac. Mineral spirits work well for oil-based varnish, and acetone can identify water-based finishes since they dissolve in it. If none of these solvents have any effect, your dresser probably has polyurethane or epoxy, which are more resistant to these chemicals. Record each test result carefully; knowing the finish type will help you plan necessary repairs, like veneer repairs, before you begin stripping.
Pick the Right Stripper for Old Paint or Varnish
Choose a chemical stripper based on your project’s needs. For vintage or historic pieces, opt for gentler, non-toxic options like Max Strip to avoid damaging the underlying substrate while effectively loosening old coatings. Paste-based strippers are best suited for vertical surfaces because they stay in place and prevent run-off, unlike thin liquid formulas. For intricate details, gel formulations prevent evaporation and ensure the stripper remains active on vertical surfaces. Citristrip is a versatile choice that removes paint and varnish in one pass, saving time and effort.
Always prioritize safety when handling chemical strippers. Wear gloves and eye protection, especially with stronger products like Minwax. Apply a thick coat about 1/8 inch thick and let it bubble up, then use a dull putty knife to scrape away the softened finish—this prevents gouging the surface. After stripping, neutralize any residue to ensure proper finish adhesion. Dispose of waste in accordance with your local regulations, as disposal rules can vary, with places like California enforcing stricter guidelines. Before proceeding with the entire piece, test the stripper on a small, inconspicuous area to avoid unexpected damage.
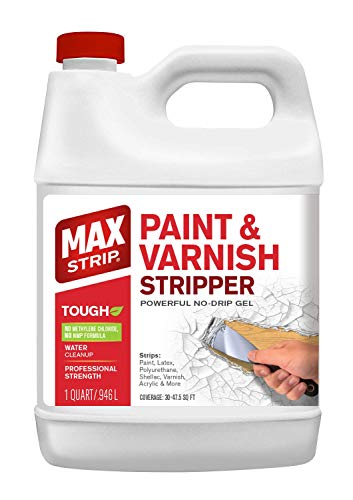
DESIGNED TO REMOVE PAINT AND VARNISH FROM MULTIPLE SURFACES - Remove Aftermarket Paints, Latex, Polyurethane, Shellac, Varnish, Acrylic, Oil Based Coatings and More in usually a Single Application!

Fast-Acting & Powerful Results: Quickly removes 1K & 2K paints, varnishes, polyurethane, epoxy, and multiple layers in as little as 15–30 minutes — perfect for fast project turnaround.
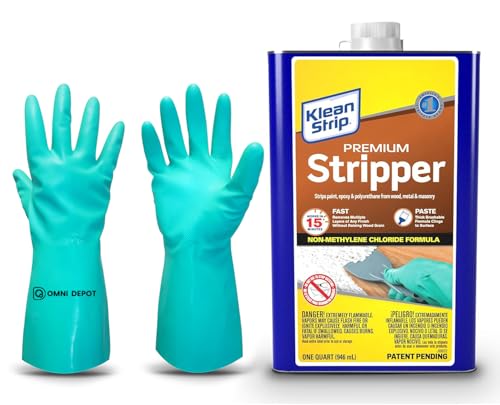
🧪 Fast & Powerful Paint Removal – Quickly strips epoxy, polyurethane, varnish, and multiple layers of paint from wood, metal, and masonry. Save time and effort with a fast-acting formula that works on tough coatings without damaging your surfaces.
Sand Like a Pro Without Gouging the Wood
Start with 80-grit sandpaper for heavy varnish removal, then progress to 100- or 120-grit for smoothing along the grain. Use 150- to 180-grit for fine finishing, and finish with 220- to 240-grit to eliminate swirl marks. Keep your orbital sander moving constantly at about one inch per second to prevent dwell marks. For contours, wrap sandpaper around a sponge or use a palm sander for edges. Apply even pressure; avoid pressing too hard, as it can gouge soft spots. After sanding, wipe the surface with a damp cloth and check for flatness before proceeding. For detailed areas like intricate edges and nooks, employ small handheld tools or a Dremel to carefully access tight spaces without damaging the veneer. A quality night light can help you spot uneven surfaces and missed patches during this final inspection. To prevent scratches from dust buildup, consider using curtain rings as a simple rack to keep sandpaper sheets organized and debris-free during the process. For the roof of the chest, you may need to apply the same even pressure technique used when tying a kayak on a roof rack to avoid shifting.

Package Inclusion: YNZDRWA sanding discs set from rough to fine to satisfy almost all your general polishing requirements. You will get 70 total orbital sander pads of 9 different grades: 5pcs of 40 grit, 8pcs of 80/120/180/240/320/400/600 grit, 9pcs of 800 grit

150-Piece multi-grit sandpaper set: Our sanding discs set provides you with the multi-grit sandpaper you need. You will get 150 total orbital sander pads of 10 different grades including 60 grit, 80 grit, 100 grit,120 grit, 150 grit,180 grit,240 grit,320 grit,400 grit, and 600grit. The higher the number, the finer the grit

【165 PCS Sandpaper Assortment】This set comes with both coarse and fine sandpapers to meet your various needs. sandpaper discs grit 20X60,80,120,150,240,320,400,600,and extra 5 pcs of 40 grit.
Fix Cracked Drawers and Wobbly Legs Like a Pro
To fix cracked drawers and wobbly legs, start by stabilizing the main structure. Reinforce the corners of the carcass with wood glue and clamps, then add a backboard across the rear to prevent legs from wobbling. Next, address the drawers. For side-to-side movement, install drawer guides by gluing plastic or wooden strips onto the frame with Gorilla Glue, ensuring they stay in alignment and eliminate wiggle. To reinforce sagging bottoms, place a plastic wedge between the hardboard and the carcass and tighten the screw to press it flat. Alternatively, glue a timber batten underneath, using a temporary support block to keep it straight while the glue dries. For cracks, fill the gap generously with wood glue, clamp the joint tightly for at least 24 hours, then wipe away any excess with a damp cloth. Check all worn slider screws and tighten them, or drill new holes if needed to restore proper drawer function. For additional drawer safety, install small plastic drawer stoppers to prevent drawers from falling out when fully pulled open. If a loose electrical connection inside the drawer area causes a light to flicker, checking all wire connections can eliminate the problem. A practical method to store pants without wrinkles involves folding pants on hangers to keep them organized and accessible. For a more affordable alternative, consider building a drying rack using scrap lumber and wooden dowels to save on material costs.
Wood Fillers vs. Epoxy: Which Repair Works Best for Deep Cracks?
Epoxy is the best choice for deep cracks in your furniture. Unlike wood filler, which tends to shrink and crack over time, epoxy bonds deeply into the wood fibers, creating a strong, long-lasting repair. For cracks wider than ¾ inch or deeper than the wood’s thickness, epoxy provides the structural support needed to keep your piece stable under heavy loads. It also resists moisture absorption after stripping the old finish, ensuring it won’t break down or weaken over time. Although epoxy may cost more upfront, its waterproof and durable qualities make it the superior choice for serious restoration work. Using a two-part epoxy system enhances strength and longevity, making it ideal for repairing foundational cracks that need to last for years. This approach mirrors the step-by-step precision used when following measurement and hardware guidelines for hanging mini blinds, ensuring each repair phase is accurately executed. For best results, allow the epoxy to cure in a stable, undisturbed environment just as you would follow the recommended waiting time when resetting a smart bulb. Just as chicks at night require consistent warmth without disruption, epoxy repairs need a stable, undisturbed curing environment to achieve maximum strength.
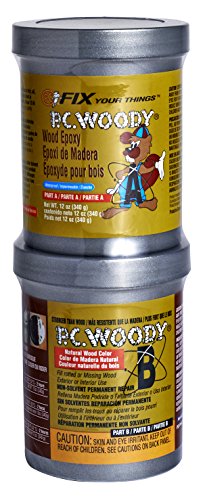
Two-part epoxy paste to replace missing or rotted wood is resistant to dry rot, UV light, fresh and salt water

J-B WELD KWIKWOOD: A hand mixable two part epoxy putty stick that is formulated to repair and rebuild wood. J-B Weld KwikWood is designed for all wood household DIY repairs!

Two-part epoxy paste to replace missing or rotted wood is resistant to dry rot, UV light, fresh and salt water
Painting vs. Staining Your Dresser: Avoid Drips and Brush Marks
Paint and stain require different application techniques to prevent drips and brush marks. For those selling furniture at garage sales, consider building a DIY clothing rack to display items effectively. Paint rests on the surface, so use a low-knap roller or high-density foam roller for a smooth, spray-like finish. Load your brush with only about one-third of its bristle depth, and apply in light, feathery strokes, moving consistently in the same direction. Stain, however, soaks into the wood fibers, making thin coats essential. Avoid overloading your brush, and apply multiple light coats instead of one thick one to achieve an even look. Lighter paint colors tend to hide imperfections better, while stain highlights the wood grain. If you’re changing the hardware to match your new finish, do so before painting for the best overall appearance. When deciding between paint and stain, consider the style, cost, and function of your space to ensure the finish complements your decor. To get a flawless surface, use a mini foam roller to tip the final strokes, removing any marks. Between coats, lightly wet sand to smooth the surface for the best results. For paint, thinning with water allows for better application, reduces buildup, and improves coverage. Always wear protective gloves when handling the glass components to avoid cuts.

Complete Painting Roller Kit: Tackle any small painting project with our 14-piece roller kit, including 6 high-density foam and 6 microfiber roller covers, a sturdy roller frame, and a durable paint tray.

No-Lint Finish: Foam construction helps provide a smooth, clean finish without leaving roller fibers behind.
The Best Top Coat for a Durable, Self-Leveling Finish
Oil-based polyurethane is the best top coat for a durable, self-leveling finish. It is self-leveling, allowing you to apply it generously with a brush for a smooth, even surface. This type of polyurethane offers the toughest protection against scratches, heat, and moisture, making it ideal for pieces that will see frequent use. Water-based polyurethane is also a good choice; however, you must stir it thoroughly before application to prevent bubbles from forming during testing. Oil-based polyurethane is toxic, so it is essential to work in a well-ventilated area. For a successful installation, use adhesive tape or clips to secure the lights before applying the final coat. If you prefer a budget-friendly approach, consider building a DIY shoe organizer to store your finished footwear.
Before applying your final coat, test the sheen on a scrap piece to ensure it matches your desired look. For sheen options, choose gloss if you want vibrant, punchy colors or satin if you prefer a more subdued, forgiving finish that helps hide dust and imperfections. It’s best to apply at least three thin, even coats, sanding lightly with 400-grit sandpaper between each layer to achieve a perfectly smooth surface.
When working with water-based products, avoid shaking the cans as this can introduce bubbles that spoil the finish. Polycrylic is a low-odor alternative that dries quickly but requires careful application—streaks can appear if you’re not attentive. Overall, selecting the right top coat ensures your dresser’s finish remains durable, self-leveling, and beautifully smooth over time.
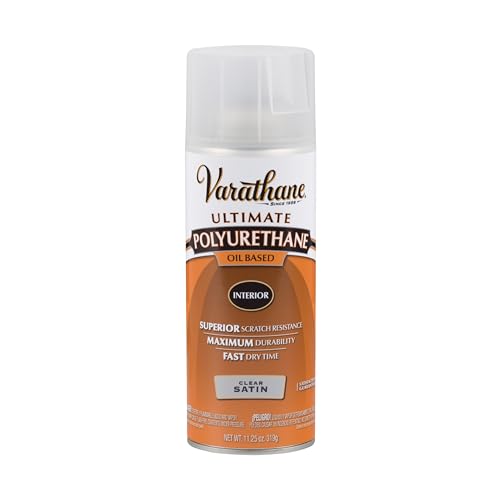
Protects interior wood surfaces such as furniture, cabinets, trim and doors
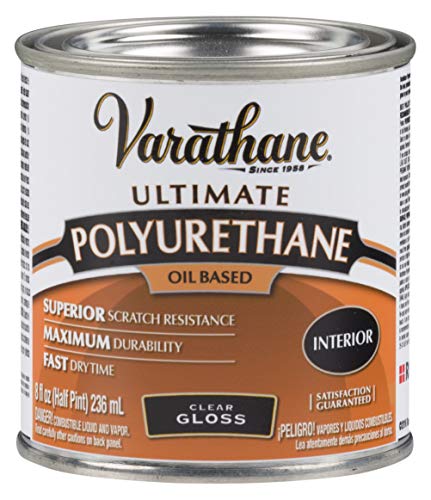
Ideal for multiple interior applications including furniture, doors, cabinets and trim
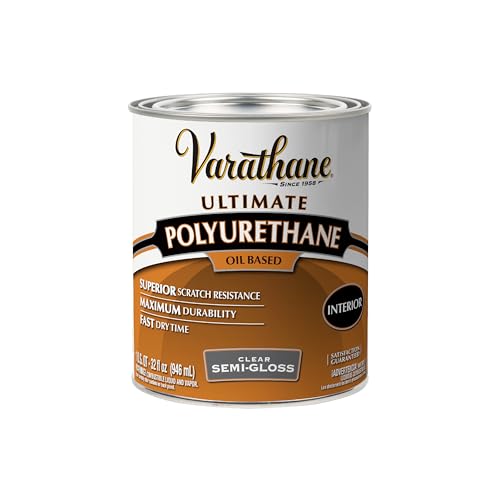
Fastest dry times of any oil-based polyurethane
Reassemble Your Refinished Dresser Without Stripped Screws
To reassemble your refinished dresser with stripped screw holes, follow these effective methods. Start by removing any old glue or residue from the hole to ensure a good grip. Then, insert wood glue into the hole and pack it with toothpicks, breaking them to fit tightly. Once the toothpicks are in place, drive the screw in carefully. For a stronger repair, use wooden matches as plugs—dip them in glue, tap them into the hole, and trim flush after the glue dries. If these options don’t hold, drill the hole 1/32 inch smaller than a hardwood dowel, apply glue to the dowel, tap it into the hole, and sand flush before drilling a new pilot hole. When reinserting the screw, turn it counter-clockwise first to align the threads, then tighten clockwise. For antique pieces, filling stripped holes with epoxy and toothpicks provides added reinforcement and durability. Allow 24 hours for glue to dry fully before reassembling, and consider adding new drawer liners or securing loose furniture nails to prevent future issues.