Thinking about building your own closet wardrobe but unsure where to start? The key is careful measuring.
Choosing the right materials and knowing how to install everything for stability and longevity are also important.
With a few basic skills, you can create a customized setup that saves money and fits your space perfectly.
The rest of this guide walks you through each step.
Measure Your Closet Space and Plan the Layout
Measuring your closet’s interior dimensions is essential before purchasing any shelves or rods. Use a tape measure to record the width, depth, and height at multiple points inside the closet. Always rely on the smallest measurement to define your planning limits, as this ensures your system will fit everywhere. Measure each wall’s width at two different heights for accuracy, recording the smallest value if discrepancies occur. For best results, record each measurement to the nearest 1/8 inch as recommended for precision in window curtain fitting. Additionally, if your closet has integrated lighting, note that LED bulb flickering can indicate a faulty driver or dimmer compatibility issue, which is worth investigating now to avoid future annoyance. Consider how ceramic window film might help reduce heat buildup if your closet is near an exterior window.
Don’t forget to measure door clearances—allow at least 24 inches for sliding doors and 36 inches for swing-open doors to maintain easy access. Additionally, identify fixed obstructions such as soffits, baseboards, outlets, or other architectural features that reduce usable space. Sketch your closet layout, label each wall, and indicate door swing directions and return walls. This detailed mapping helps prevent costly mistakes and guarantees your storage system fits perfectly without interfering with trim or features. With accurate measurements, you can confidently plan zones for hanging clothes, installing shelving, and leaving open space for flexibility.
Pick the Best Materials for Your Closet Build
Solid wood is your best choice for durability and elegance, though it comes with a higher price tag. For a good mix of strength and affordability, melamine resists friction and aging well, available in a variety of colors and finishes to match your style. MDF offers a smooth surface ideal for lacquered finishes and is more moisture-resistant than particleboard, making it a practical option for budget-conscious projects. A vanity can be a versatile alternative if you need a dedicated spot for grooming tasks, as vanity versus desk decisions often hinge on your daily routines and available space.
If you need extreme resilience, consider HPL or metal for structural components, as they handle heavy use without sagging or warping. Plywood and veneer strike a balance between decorative appeal and strength, providing sturdy performance with a sophisticated look. Avoid particleboard for main structural parts since it’s less durable and prone to damage over time. Always match your material choice to the specific section’s use to ensure your closet maintains its function and style for years to come. For inspiration on complementary furniture pieces, an end-of-bed bench offers both practical storage and a refined aesthetic. When selecting window coverings for the room, you should consider whether inside versus outside mount roman shades best suit your privacy and light control needs.

WOOD CLOSET SHELF: Add on shelf for SuiteSymphony custom closet system or use on its own

Wide Range of Sizes: We understand that every space is unique, which is why we offer a comprehensive selection of sizes in both even and odd number depths. You can easily find the perfect fit by visiting our store.

REINFORCED PACKAGING, ARRIVES IN PERFECT SHAPE: Corners are the one spot a melamine shelf board can chip in transit, so every custom cut board now ships with foam guards on all four corners plus cardboard protection down the side edges. If your board still arrives damaged, just message us and we send a replacement free. No return shipping and no hassle. Cut and finished in the USA, and a real person answers when you write in
Install Hanging Rods at the Right Heights for Double and Single Hang
To set the hanging rods at the correct heights, measure from the finished floor to ensure proper placement. For single-hang rods, install them between 60 and 66 inches high, ideal for dresses and coats. Double-hang setups maximize space by placing the upper rod at 80 to 84 inches and the lower at 40 to 44 inches. Leave at least 36 to 38 inches of vertical clearance between each section to prevent bunching and allow easy access. When adjusting heights, consider your clothing lengths and how easily you can reach each rod. Use a level to mark the bracket positions accurately, and account for garment drop and a 2.5-inch gap between the shelf and rod. This spacing helps ensure smooth hanger movement and keeps your closet organized without wasting space. For added stability, secure the brackets into wall studs using a stud finder before installation. For finishing touches, consider how solar shades balance light control and privacy in a similar way to how rod height balances garment accessibility. To illuminate your new closet efficiently, LED bulbs provide a cooler, longer-lasting alternative to traditional tungsten options.
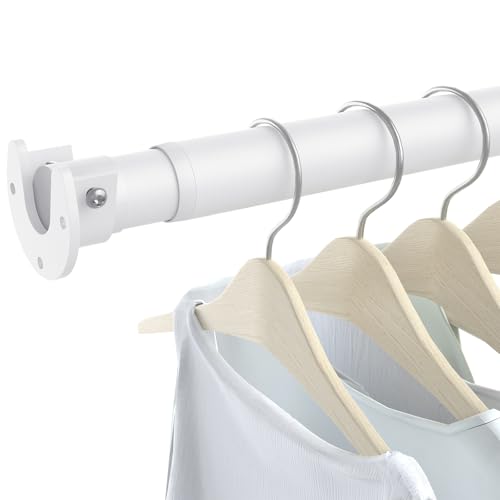
Stepless Adjustable Closet Rod: Closet rods feature a stepless design for precise adjustments without cutting. The stepless design means you won't be stuck with preset holes, and you can absolutely adjust the length of the closet hanging rod to fit your space.

Stepless Adjustment Closet Rod: The upgraded Supforce closet rod features the stepless adjustment design, allows you to precisely adjust according to your closet's specific size; Without any size gaps, No manual cutting is required.

Stepless Adjustment Closet Rod: The upgraded Supforce closet rod features the stepless adjustment design, allows you to precisely adjust according to your closet's specific size; Without any size gaps, No manual cutting is required.
Cut and Assemble Shelves Like a Pro
Measure the back wall and both side walls precisely before cutting any boards. Use the shorter wall-to-wall measurement and leave a small clearance so your shelves will fit snugly without needing force. Since wall dimensions often vary, take custom measurements for each shelf. Mark the desired shelf heights on the walls, then cut 3/4-inch MDF or plywood shelves to a depth of 12 to 16 inches. For longer shelves, optional triangle supports can be cut and installed to prevent sagging under heavy loads. If the touch lamp function fails, check the wiring for loose connections or faulty components as a first step. Lava lamps rely on a stable thermal cycle for proper flow, so ensure the bulb wattage matches the lamp’s design. When choosing between a storage bench and an ottoman, consider the style and function that best fits your space.
Installing shelf supports correctly is essential. Attach cleats to the back and side walls, making sure they are level and anchored into studs with 2-inch screws. Dry-fit each shelf on the cleats to check the fit before fastening. Secure shelves from above with one screw every 10 to 12 inches to ensure stability. To streamline finishing and avoid touch-ups later, pre-sand and pre-paint all shelves and supports before installation. This approach helps prevent shelves from forcing or misaligning during assembly.

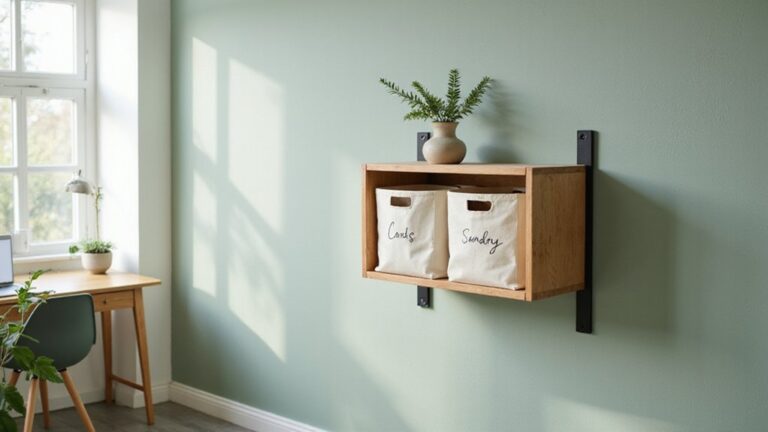
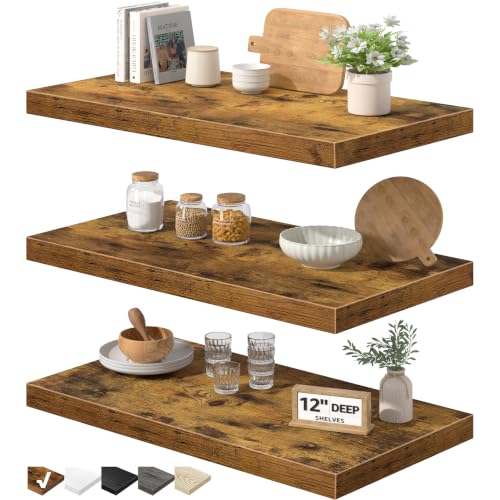
[Discover More Space] - Don't worry about cluttered desktops and floors! Why not try using the walls? The wonderful combination of smooth-surfaced metal brackets and solid wood texture decorates your home with a natural and rustic beauty!

【 MULTIPURPOSE SHELVES 】: Overall dimension for one storage shelves: 28" W x 12" D x 59 H, Net Weight: 28 lbs/pack. storage shelves set of 2: 56" W x 12" D x 59 H. 60lbs(2 packs total). This adjustable shelving unit with perfect size makes it suitable for many places, such as in the garage, pantry, closet, kitchen, warehouse, basement, living room, office, etc
Finishing Touches That Make It Look Built-In
To achieve a built-in look, focus on finishing details that hide construction evidence. Begin by filling every nail hole and seam with wood filler, then sand in sequence with 80, 120, and 220 grit papers to create a smooth surface. Caulk inside corners and panel connections to eliminate visible gaps and ensure a seamless appearance. Apply a primer, followed by two coats of semi-gloss paint; spraying tends to produce the cleanest, most uniform finish. Add decorative trim along wall edges to compensate for framing imperfections, and install baseboards at the bottom to help your wardrobe blend as permanent millwork. Use consistent hardware like pulls or knobs on all doors and drawers for a unified look, and incorporate concealed hinges to keep the front elevation sleek. For an extra refined touch, finish raw plywood edges with iron-on edge banding, and consider installing integrated LED strip lighting to mimic high-end custom closets. After sanding, ensure all surfaces are vacuumed and wiped down with water to remove dust before priming, as thorough cleaning is critical for a flawless paint finish. Choosing budget-friendly materials like melamine-coated particleboard can also help keep costs low while maintaining a polished appearance. For the windows inside the closet, consider cellular shades for their clean, insulating fit that avoids encroaching on shelf space. To further elevate the space, mount a pair of wall sconces flanking the closet opening to provide accent lighting that highlights the custom millwork and adds a sophisticated layer of illumination.