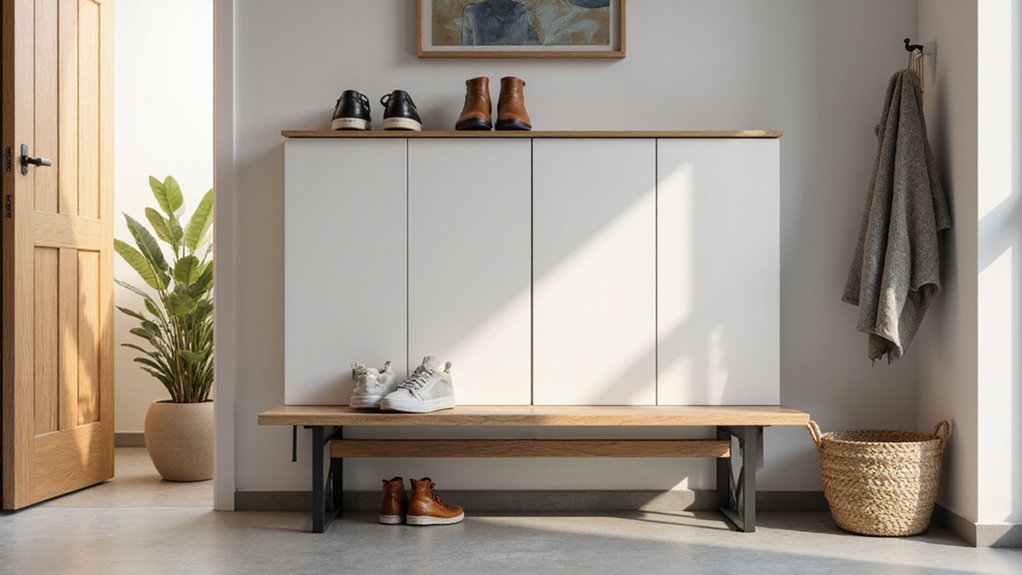
Struggling to keep your entryway tidy and clutter-free? Building a custom shoe cabinet can transform that space, making it both functional and stylish.
With straightforward woodworking and simple finishing touches, you’ll create a sturdy storage solution tailored to your needs.
The rest of this article guides you through the steps to build your own smart shoe cabinet that maximizes space and keeps everything organized.
Build a Custom DIY Shoe Cabinet for Your Entryway
Start by cutting two legs to 20 inches and one base piece to 60 inches. Apply wood glue to the edge joints and secure them with a pneumatic stapler or finish nailer for added durability. Place the 17-inch support pieces centered on the marked lines and nail them into position to reinforce the internal frame. Use leftover plywood to create a small backside support panel, preventing shoes from falling into the cabinet. Fasten the back board, made from 1/4-inch hardboard, using the pneumatic stapler to seal the unit. For additional structural reinforcement, use a backer board for stability in upcoming steps. Consider the style and function of your entryway when planning the cabinet’s final appearance. This robust frame provides a solid foundation that can support decorative accents like rattan or fluted molding on the door panels, combining style with strength and long-lasting durability. To further customize your project, you can adapt budget-friendly materials from other creative storage solutions, such as using scrap fabric to line the interior. For nighttime convenience, integrate a high-quality night light into the cabinet’s lower trim to softly illuminate the entryway.
Select the Right Materials for Your DIY Shoe Cabinet
Choosing durable materials is essential for a long-lasting DIY shoe cabinet. Use 3/4 inch plywood for the shells and shelves because it provides strength and moisture resistance, making it suitable for entryway environments. If you’re working with a limited budget, solid pine offers an affordable alternative; however, it requires regular sealing to prevent scratches and surface damage. Avoid particle board, as it lacks durability and tends to warp in humid conditions common in entryways. MDF can give a smooth paint finish, but it swells when exposed to water. To protect exposed plywood edges, apply edge banding, and once painted, seal everything with polyurethane to guard against moisture and scuffs. These material choices strike a good balance between cost, durability, and ease of maintenance. For a modern touch, consider wiring LED strip lights under the cabinet shelves to highlight your shoes. When selecting materials, also consider balancing style and function for a cohesive look. For overall ambient lighting in the entryway, LED bulbs offer a longer lifespan and better energy efficiency than traditional HID options.

STRONG, DURABLE, HEAVY-DUTY – These craft wood pieces of multi-coated Baltic Birch plywood offer exceptional durability, rigidity, and stability for all your woodworking needs. The surfaces provide excellent holding power for glue and screws and the birch edges create cleaner joinery.

STRONG, DURABLE, HEAVY-DUTY - These craft wood pieces of multi-coated Baltic Birch plywood offer exceptional durability, rigidity, and stability for all your woodworking needs. The surfaces provide excellent holding power for glue and screws and the birch edges create cleaner joinery.

What You Will Receive: there is a large hard plastic sheet of 24 x 12 x 3/4 inches/ 61 x 30.5 x 1.9 cm, which can be cut into different shapes to meet your different daily needs
Measure Your Space and Plan Cubby Sizes
Measure your space carefully to ensure your cubby system fits well without obstructing movement or outlets. Start by precisely measuring the height, width, and depth of your entryway with a tape measure. Leave at least 24 inches of clearance in front of the cubbies for easy access and 36 inches of walking space in the hallway. Subtract 3 to 4 inches on each side to prevent crowding outlets or walls. When planning any overhead lighting, consider whether tungsten bulbs or LEDs better suit your desired ambiance. For LED strip lights specifically, you can cut them at designated points without damaging the circuit, which allows for precise fit above your cubbies.
Plan your cubby sizes based on the shoes your household wears. Allocate 6 to 8 inches of vertical clearance for standard sneakers and 18 inches for taller boots. Assign 8 to 10 inches of width per pair, including a 1-inch gap to avoid crowding. For a family of four, a cabinet width of 36 to 48 inches can handle 20 to 30 pairs. Keep your cabinet’s depth between 12 and 15 inches to ensure a proper fit without intruding on your hallway clearance. Aim for a total height of around 30 to 36 inches so the top can serve as a convenient drop zone. Also, if you plan to install LED lighting above the cubbies, check for compatibility with dimmer switches to avoid LED bulb flickering.
Build the Frame and Dividers for Maximum Stability
Cut your 3/4-inch plywood top and bottom pieces to 22 1/4 inches, and vertical dividers to 8 1/4 inches. Use pocket hole joinery, setting your jig to a 3/4-inch depth and using 1-1/4-inch screws for joint fastening. Place pocket holes on the inside faces of the side panels, then attach the top and bottom pieces with wood glue for extra strength. Ensure the cabinet box is assembled with proper squareness before proceeding further.
Next, create two 11-inch spacer blocks from scrap wood to position the vertical dividers evenly. Mark the centerlines on the top and bottom panels, then stand the case upright. Use the spacers to align the first divider from the side panel. Sight down the front edges to ensure proper alignment, then secure each divider with glue and pocket screws.
To reinforce corners and ensure squareness, measure the diagonals after installing each divider. The diagonals should be equal, indicating the frame is square. Finally, attach the 1/4-inch hardboard back panel with a pneumatic stapler to lock the frame square permanently and add rigidity.
Add a Bench Seat or Tilt-Out Drawers for Quick Access
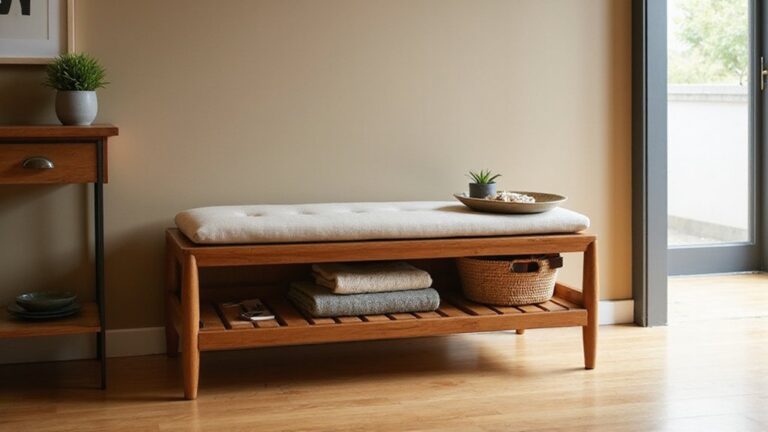
Adding either a cushioned bench seat or tilt-out drawers transforms your shoe cabinet into an efficient entryway station. A bench provides a comfortable spot to sit while you put on or take off shoes, making the process easier and more organized. It also helps prevent shoes from piling up chaotically by giving each pair a designated place. For a well-lit workspace, consider pairing your cabinet with quality desk lamps that offer superior performance and value. To maintain a clean look, dust and vacuum the cabinet surfaces regularly as part of your routine. For those who read or relax in bed, perfect nighttime lighting can create a similar sense of calm in the entryway.
Tilt-out drawers are ideal for quick access, especially for slim, everyday sneakers. Their sideways orientation allows you to maximize narrow spaces, making retrieval faster and more convenient. For larger shoes, deeper adjustable shelves help prevent toe box crushing, keeping shoes in good shape.
Mixing tilt-out sections with open cubbies balances quick retrieval with organized storage. Open cubbies make your most-used sneakers easily accessible, while tilt-out drawers keep less frequently worn shoes out of sight but still within reach. This combination optimizes space and functionality, turning your entryway into a multi-purpose hub without sacrificing floor area.

Comfortable Sitting Feeling:Entranceway Shoe Rack Thickened high elasticity memory sponge cushion, sit for a long time without collapsing, so that you get a comfortable sitting feeling
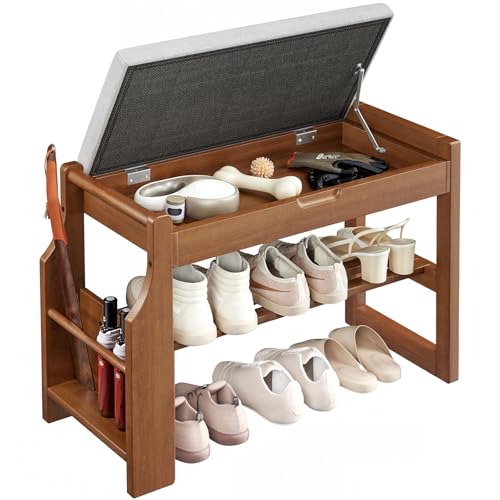
Unique Stroage Design: This shoe rack has a convenient side holder for storing items like umbrellas, magazines, and shoehorns. There is also a spacious hidden compartment under the lift-top, perfect for storing your gloves, socks, pet leashes and other daily necessities. A stylish way to keep your home tidy.

More Comfortable Shoe Change Cabinet: With a 2-inch thickened padded sponge cushion on the bench top, you can change shoes by sitting on the bench more comfortable without bending down or squatting
Anchor Your Cabinet to the Wall Without Damaging the Finish
To anchor your cabinet to the wall without damaging its finish, start by removing the doors and drawers to access pre-drilled holes cleanly. Use metal molly bolts or torque-tight toggle bolts for drywall installation because they provide superior pull-out resistance, which is essential for stability. Locate wall studs with a stud finder to switch to wood screws whenever possible, as they offer the strongest support for heavier cabinets. The installer should also ensure the cabinet is assembled loosely to determine where to cut legs for precise alignment before wall mounting. To ensure the cabinet is level and secure, consider using a stable hanging method similar to the step-by-step process for hanging a full length mirror. For long-term energy efficiency in your home, consider switching to LED lighting in your entryway fixtures to reduce heat output and electricity costs. Before drilling, measure and mark all anchor points precisely using a tape measure and pencil.
Protect the cabinet’s finish by applying masking tape around each drill point to prevent splintering or chipping. Use washers when installing screws to distribute the pressure evenly across the surface, avoiding denting or damage. Slightly countersink each hole to ensure that hardware sits flush and maintains a clean appearance.
Before securing the cabinet, level it with a laser tool, mark the anchor points precisely, and install the bolts in a step-by-step manner—one side at a time. Avoid over-tightening screws, which can strip the holes or cause finish damage. After installation, perform a load test by gradually adding shoes or weight to verify stability and ensure the cabinet remains securely anchored without movement.
Install Smart Organizers, Labels, and Pocket Systems
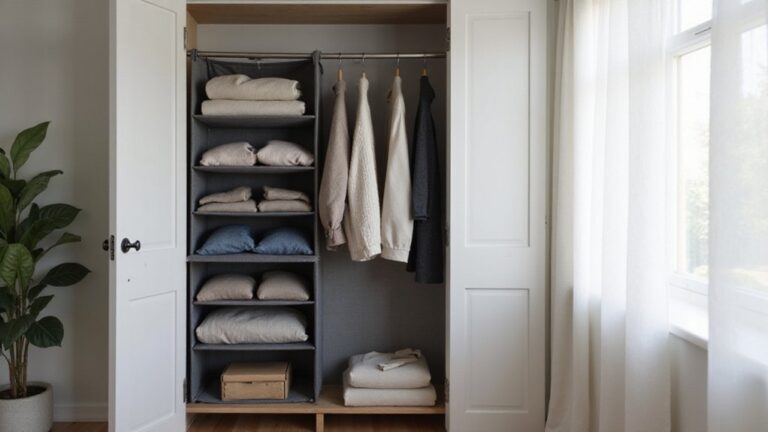
After securing the cabinet to the wall, install smart organizers, labels, and pocket systems to optimize space. Use over-the-door pocket organizers to hold flats and sneakers; these keep footwear visible and organized without cluttering the floor. Slim tiered racks or vertical shoe towers work well for daily pairs, providing storage in a minimal footprint. For seasonal shoes like boots and dress shoes, clear drop-front boxes and stackable bins protect your footwear while keeping them easily accessible. Assign each family member a designated section with labeled compartments to facilitate quick retrieval and prevent mix-ups. Add fabric pocket systems or shoe slots on existing shelves to double your storage capacity. Consider using shoe labels for easy identification, and maximize sole storage by rotating shoes on carousels or hanging ladder racks for heels. Keep everything accessible to maintain an organized, functional entryway. For a calming atmosphere, incorporate a salt lamp to enhance the space with soothing illumination and air purification. A makeup vanity with lighting similarly uses layered illumination to enhance visibility and reduce clutter. Incorporating under bed storage keeps seasonal footwear out of sight and preserves limited closet space. Planning your shoe storage with budget-friendly materials can significantly reduce overall project costs, just as choosing affordable fabrics does for window valances.

40 Large Pockets: The over the door shoe organizer features 40 spacious pockets, allowing you to store and organize a vast array of footwear, from sneakers to heels, all within easy reach.
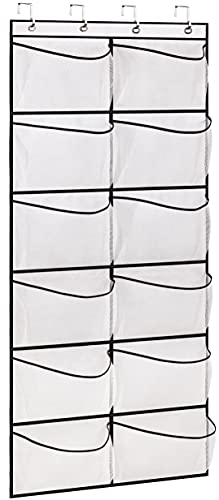
[12 extra large mesh pockets]: Larger than other hanging shoe rack, the pocket is wide enough to hold men shoes size 15, running shoes, men sneakers, tennis shoes, athletic shoes, boots, heels, slippers or other extra large shoes;

Crafted for Cruise Ship & 3 Strong Magnets: This cruise ship magnetic door organizer features 3 powerful anti-scratch magnets that securely attach it to any metal surface on cruise cabin door or wall — no drilling or damage. With thoughtfully dimensions, our over-the-door cruise organizer perfectly fits compact spaces in cruise ship cabins. Ideal for toiletries, shoes, snacks, sunscreen, baby items & more.
Paint, Add Cane Webbing, and Install Hardware for a Designer Look
After sanding and priming the cabinet, apply satin or enamel paint with a microfiber roller to achieve a smooth, professional-looking finish. Allow each coat to dry completely for at least an hour before applying a second coat, which enhances durability and ensures an even color. Choose a hue that complements your entryway’s color coordination—such as a bold navy for a striking impact or soft white for a more subtle, elegant look. For a highly realistic wood grain effect, use a layered painting technique blending base brown and black paints, then apply a lighter stain with a paper towel to achieve an authentic look. Alternatively, you can integrate LED strip lights beneath the cabinet to create a soft glow that highlights the custom finish. For dust-prone areas, gently vacuum the blinds monthly to keep the cabinet’s surroundings clean.
Next, cut cane webbing to fit your door panels, making sure to measure precisely to avoid gaps or overlaps. Glue the webbing securely in place, smoothing out any bubbles or wrinkles, then seal the edges with caulk for a seamless appearance. After applying a shellac-based primer over the entire piece, including the webbing, paint the unit with the same satin or enamel finish. This creates a unified surface that enhances the designer aesthetic.
Finally, add statement hardware like brass handles by drilling fresh holes if necessary. Pre-poke through the webbing to prevent tearing when installing the hardware. Elevate the cabinet’s style further by adding small feet, which lift the piece slightly off the ground and add visual interest. Position lighting accents nearby to highlight the cabinet and draw attention to your custom, designer-inspired entryway storage.

The ultimate acrylic cabinet paint for a “factory-like” finish when refurbishing kitchen and bathroom cabinets, shelving, furniture, trim, and crown molding.
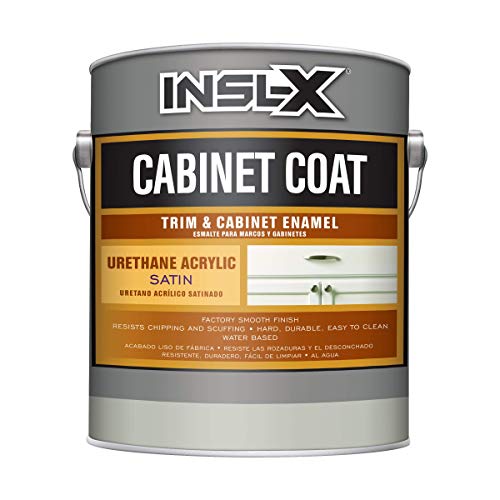
The ultimate acrylic cabinet paint for a “factory-like” finish when refurbishing kitchen and bathroom cabinets, shelving, furniture, trim, and crown molding.

CABINET TRANSFORMATION: Refresh outdated cabinets, vanities, furniture and trim with rich Pure White color and a smooth semi-gloss finish
Vent Your Cabinet to Prevent Moisture and Odor Buildup
To prevent moisture and odor buildup, vent your shoe cabinet effectively. Use slatted doors, perforated shelves, or louver-style panels to allow air to flow freely while keeping dust out. Drilling ventilation holes in the sides or back, or replacing solid lids with mesh panels, enhances breathability immediately. Choose breathable materials like bamboo or rattan instead of plastic to promote airflow and moisture management. Avoid overcrowding shoes to prevent trapped moisture, as this ensures each pair has enough space for air to reach all surfaces.
Position the cabinet at least 2 inches off the floor and away from walls to improve cross-ventilation. If modifying an existing unit, drill small holes for extra airflow. Maintain 1/2-inch gaps between shoe pairs and add silica gel packets inside to absorb excess moisture. Regularly rotate your footwear to promote even air exposure. Avoid placing the cabinet in damp basements unless you have climate control, as excess humidity can lead to odors and mold growth.

Package Includes: 2pcs air vent covers with 8pcs mounting screws;Total Size: 150 x 100 mm/6 x 4 inch; Fit for Install Hole Size: 88 x 118 mm/3.5 x 4.7 inch; Mounting Hole Diameter: 3 mm/0.12 inch; Groove Height: 16 mm/0.63 inch

Package Includes: 2pcs air vent covers with 8pcs mounting screws;Total Size: 300 x 80 mm/12 x 3 inch; Fit for Install Hole Size: 64 x 268 mm/2.5 x 10.6 inch; Mounting Hole Diameter: 3 mm/0.12 inch; Groove Height: 13 mm/0.51 inch

Color: White; Material: Stainless Steel; Width: 29mm/1.13inch; Height: 10mm/0.39inch; Thickness: 9mm/0.35inch; Packing List: 20 Pcs x Circular Soffit Vent