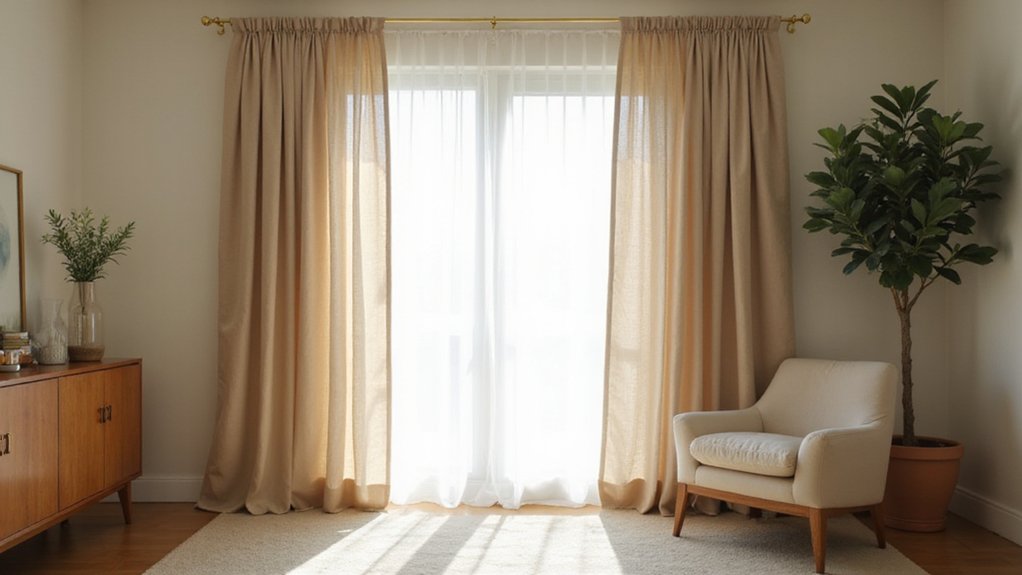
Not sure how to create those elegant pinch pleat curtains yourself? Once you know how to measure, cut, and assemble the fabric, you’ll be able to craft a custom look that fits your window perfectly.
The process involves adding precise pleats and hanging your panels just right for a polished finish.
By following a few simple steps—like sewing on pleater tape and inserting hooks—you’ll turn fabric into beautiful curtains with professional-looking pleats.
Keep reading for all the tips you need to get started.
Cut Your Fabric to the Right Size
To cut your fabric to the correct size, start by determining the total width and length you’ll need for each panel. For the width, calculate your finished curtain width and then add 3 inches to accommodate the pleater tape for side seams. Multiply the number of fabric widths needed by your adjusted cut length (drop), and add one pattern repeat to match the fabric’s pattern. Divide the total window width by two to figure out each panel’s width, then add seam allowances. To prevent any flashing or flickering in your lighting setup, ensure your LED bulbs are compatible with your dimmer switch to avoid incompatible dimmer issues. Use a metal tape measure for the most accurate and consistent results when taking all your measurements. Using gentle suction on a low setting can help remove dust before cutting.
For the length, add 9.5 inches to your desired finished drop to account for top and bottom hems. When planning pleat spacing, aim for pleats that are 5 to 6 inches wide with a 3 to 4 inch base, and start your first pleat 2 inches from the side edge. Each full width of fabric should have five pleats. Subtract the starting distance from the total panel width to find the remaining space for the pleats and fabric. Always square up the bottom edges, cut off selvages, and press a 4-inch double fold at the top to create a neat header. When working with multiple widths, carefully position seams at junctions of pleats for discretion.
Pin and Sew the Pleater Tape in Place
Pin and sew the pleater tape in place. First, position the tape on the back of the curtain with the pockets facing you along the tape’s bottom edge. Ensure the tape is centered horizontally, about half an inch below the top fold. Fold the raw ends of the tape under to keep edges neat. Pin the tape every few inches to hold it securely in position. To ensure accurate pleat spacing, use tape with adjustable pocket spacing to match your desired gap sizes. For professional results, install your brackets using recommended bracket placement to keep the rod level and the pleats hanging evenly. A reliable night light can similarly help you evaluate lighting quality before final assembly.
Make sure the tape stays straight as you work to avoid skewed pleats. Insert pins through both curtain layers to prevent shifting during sewing. Sew along the top and bottom edges of the tape with a straight stitch, using a thread that matches your fabric. Backstitch at both ends to lock your seams in place. If the tape has a middle stitch line, reinforce it with an additional stitch if space permits. Remove the pins gradually as you sew. Once finished, your pleater tape is securely in place and ready for the next step. To hang the curtain, insert curtain rings into the pockets along the tape.
Insert the Hooks to Shape Your Pleats
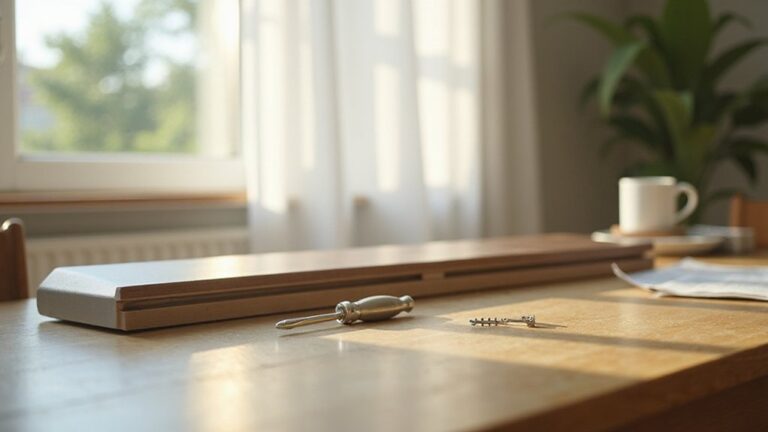
To insert your hooks correctly, start by positioning each one precisely to ensure a clean, uniform heading. Place the sharp point of the hook under the stitches at the back of each pleat until it is fully hidden, making sure it’s level with the top edge of the fabric. Check the front side to confirm no prong shows through. For consistent pleat spacing, skip three pockets between each hook, which helps maintain even pleat formation. Use one prong per pocket when inserting the hook, working down the fabric to pinch the pleat structure securely. Space the hooks four to five pockets apart along the fabric to distribute them evenly. Always choose long-neck hooks with four prongs, sliding them fully into each pocket. To test the length and fit, insert a few hooks in the middle section and hang the curtain temporarily. If necessary, adjust the hook height before proceeding with the rest. If excess fabric remains at the end, add an extra hook to achieve a smooth, tailored look. Consider the design of your workspace, since choosing between a vanity or a desk involves weighing style, cost, and function. Proper lighting remains essential in any room, as ambient light establishes the overall mood and visibility for your space. To ensure a secure hold, use LED strip connectors for attaching the curtain hooks to any integrated lighting.

1. Create Neat Pinch Pleats These curtain hooks for drapes slide into compatible pleat tape or curtain header pockets to create clean, evenly spaced folds and give ordinary curtain panels a tailored appearance

Made of high-quality 304 without rusting, the curtain pleat hooks is sturdy, so that it can be used for a long time.

【Complete 60PCS Set for Curtain Installation】Receive 60 pinch pleat curtain hooks designed for creating neat, elegant pleats on your drapes. Each curtain hook features one main hook with four prongs to securely hold curtain fabric, making these curtain pleat hooks, pleated curtain hooks, and pinch pleated curtain hooks ideal for replacing worn or missing hardware in your home.
Press and Adjust the Pleats for a Clean Finish
Before starting, consider the style, cost, and function of your fabric, as you would when choosing between roller shades and solar shades. To ensure a clean finish, press the fabric flat while still slightly damp to remove all wrinkles before forming any pleats. This step guarantees your pleats start crisp and remain neat. Align each pleat carefully, as you would LED strip connectors to ensure a seamless join. For additional reinforcement, stitch a small hand stitch at the base of each pleat to lock it in place, then press the base with a hot iron to flatten and set the shape. This technique involves sewing just below the buckram to catch all fabric layers for a secure hold. After inserting all hooks, iron the pleat edges to make them perfectly straight before pinning. Use finishing techniques like pressing the pleats slightly after hooks are inserted so they lay together neatly. Finally, check the alignment by ensuring each pleat hangs straight with a level; if you notice any outward-facing folds, turn the fabric over to adjust. Allow the curtains to hang for 24 hours before a final press, giving the folds time to settle naturally. This careful alignment mirrors how a wall sconce requires precise placement to balance light and decor.
Hang Your Curtain Panel on the Rod
To hang your curtain panel on the rod, start by ensuring that the pleats are pressed and hooks are properly inserted. Check that your curtain hardware is level and securely mounted; the rod should sit 4 to 6 inches above the window frame to create the illusion of height. For those seeking alternative window treatments, cellular shades provide a different aesthetic and insulation benefits. Additionally, ensure you use appropriate hardware for your wall type to guarantee a secure installation. If you’re using clip rings, thread them onto the rod before placing it on the brackets. Begin hanging by centering the curtain on the rod, then work outward to keep the spacing even. Use one hook per pleat plus one at each panel edge—so for a curtain with seven pleats, you will need eight hooks in total. Support the weight of the panel with one hand until all hooks are securely attached to the rings or gliders. Fold and bunch the space between each pleat to keep them smooth and aligned. Once all the pleats are in place, gently tug at both ends of the curtain to help the fabric cascade evenly and create a polished look. For a bedroom, a dresser with 9 drawers offers ample storage to complement your window treatment. For a more dramatic effect, consider wiring LED strip lights to illuminate the curtain rod from above.