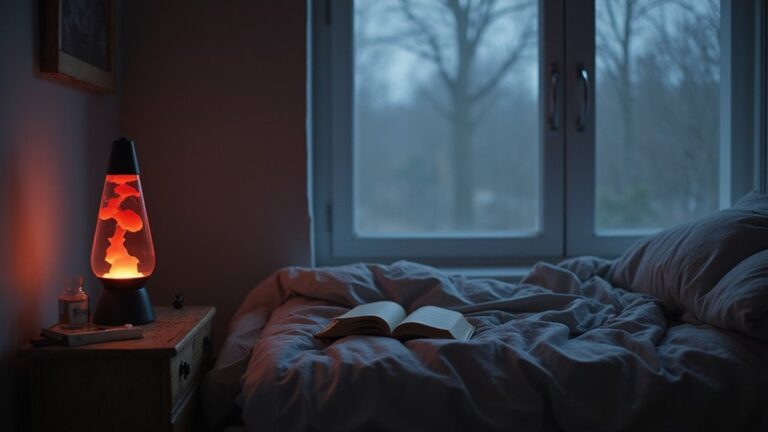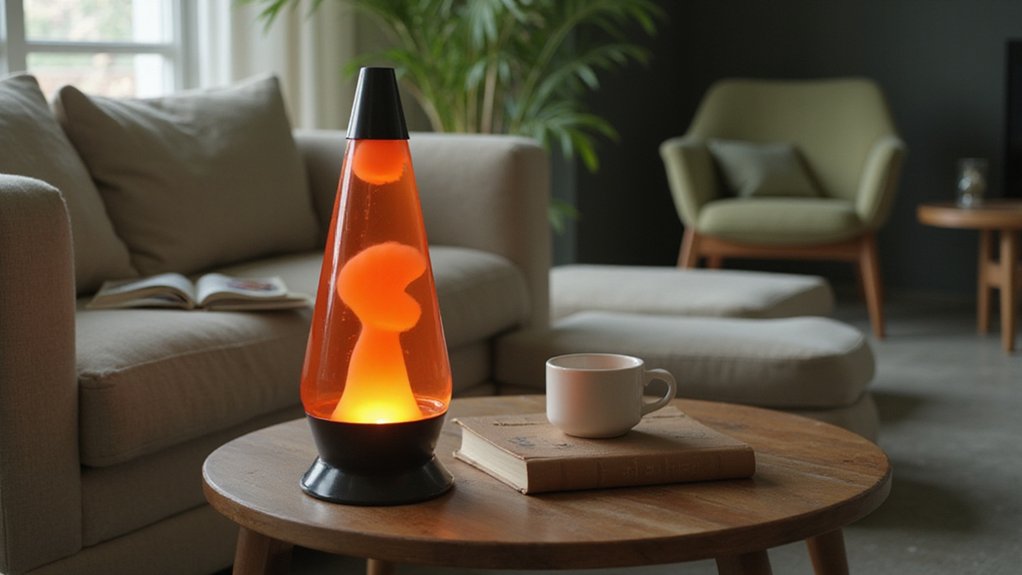
Wondering how long it takes for a lava lamp to start flowing? Most standard lamps need about 2 to 4 hours to warm up and get going.
Smaller ones can be ready sooner, while larger lamps might take longer, especially if they’re brand new.
Keep reading to find out exactly what influences the heating time and how you can speed things up.
Why Lava Lamps Need Time to Warm Up
Lava lamps need time to warm up because heat transfer from the bulb to the glass, then to the wax and liquid, is a slow process. This delay is due to thermal inertia—the material’s natural resistance to rapid temperature change. As the wax absorbs enough energy, it begins to melt, but heat dissipation through the glass slows this process further. Another factor is that inconsistent electricity supply or flickering in the voltage can disrupt the steady heat needed for proper melting. During this warm-up phase, you’ll notice stalagmite shapes forming, which indicates the lamp hasn’t yet reached thermal equilibrium. The coil at the bottom also requires time to heat up and help the wax settle evenly. For a new bottle, this initial warm-up can take up to three hours. After several uses, heating times typically shorten as the materials adjust through repeated thermal cycles. Until the wax melts and the lamp stabilizes, patience is essential—instant flow just isn’t possible. Wrapping the lamp in aluminum foil can significantly speed this process by acting as an insulator to boost heat retention. Considering the cost of electricity, a lava lamp is a more energy-efficient choice than many desk lamps that use higher-wattage bulbs. For a more permanent solution, using DIY curtain rod materials as a heat shield can also help retain warmth around the base.
Standard Warm-Up Time: 2 to 4 Hours
The initial warm-up time for a standard lava lamp typically ranges from 2 to 4 hours. Smaller 11-inch models heat up in about 1 to 2 hours, so expect the first blobs to move sooner. Medium-sized lamps, around 16 to 17 inches, generally need 2 to 3 hours to start flowing. Larger lamps, from 20 to 27 inches, can take 3 to 4 hours or longer before the lava begins to move. The specific lava density and heater wattage significantly influence this timing. For example, a Mathmos lamp may start flowing in just 1 to 1.5 hours, while a larger Column model might need 4 to 5 hours to reach full flow. The first warm-up is usually the slowest, so it’s common to wait up to 5 hours with a new bottle. Subsequent warm-ups tend to be faster as the wax and water settle into your environment. You will typically notice stalagmite shapes forming within the first 1 to 1.5 hours, indicating heating activity before the lava achieves a steady flow. This process can be contrasted with the way curtain rod brackets provide simple, immediate support, whereas a lava lamp requires patience to function. For context, a 27 gallon storage bin is significantly larger than any lava lamp, as those bins typically measure around 30 inches long by 18 inches wide by 16 inches deep.

GORGEOUS LIQUID LAMP- ENHANCE THE AMBIENCE OF ANY ROOM: Turn the lights off and be amazed at the magical qualities of this lamp. The light illuminates the beautiful yellow wax in the lamp, and as it heats it up, the wax floats to the top and then slowly sinks back down. The wax keeps rising and falling, changing colors from a yellow to a beautiful green, creating mesmerizing shapes, and turning any room into a magical wonderland.

✨CREATE A CALMING AND RELAXING AURA: Ever want to be transported to another magical place? Turn on the Jambo Lamp and be mesmerized and calmed by the wax as it rises and falls and creates beautiful shapes and flows. This lamp is great for mindfulness, relaxation, and to help you just be.
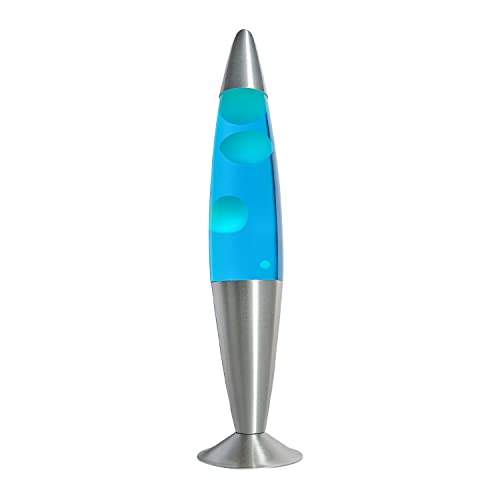
HOW IT WORKS?-1.Easy to set up and turn on the lamp 2.Colorful effect is reflected on the wall 3.Bulb warms up the wax 4.Waxs melting and floating 5.The wax will sink to the bottom after it cools down. 6.Enjoy calming, soothing,relaxing ambiance.
How Room Temperature Affects Heating Speed
A room’s temperature significantly impacts how quickly your lava lamp heats up. At temperatures below 68°F, the wax becomes much thicker, making it harder for the heat to melt and flow. The colder air and higher humidity increase electrical resistance in the bulb, causing it to work harder and prolong the warming process. In such conditions, it can take 2 to 3 hours for visible blobs to form.
In contrast, a room maintained around 75°F allows the bulb to transfer heat more efficiently. This reduces electrical resistance and speeds up the melting of the wax. You can typically see the flow within about an hour. To ensure optimal performance, avoid placing the lamp in direct sunlight, which can overheat it and disturb the temperature balance. For best results, consider choosing a night light designed for stable, consistent warmth to minimize heating delays. Fluctuations in room temperature can reset the warming process, often requiring 3 to 4 hours for the lamp to stabilize again. For the fastest results, position your lava lamp in a stable, warm spot away from drafts.
Mini vs. Giant: Size Changes the Wait
A giant lamp requires about 4 to 6 hours to fully heat. Its larger volume of wax and liquid creates significant thermal inertia, meaning you can’t rush the process. For those seeking to complement their space, a best closet rod can similarly organize your area while you wait. The increased size allows for more dramatic color variation and striking design aesthetics but sacrifices speed for visual impact. Choosing the right size depends on how much patience you have; the bigger the lamp, the longer you need to wait before the flow begins. With repeated use the heating time shortens as the lamp retains warmth more efficiently. For organizing a waiting area, a DIY storage bin rack offers a budget-friendly solution to keep supplies tidy. Just as with fabric roller blinds, regular dusting ensures your lava lamp remains free of buildup that can cloud its glass and obscure the visual effect.
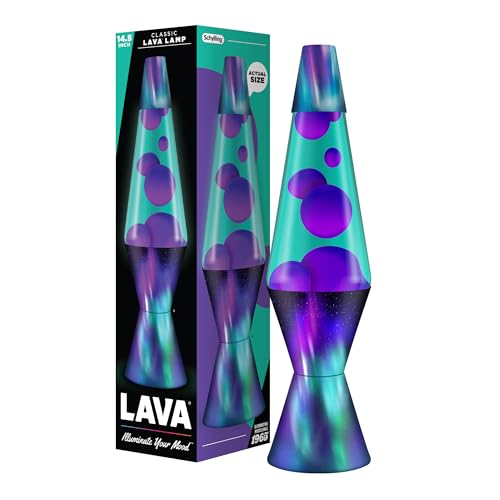
Beautiful Motion Lamp: Bring the relaxing colors of the Aurora Borealis into your life. Watch the colorful purple lava drift to the top of the lamp before it cycles back to the bottom through the teal liquid in a soothing, calming flow.

🗻GORGEOUS DECAL PATTERN: Enhance your space with the Jambo Sunset Liquid Lamp, featuring rich shades of orange, yellow, and red that flow together like a beautiful sunset glow. The intricate decal design adds style and charm, while the gentle motion of the wax creates a soothing, relaxing atmosphere. More than just a lamp, it’s a beautiful statement piece that brings warmth and tranquility to any room.

Unique Slim Waist Design: Stand out from ordinary corner lamps with our artistic hourglass-shaped floor lamp. Crafted with high-quality Tyvek fabric, the shade offers a soft, non-glare light that creates a warm and artistic ambiance, protecting your eyes while adding a touch of modern elegance to your home
First-Time Use: Why New Bottles Take Longer
First-time use requires patience because new bottles start with a rigid, fully solidified wax block that must absorb significantly more heat before it can flow. Modern wax formulations used in lamps tend to be stiffer and need higher thermal energy to melt compared to older types. Additionally, the wax in new bottles is denser due to settling and solidifying during storage, creating a mass that resists initial melting. Unlike antifreeze, the wax is water-based but still takes longer to heat up. Since the wax hasn’t been “cycled” yet, it forms a continuous solid block rather than pre-separated blobs, meaning you might wait 2 to 6 hours for the first flow. Reused bottles, by contrast, typically start flowing within 1 to 1.5 hours. To ensure proper heat distribution, check that your lamp is placed on a surface with standard width dimensions that allows for unobstructed airflow around the base. To speed things up, ensure the coil remains at the bottom of the bottle, where heat transfer is most efficient. For a successful initial setup, proper harness placement ensures the pleats remain uniformly drawn and aligned with the rod. Applying a smart closet organizer approach to your lava lamp setup can help streamline the waiting area for the new bottle.
6 Signs Your Lava Lamp Is Fully Ready
Once your lava lamp has been heating for at least two hours, six clear signs indicate it’s fully ready. First, the wax forms distinct, rounded blobs that rise smoothly without sticking to the glass. These blobs should break apart into separate pieces rather than forming continuous columns. The top layer of wax must be fully melted and flow steadily without long pauses, showing a smooth, consistent movement. Your lamp’s liquid should remain clear and free of cloudiness. You’ll notice subtle hue differences as the wax shifts through various phases, indicating proper temperature and fluidity. Confirm that your lamp is functioning correctly in your setup—LED bulbs are not always compatible, so check that your bulb wattage matches the base sticker. Lastly, the lamp base should feel warm but not dangerously hot. Recognizing these signs ensures your lava lamp is at its optimal readiness to create those mesmerizing, waxy flows.
Lamp Not Flowing After 4 Hours? 5 Fixes
If your lava lamp isn’t flowing after four hours, try these five fixes. First, check its placement. Move the lamp away from drafts, vents, or direct sunlight, and keep the room temperature between 18°C and 24°C. A stable environment helps the wax heat evenly. Next, examine the bulb’s wattage, ensuring it matches the sticker near the socket. If it’s too weak, replace it with a slightly higher wattage bulb and consider adding a dimmer switch to control heat. To retain heat, wrap the top third of the bottle with aluminum foil for 6 to 8 hours—this helps trap warm air and encourages flow. If the coil inside the lamp isn’t positioned at the bottom, gently rock or tilt the lamp to shift it downward. Finally, if the lamp has overheated, turn it off and let it cool completely before turning it back on in short, controlled cycles. Avoid using LED lights or decorative covers that block heat, as these can impede the wax’s movement. Use the correct bulb and ensure good airflow for optimal results. For reliable timing, consider using a digital clock with alarm to track heating cycles accurately. Keep in mind that most bottles last around 2000 hours before their flow quality begins to deteriorate. For long-term storage, consider shoe racks that keep items organized and accessible while avoiding exposure to direct heat or sunlight. When choosing a nearby surface to place your lamp on, a storage bench or ottoman can provide both a stable platform and hidden space for spare bulbs or accessories.

Quick Preheat: The E17 lava lamp bulbs generate a large amount of heat and heat up quickly, The heat of the 25W lava bulb is evenly distributed to your lava lamp. The stable heating lamp glitter bulb is designed with high efficiency to reduce power consumption and provide long-lasting brightness

PERFECT HEAT FOR OPTIMAL WAX FLOW: Engineered specifically as a lava lamp light bulb replacement, this 30W R39 reflector bulb generates the precise heat required to melt wax evenly. Say goodbye to sluggish blobs; our lava lamp bulbs ensure your lamp reaches the ideal temperature quickly for mesmerizing, continuous motion.

Purchase Note: This E17 S11 bulb socket may not fit all vintage lava lamps. Be sure to check your lamp's model and specifications before purchasing
How to Speed Up Heating Safely
To speed up the heating of your lava lamp safely, you can optimize the environment and adjust the equipment. Pre-warm the room to around 22–25°C using a space heater directed near the lamp base. This slight increase in ambient temperature helps the heat transfer into the lamp more efficiently. If your lamp allows, replace the standard 25W bulb with a 40W or 50W halogen bulb, but always check the maximum wattage supported to prevent damage. A higher wattage bulb can make the lava glow more intensely by changing the color temperature but reduces bulb lifespan, so use a dimmer switch and lower the power once the lava begins to flow. Wrapping aluminum foil around the glass globe can trap additional heat, helping the lava heat faster. Remove the foil once the lava starts to flow smoothly. Ensure the lamp is placed on a solid, non-cold surface like a wooden table, away from drafts or cold surfaces. Proper foil placement also helps the lamp heat up faster by providing improved insulation. For best results, the curtain rod bracket placement should be level and sturdy to avoid any tilting of the lamp. Avoid shaking or moving the lamp during warm-up, and confirm that the metal coil inside remains at the bottom of the lamp for optimal heat transfer. Selecting the correct curtain hooks type can also influence the stability of the lamp’s placement on a rod. Using window film designed for privacy can help warm the room by reducing heat loss through the glass.

G9 Halogen oven light bulb, Rate voltage: 120~130 Volts

ENERGY SAVING AND DURABLE: 40 Watts, 2000 Lumens High Output. Voltage: 110V, 120V, 130V. Average Household Energy Costs is $4.8 per Year. 2,000 hours long lasting life, saving you the cost of frequent bulb replacement.

ENERGY SAVING : Average Household Energy Costs is $4.8 per Year
Simple Habits for Faster Warming Every Time
Keeping your lava lamp in a consistently warm environment speeds up its warm-up process. Cold rooms, drafty windows, or chilly basements cause a 1 to 3-hour delay in reaching optimal flow, so it’s best to place the lamp where temperatures stay steady. Avoid placing it near air vents or open windows that let in cold drafts. For a more permanent solution, you can consider mounting the sconce with proper hardware to ensure stable placement. Maintaining a warm, stable temperature helps the wax and liquid inside settle more quickly, reducing wait times before you can enjoy the mesmerizing blobs. For even more consistent temperature control, consider installing a dimmer switch to fine-tune the heat output.
Brand Differences: Mathmos, Rokit, and Lava® Compared
Heat-up times vary significantly across brands, influenced by the design and size of the lava lamp. Mathmos models are known for their quick warm-up periods: the Evo reaches optimal flow in just 40 to 50 minutes, making it suitable if you want immediate visual impact. In contrast, the Mathmos Column takes about 4 to 5 hours to fully warm up, requiring more patience before you see the lava move smoothly. Rokit lamps warm up within 2 to 2.5 hours, initially forming stalagmite shapes as the wax heats unevenly. Lava® branded lamps generally take around 1 to 1.5 hours to be ready, aligning with industry standards. Larger models from any brand tend to need extra warm-up time, sometimes extending beyond the typical periods, so planning for patience is essential for bigger sizes.

【Incandescent Replacement Light Bulbs for Wax Melt Warmer】: This G50 spherical incandescent bulb uses filament heat technology to generate the necessary heat for melting wax cubes. By emitting heat through the bulb, it provides flameless, smokeless operation and is an ideal heat source for wax candle lamps, fragrance warmers, wax burners, decorative vanity lights, sconces, and chandeliers.

Candle Warmer Replacement Bulb:This candle warmer bulb uses filament heating technology to generate the necessary heat for melting wax melts. By radiating heat from the bulb, it achieves a flame‑free, smoke‑free, and fume‑free operation, effectively eliminating fire hazards. It is an ideal heat source for melting wax melts.

【Versatile Replacement for Warmers & Lamps】 – This 6‑pack of 25 watt light bulbs is specially engineered as the ideal candle warmer lamp bulb and wax warmer bulbs for full‑size Scentsy warmers, candle warmer lamps, and wax burners. Whether you need a reliable candle warmer light bulb or a direct replacement for scentsy light bulbs, these bulbs deliver consistent heat and brightness to melt your favorite wax evenly and efficiently.