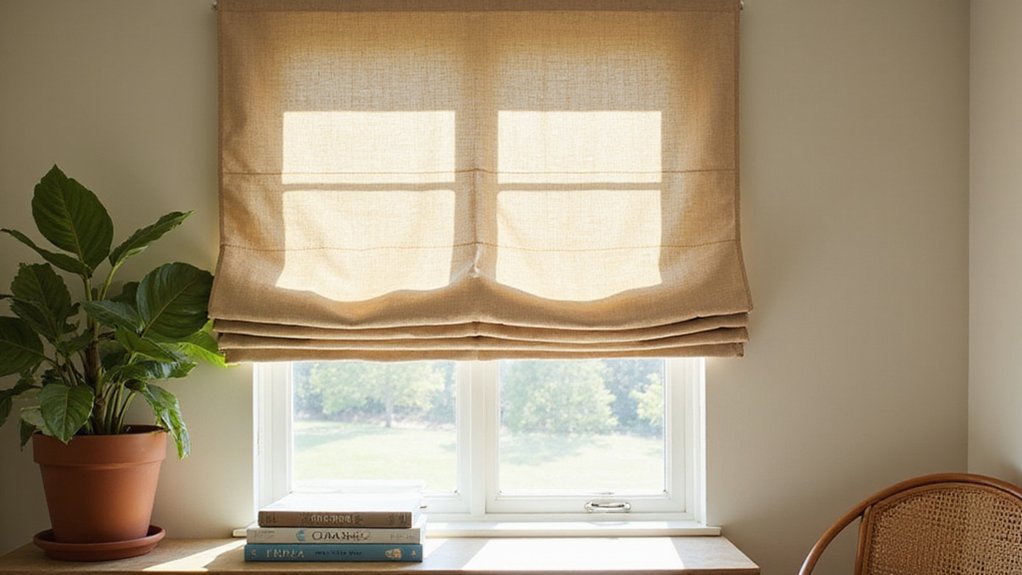
Want to turn an ordinary mini-blind into a stylish Roman shade? The process is simpler than you might think, and you can customize your shade to fit perfectly. By reworking the slats and adding fabric, you’ll create a unique window treatment that adds both style and function to your space.
In this guide, you’ll learn how to disassemble the blind, space and sew the fabric, and install everything for a smooth, professional-looking result.
Ready to get started? Let’s dive into the steps.
Convert a Vinyl Mini-Blind for Your Roman Shade
To convert your vinyl mini-blind into a roman shade, start by disassembling the blind completely. Carefully snip off the heavy bottom slat by cutting all the attaching strings, making sure to preserve the main lift cord. Snip the ladder-shaped strings, then pull off every remaining slat and disengaged ladder string to isolate the top mechanism. Before sliding off excess slats, remove all plastic plugs from the pull cord ends. If the blind is longer than your window, tie a knot on the lift cord to adjust the tension appropriately. When choosing your final setup, consider whether a vanity or desk best suits your room’s layout and storage needs. To ensure the new shade hangs evenly, it helps to mount grommet curtains with the same spacing principles used for commercial blinds. After removing excess slats, spacing them 8 inches apart provides functional support for the new shade. Additionally, tension adjustments can prevent the shade from sagging, much like fixing LED bulb flicker requires proper electrical connections.

Clear Horizontal Mini Blind Slat Repair Kit

Decorative & Practical: The blind repair tabs of pure white color and matte texture are elegant and slim, perfect to blend seamlessly with any window decor. Unassuming color and profile let them hide in the blinds, don’t affect the overall aesthetic of window blinds.

Elegant and Practical: Our repair tabs are slim and elegant, seamlessly blending into various window decor. Their discreet design hides within the blinds without affecting the overall aesthetic, while providing powerful repair functionality.
Grab These Materials and Tools for the Job
To convert a mini-blind into a roman shade, you’ll need a variety of hardware, sewing tools, and fasteners. Start with a 1×2 or 2×2 wooden board for mounting the shade—these provide a sturdy base to secure the fabric and mechanisms. Pulleys or eye screws are essential for cord routing, while a cord lock mechanism helps control the shade’s height. The dowel spacing should generally be 8 to 12 inches apart for proper fold formation.
For fabric work, gather your sewing machine, iron, pins, and scissors. You’ll also need lining fabric to add opacity or a refined finish, along with dowel rods and sewing rings to create the pleats and folds. When it comes to assembly, a staple gun, hammer, drill, and screwdriver will help attach everything securely. For consistent performance, consider night light quality when selecting a cord lock mechanism that operates smoothly. For additional guidance on choosing the right window covering, review the best door curtains to compare top-rated options that suit various styles. Proper material storage is crucial—keep your dowels and fabric flat to avoid warping and creasing. Apply a hanging sweaters technique to maintain the fabric’s shape during storage, ensuring it stays wrinkle-free. Practice good tool maintenance by cleaning your sewing machine after each use and sharpening your scissors regularly. This keeps your tools performing reliably throughout the project, saving time and effort in the long run.

Sufficient for replacement: you will get totally 4 pieces (2 sets) roman shade wall l brackets in one package, enough quantity for meeting your daily demands; They can surprisingly work well

Package Includes: You will receive 1 roll 2mm Roman Curtain Cord, 50m in total length. The ring size is about 14x3mm, inner diameter is 8mm with 100 pcs. The roman shade cord lock size is 36x45x19.5mm with 2 bags. Sufficient for daily use and replacement

4 Sets Available: Size 36×45.5×20mm. This Roman shade hardware kit includes 4 complete sets (each containing 1 bamboo cord lock and 2 swivel pulleys) of premium-quality components, ensuring smooth and secure operation. Each set allows for effortless adjustment, making it ideal for multiple blind installations or replacements
Measure Your Window for a Perfect Roman Shade Fit
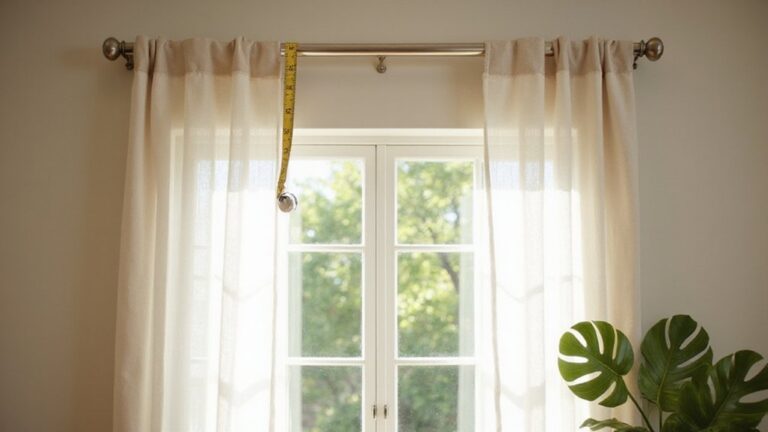
To measure your window for a perfect roman shade fit, determine whether you’ll use an inside or outside mount, as each requires a different approach. For an inside mount, precise measurements are essential. Start by measuring the width horizontally at the top, middle, and bottom of the window frame. Use the narrowest of these measurements, round it down to the nearest eighth of an inch, then subtract a standard 3/8 inch to ensure the shade fits inside the frame smoothly. For height, measure vertically at the left, center, and right, choosing the longest measurement and rounding up. Confirm your window’s reveal depth to make sure the shade sits flush inside the window opening. Record your measurements to the eighth of an inch to avoid fitting issues. Use a metal tape measure for the most accurate readings, as fabric tapes can stretch over time.
For an outside mount, measure from the outside edges of the trim on the left and right sides, then add a total of three inches to each side to create a broader coverage. For height, measure from 8 to 9 inches above the window opening and extend the shade 1.5 inches below the trim to ensure full coverage and a clean look. Always write down your measurements immediately to avoid errors and ensure accuracy.

Size: 1-1/2"x1-3/4"(38x45mm) for the bracket and the wingnut screw length is 1-1/2"(38mm)

【The Size You Will Get】 The length of the wingnut screw is 1.31" / 33.38mm, the length of the Roman Shade L Bracket is 1.89" / 48.08mm. It is very suitable to match some wooden blinds, Roman blinds and other similar style curtains

Practical function: The curtain kit can ensure that the curtain will not fall down, provide the extra support required for the window, easy to use, fast, is a practical good thing for the curtain kit.
Take Apart the Blind Without Breaking the Hardware
Raise the blinds fully, tilt the slats to a horizontal position, and remove the valance. Lock the cordless models in the raised position to prevent the mechanism from moving during removal. Use a flathead screwdriver to gently pry open any tabs or clips holding the headrail in place—apply even pressure to avoid bending or breaking them. Hold the headrail firmly from below, push it toward the window to loosen it off the brackets, then rotate it toward you to free it completely. When deciding between a lamp and a table for your new shade, consider style, cost, and function to ensure the best fit for your space. Work slowly and one bracket at a time to prevent dropping the unit or damaging the hardware. Keep a hand on the headrail until it is free, ensuring control throughout the process. If disposing of the blind, set it aside for disposal or reuse. For stubborn adhesive residue left on the window, use a heat gun or hair dryer to soften the glue before scraping it away. If you plan to reuse the fabric, you can vacuum it using the brush attachment to remove dust and debris.

With dimensions of 3.94 × 3.15 × 0.71 inches, this wide flat flat head screwdriver is lightweight and easy to carry, blade tip width 10 mm thickness 2 mm, please check the size you need before purchasing

Alloy-steel blades are heat-treated for strength and durability.

ENHANCED ERGONOMICS: Our Magnetic Screwdriver Set features ergonomically designed handles made of TPR material, providing optimal comfort and reducing hand fatigue during extended working periods. The handles' textured pattern ensures a secure grip, minimizing the risk of slipping and enhancing overall control
Cut Your Fabric and Lining to the Right Size
To prepare your fabric and lining for sewing, start by cutting them to the correct dimensions. Add 4 inches to each side of your finished width to allow for a professional-grade seam allowance. For the length, add a total of 10 inches to account for the top wrap, bottom hem, and extra seam allowance. When matching your fabric pattern, ensure the pattern repeat aligns at each cut line to maintain a consistent appearance. For a different craft project, precise measurements are also essential when creating a DIY lava lamp.
For the lining, cut it 1 inch narrower than the final shade width to hide the raw edges and create a clean look. Trim 1.5 inches off each side to match this narrower width, but keep the lining length the same as the face fabric for vertical consistency. This helps hide raw edges and coordinates the colors between the fabric and lining. Medium weight, tightly woven fabric provides better stability for the shade structure. For buyers who prefer a simpler installation, top roller blinds are an excellent alternative to sewn shades. The same careful planning applies when following a step-by-step how-to for installing vertical blinds.
Finally, increase the finished height by 6.5 inches to accommodate a standard lining on the shade. Before cutting, check that your fabric is perfectly square, adjusting for pattern placement if necessary. Ensuring accurate measurements and pattern alignment now will make sewing easier and results more professional.
Sew the Shade Body: Seams, Liner, and Dowel Pockets
To sew the shade body, start by aligning the lining with the face fabric. Position the lining with a 3-inch margin on each side, 3 inches from the top, and 5 inches from the bottom. Press the fabric and lining to set these margins. Fold 1.5 inches of the face fabric over to the back on each side, then fold another 1.5 inches over the first fold and press again to stabilize the fabric. Sew a 0.5-inch seam allowance around both sides and the bottom, with fabric face sides together. Clip the corners carefully to allow smooth turning. Turn the shade right side out and press flat, making sure the 1.5-inch wrap folds are crisp. Hand-sew the lining to the back side of the seam to reinforce it. For a more advanced automation, consider using DIY automated roller blinds principles to motorize the lift mechanism instead of manual cords. When sewing dowel pockets, consider using a pinch pleat technique to create evenly spaced depth for the rods. A pendant light installation similarly requires careful alignment and precise measurements to ensure a level finish. Lastly, sew horizontal dowel pockets at even intervals across the width of the shade to hold the dowel rods securely.
Space Slats and Dowels for Even, Clean Folds
To ensure your folds land evenly, set your dowel spacing by dividing the total length of the plank by the number of holes plus one. For example, if your plank is 48 inches long and you plan to drill five holes, divide 48 by six, resulting in an 8-inch spacing between holes. This calculation guarantees all holes are evenly distributed from edge to edge. Subtract total diameter of holes from overall length when marking multiple elements, then divide the remainder by the number of spaces for precise results. A purse organizer can benefit from this same careful spacing method to keep compartments neat and balanced. A similar principle applies to window film that is designed to be seen out but not in, ensuring an unobstructed view while maintaining privacy.
Use a tape transfer technique for precise fold alignment. Lay masking tape sticky-side up on your work surface, then mark the hole locations along the tape at the calculated intervals. Once marked, press the tape onto your second part, transferring the hole positions exactly where they need to be. This method helps keep your measurements consistent, preventing uneven folds.
Standard quarter-inch dowels work well for supporting the folds. Cut each dowel to the exact length needed using a jig—this ensures uniformity across all supports. Before gluing, sand any rough edges for a clean fit and easier insertion. Apply glue into the dowel pockets and onto the dowels themselves. Insert the dowels into the pockets and clamp them in place, making sure they are aligned correctly. This invisible math and careful process ensure your folds are smooth and evenly spaced, without the need for later adjustments.
Attach the Bracket and Glue Slats Correctly
To attach the brackets and glue the slats correctly, start by measuring 3 inches from each side of the window frame to determine your bracket placement. Ensuring brackets are level and evenly spaced is crucial for smooth operation. Use a level tool to confirm they are perfectly aligned. Verify that the brackets do not interfere with the control cords; if you miss the studs, use drywall anchors for secure attachment.
Next, remove the stopper notch from the top bracket to allow fabric wrapping. Notch the fabric edge so it wraps neatly around the bracket end, creating a clean finish. Apply a decoupage medium to both the bracket and fabric edge, then wrap the fabric tightly around the bracket. Secure the fabric in place with clothespins until the medium dries completely. Ladder strings must be snipped away on both sides before wrapping, leaving the thicker cord intact.
When gluing the slats, only apply glue along the front and back edges. Mark their positions beforehand to ensure each slat is spaced evenly at 7 inches apart. Roll the fabric edges over the slats for a tidy look, then clamp them with clothespins to ensure strong adhesion. Allow the glue and fabric to set fully before proceeding, and wait for the top bracket bond to dry completely before moving forward.
Install Rings and Thread the Cord for Smooth Operation
Start by threading the cords from the bottom ring upward, one per vertical row. Pass each cord through every ring along its path, then through the eye hook at the top. After threading through the rings and eye hook, run all cords across the top through either a pulley or a cord lock mechanism to facilitate smooth operation. Before pulling the cords through the top mechanism, secure them to the bottom ring with a knot. Ensure you maintain consistent vertical ring spacing of 5 to 12 inches between rings for a structured appearance. For a clean look, consider using wood shoe rack principles to organize the lower portion of the shade. Once the cords are in place, measure the length needed and tie a second knot at that mark to lock the cord and prevent slippage. To ensure secure tension, use two knots per cord: the first for securing at the bottom ring, and the second at your marked position. This method guarantees consistent operation and minimizes the risk of cords slipping during use. When wiring the cord lock mechanism, apply the LED strip wiring technique of securing connections to prevent accidental dislodging.
Fix Sagging, Sticking, and Uneven Folds Fast
To fix sagging, sticking, or uneven folds in your blind, start by diagnosing and adjusting the line locks. First, fully lower the shade to release tension. Then, slide each lock up or down its lift line until all are level with each other. This realigns the folds and ensures smooth operation. Next, check the cord tension by loosening the loose screws on the spool, pulling the spool sideways so the cords sit square, and then tightening the screws securely. A loose or off-center spool often causes the cords to misalign, leading to a crooked blind. Reattach any loose rings by threading a zip tie through a bamboo piece and the ring, pulling it tight, and trimming excess. For wrinkles, either iron the fabric or use a wrinkle releaser spray. To straighten twisted fabric, gently tug on it to evenly distribute the material. Also, verify that the bottom bar is level and that the cords run cleanly from the headrail to the bottom bar. Following these steps will help you quickly fix sagging, sticking, and uneven folds in your blinds.

Wide Compatibility & Universal Fit: This cord and chain tensioner is designed to be compatible with major blind brands including Hunter Douglas, Levelor, Bali, Graber, and many others. Perfect for fixing loose cords or chains on various window coverings.

【Complete 4 Sets Clear Blind Cord Holder Kit】:This kit includes 4 transparent P-clips, 4 matching screws, and 4 expansion tubes, offering everything you need to secure and organize blind cords. Perfect as a blind cord holder, it keeps control bead chains tidy and prevents tangling or loosening.

🪟 UNIVERSAL COMPATIBILITY This universal shade blind cord tension device works with most major blind brands including Hunter Douglas, Levolor, Bali, Graber, and many others. A perfect blind cord holder for fixing loose cords or chains on various window coverings.