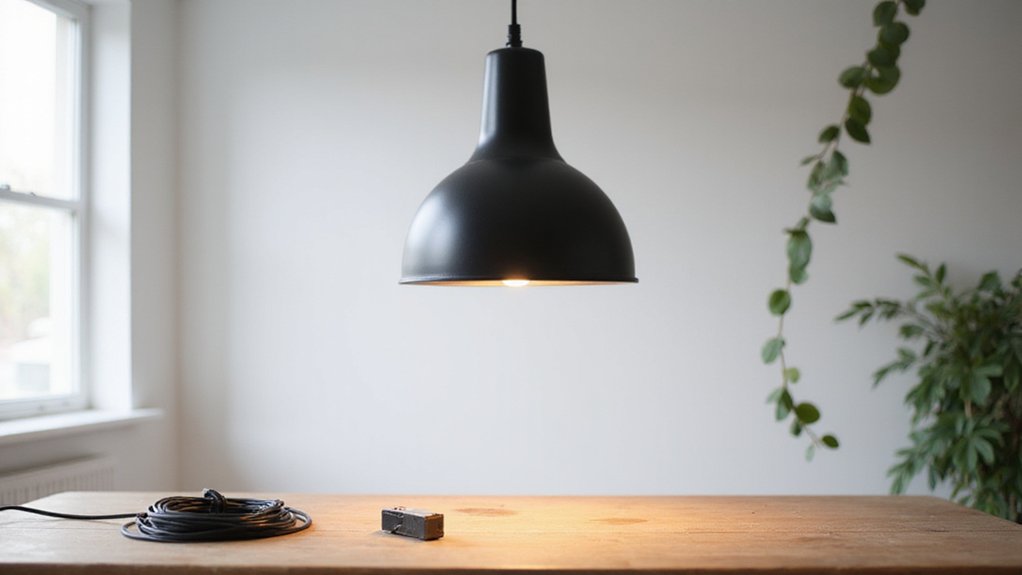
Thinking about installing a pendant light and unsure where to start? Getting the wiring just right ensures your new fixture will be safe and functional.
You’ll learn how to turn off the power, connect the wires securely, and mount your light confidently.
Follow these simple steps to light up your space with peace of mind.
Turn Off the Breaker First: No Exceptions
Always turn off the specific breaker controlling your room or light fixture before doing any electrical work. This step is non-negotiable for safety. First, locate the correct switch in your consumer unit. Flip it while the light is still on to confirm it controls that circuit. If you’re unsure, switch off the main breaker instead.
Next, verify the power is truly dead. Use a non-contact voltage tester and hold it near the ceiling wires. Test each wire individually to ensure no electricity remains. Don’t rely solely on the wall switch—switch it off only after confirming the breaker is off. Also, inform everyone in the house that the power has been shut down. This helps prevent accidental re-energizing the circuit. Never touch the wires until you are certain the circuit is de-energized. Treat this step with the same care you would choosing the perfect fit for a room, weighing style and function for safety. When installing in a drop ceiling, ensure the can light housing is rated for contact with insulation and ceiling panels.
Common causes like LED driver incompatibility can produce flickering after installation, so checking compatibility with your fixture is a smart precaution before wiring.
Gather These 7 Tools Before Wiring a Pendant Light
You need seven essential tools before wiring a pendant light. First, start with a voltage tester to confirm the power is off—this step is critical for safety. Insulated gloves and safety glasses provide protection from accidental shocks and debris. Use a non-conductive ladder to reach ceiling junctions safely. Wire strippers and wire cutters prepare your cord by removing insulation and trimming wires to size. Needle-nose pliers help twist wire ends securely for solid connections. Wire nuts and electrical tape ensure safe, insulated connections. A screwdriver set, including both Phillips and flathead screwdrivers, is necessary to mount brackets and fixtures. Finally, a level** helps ensure your pendant hangs straight, creating a professional look, just as using a level when hanging a curtain rod keeps the installation even and aligned. Gather these seven tools beforehand to work efficiently and safely. Additionally, using a voltage meter to verify power is off at the junction box provides an extra layer of safety before starting the electrical work. Before hanging the light, measure the mounting height to align with your room’s proportions, just as curtain rods require careful measurement for proper placement. When selecting your pendant light, consider how storage boxes and baskets** might organize nearby tools and supplies for a clutter-free workspace.
Cut and Prep the Cord for Your Pendant Fixture
To prepare your cord for hanging your pendant fixture, start by determining the desired hanging height. Mark the cord with tape at six inches longer than the final length needed to allow for wiring clearance. Then, add masking tape at the 1 1/4-inch mark from the wire tip to prevent the fabric from fraying when you cut. Use sharp wire cutters to make a clean cut just below the masking tape.
Next, slide a utility knife along the braided cover of the cord to score it lightly around the masking tape. Twist and pull off the outer housing to expose the inner wires. Carefully strip about two inches of rubber cable insulation from each conductor, ensuring you do not nick the copper strands. Remove only 0.25 inches of the protective sleeve at the tip for a clean connection. Twist the exposed strands to keep them organized. Secure all connections tightly to prevent issues by ensuring the exposed strands are twisted firmly and free of loose wires. For a well-organized workspace, consider using storage bins for tools to keep your cutters and tape accessible. When selecting your tools, prioritizing high-quality fixtures can improve overall installation durability. For a similar balance of storage and decor, you might also consider how storage benches offer concealed organization in a living area.
Before proceeding, apply super glue or tape at the base of the exposed wires to prevent the cloth covering from sliding. This step helps with easier mounting later. Double-check that you have left enough slack to connect securely to the junction box without tension, ensuring a safe and proper installation.
Feed the Cord Through the Canopy and Ring
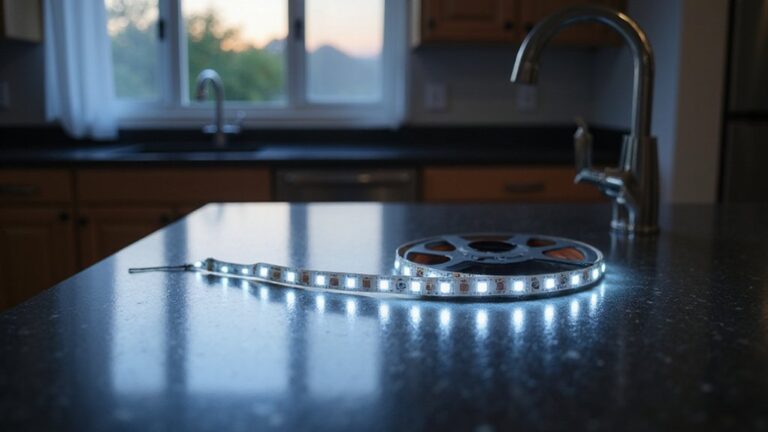
To feed the cord through the canopy and ring, start by leaving at least six inches of excess cord above the canopy for wiring and knotting. Slide the cord grip and socket cover over the cord first. Then, thread the cord through the top hole in the canopy ring until the tape you applied is hidden. For proper canopy alignment, pass the cord through the shade, coupler o-ring, and coupler if you are using a chain or cord-hung model. For chain pendants, thread both the chain and branch wires through the screw collar ring and canopy. If you need to adjust the cord length, trim it at this stage, but always retain those six extra inches for future adjustments. For a clean installation, use picture hanging wire to help keep the cord organized and out of the way while you work. Lastly, check that the cord passes through the mounting unit pipe nipple when attaching the fixture to the bracket. For safety, remember to turn off electricity before working on any ceiling wiring. Unlike window coverings such as cellular shades, pendant lights offer a different balance of style and function for your space. For a more modern and flexible lighting solution, you might also consider installing LED strip lights along under-cabinet areas or coves.
Install the Ceiling Bracket for a Flush Pendant Light Fit
Start by turning off the power at the circuit breaker and verifying it with a voltage tester. Next, position the new ceiling bracket over the junction box, making sure it’s centered to avoid contact with the drywall. Mark the bracket’s mounting holes about 1.5 to 2 centimeters from the electrical hole, aligning it properly for your desired pendant length. Ensure the bracket orientation is correct, with the hole in the middle aligned properly. Drill into the marked spots using the appropriate drill bit for your ceiling material. Insert the included wall plugs fully by tapping them in flush with the ceiling surface. Then, secure the bracket to the ceiling with screws, tightening them until snug but not overly tight to prevent damage. Insert screws `B` into the bracket with their heads facing downward, preparing them for the pendant fixture to fit over later. Leave these screws slightly loose until the pendant light is ready to be mounted. When removing old adhesive residue from the ceiling surface, applying heat can help soften the material for easier cleanup. Using a soldering iron can also be an effective method for melting stubborn adhesive residue. Before handling any wires, confirm the power is off by testing with a voltage tester to ensure safety.

4Pieces full metal plate with slots version,very flexible hardware for affixing lighting fixtures to electrical boxes

ELEGANT DESIGN: This 5" and 6" recessed can conversion kit includes a flat ceiling medallion that covers recessed can openings and enhances your lighting fixture’s visual appeal. Suitable for modern and classic interiors, it adds a stylish touch to any room's decor, making it a standout pendant light kit or part of a recessed light conversion kit setup.
Wire the Ground First, Then Hot and Neutral
Start by grounding the fixture before making connections to the hot and neutral wires. Connect the bare copper wire from the ceiling to the fixture’s ground wire, ensuring safety by earthing the metal before completing the power circuit. Wrap the bare copper wire clockwise around the green ground screw and tighten it securely. If there is no screw, join both ground wires using a wire nut and perform a gentle tug to confirm a solid connection. Keep the ground wire longer than the hot and neutral wires; this way, if a break occurs, faults are diverted safely to earth first. Once grounded, connect the neutral (white) wire next, followed by the hot (black or red) wire last. This sequence minimizes the duration the circuit remains live during installation, reducing the risk of shock. For secure and efficient handling overhead, use inline connectors or Wago connectors to preload wires before finalizing the live connections. A well-grounded fixture ensures the same safety and stability valued in a top bed bench with storage. Selecting a compatible rod ensures the fixture aligns with standard mounting widths for a secure fit. Always verify that cordless blinds operate by a similar tension mechanism, ensuring smooth deployment without external cords.
Connect the Hot Wire to Black and Neutral to White
Connect the hot wire to the black wire from your ceiling and the neutral wire to the white wire from your ceiling. This wiring follows the standard color code: the black wire carries the hot 120V power, while the white wire serves as the neutral return. The fixture’s black wire should be connected to the ceiling’s black wire, and the fixture’s white wire to the ceiling’s white wire. This ensures the hot wire connects to the socket’s metal tab and the neutral to the threads, reducing shock risk. Before starting, verify your bedside table placement will not obstruct the pendant light’s path.
If your fixture has unmarked wires, look for a ridge or rib on the neutral wire; the smooth wire is hot. Always strip about half an inch of insulation from each wire before twisting matching wires together. Secure these connections with wire nuts, and for extra safety, wrap each with electrical tape. After securing, give each connection a gentle tug to ensure it’s tight. Properly connecting the hot to black and neutral to white ensures a safe, correctly polarized circuit. To complete your reading area, pair the light with a reading chair that offers proper lumbar support.
Tuck Wires Neatly, Then Attach the Canopy
First, ensure all wires are securely connected before starting to fold and tuck them. Carefully bend the wires into smooth accordion-like folds to avoid pinching or damaging the insulation. Tuck the wires into the junction box, keeping all wire nuts positioned above the canopy line so they are not pinched or pulled when attaching the canopy.
Pay close attention to the orientation of the wires and wire nuts. Arrange the nuts upward in the center of the box so they do not contact any metal edges or interfere with screw holes. This positioning helps prevent insulation from getting trapped under the canopy rim and ensures a tidy, safe wiring area.
Once the wires are tucked in, lift the canopy and slide it fully over the junction box. Align the canopy carefully so it sits level against the ceiling, creating a clean, professional look. Attach the canopy to the mounting bracket and tighten the screws evenly. Avoid fully tightening the screws until you verify that no wires are pinched or pulled, which could cause connection issues or damage. For modified pendant cords, shortening the existing cord length reduces excess slack and enhances the overall visual harmony.
Perform a gentle tug on the fixture to check that connections remain secure inside the junction box. The fixture should hang straight and free of wire strain. When everything is properly aligned and secure, tighten the canopy flush against the ceiling to complete the installation.
Turn Power Back On and Test Your Light
Once the canopy is secured flush against the ceiling and all connections are safely inside the junction box, you can confidently restore power and test your light. First, ensure the wall switch is turned off. Then, flip the circuit breaker back on, and verify it remains in the “on” position—this is crucial for safety. Use a non-contact voltage tester near the fixture wires; if it lights up, power is present. For precise readings, employ a multimeter expecting around 120 volts in most US homes. Next, turn on the wall switch. The pendant light should illuminate immediately. Listen for any buzzing sounds or check if the switch feels warm, as these can indicate problems. If the light does not turn on, verify that the bulb is correct and tightly screwed in. Follow electrical codes and guidelines at all times. If you notice any burning smell or excessive heat during testing, stop immediately and contact a licensed electrician. Always confirm wires are not live using the voltage tester before touching any connections, as this step verifies the breaker is truly off.
3 Quick Fixes When a Pendant Light Won’t Turn On
When a pendant light won’t turn on, start by replacing the bulb with a new one. Make sure the bulb’s wattage does not exceed the fixture’s maximum rating to avoid electrical issues. If the bulb wiggles and flickers, it indicates a faulty lampholder that needs replacement. Next, check the circuit breaker—look for the switch in a middle position, which indicates it has tripped. If other lights on the same circuit are also out, the problem isn’t limited to the pendant light. Finally, test the wall switch by ensuring it’s turned on and using a voltage tester to confirm power flow. If the wall switch is powered but the light still fails, confirm switch operation with a multimeter to rule out a faulty switch. Watch for signs like heat or buzzing sounds, which signal potential issues. Never ignore sparking; if you see or smell smoke, call a professional electrician immediately. These quick steps can often resolve the problem without rewiring or complex repairs.

DiCUNO E26 vintage light bulb socket, compatible with medium (standard) base bulbs, especially vintage Edison bulbs, suitable for decorative DIY pendant lighting projects.

【UL Listed】Maximum power rating: 250W, 250V, UL certificated, safe to use. The outer of light socket is made of high-quality phenol formaldehyde plastic material and comes with an aluminum socket interior that is solid, making it resistant to heat, flame and corrosion. This is a high-quality medium base socket replacement for lamp fixtures.
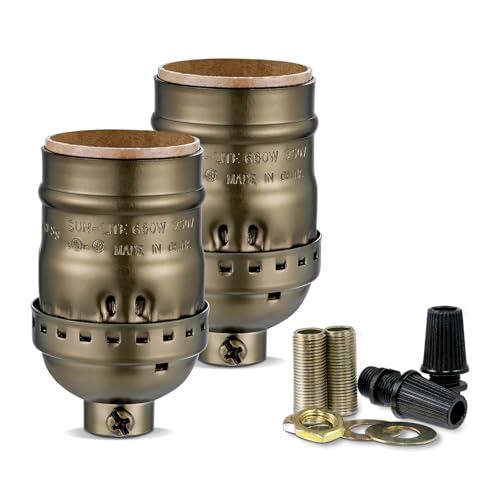
UL LISTED STANDARD LIGHT SOCKET -Standard U.S. lamp socket in vintage design, without an on and off switch, it's perfect for a lamp that you already have a line switch or wall switch.