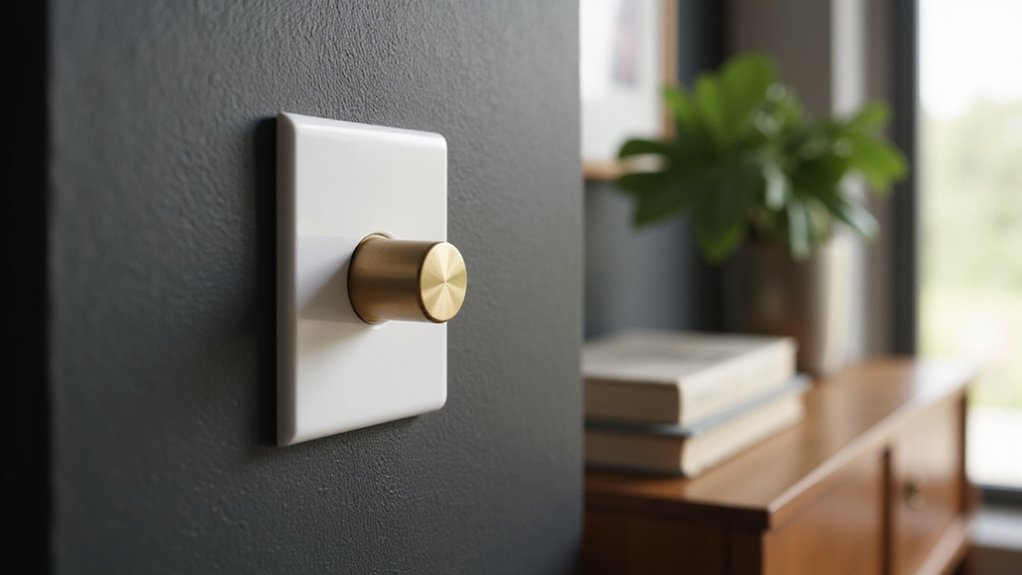
Thinking about fitting a dimmer switch? It’s a handy upgrade that lets you control your lighting mood and save energy.
While it might seem tricky, with the right steps, you can do it safely and confidently.
Below, you’ll find all the details you need to replace your switch and enjoy smoother, more customizable lighting.
Check Your Lights’ Compatibility First
Ensure your dimmer switch matches the voltage of your fixture. Most homes use 120V, so a standard dimmer designed for that voltage is suitable. For low-voltage setups, such as 12V systems, you’ll need a specialized dimmer compatible with those voltages. Using a mismatched voltage can cause immediate damage to your equipment and pose safety risks. Consider the style and function of your space, as a dimmer can transform a room’s ambiance similarly to how a vanity versus desk choice affects your room’s purpose. To ensure a clean installation, gather the right tools such as a level and stud finder before starting. Additionally, LED bulb flickering often results from incompatible dimmers or insufficient load, so choosing a dimmer specifically rated for LED bulbs is crucial.
Next, calculate the total wattage of all bulbs on the circuit. Add together the wattage of each bulb to make sure it does not exceed the maximum rating of your dimmer. For LED lights, verify that the total wattage is above the dimmer’s minimum load, often around 10W, to ensure proper functioning. Properly matching voltage and wattage ratings is essential for safe, reliable dimming performance.
Gather the Tools and Safety Gear You’ll Need
Before flipping the breaker, gather the essential tools and safety gear. You’ll need wire strippers, a Phillips and flat-head screwdriver, wire nuts, and electrical tape. For diagnostic checks, grab a non-contact voltage tester and a small level. Don’t forget to wear protective gloves to prevent shocks or cuts. Ensure you have first turned off the power at the switch to prevent electrocution risk.
If you’re installing a smart dimmer, ensure it supports Smart dimming and Wireless control features. Check that your dimmer’s mounting screws fit your electrical box; buy extended screws if necessary. To help with wiring, use a camera to photograph the existing wires for easy tracking later.
Prepare your workspace by labeling the circuit breaker you’ll turn off and alerting others nearby. Strip about 0.75 inches of rubber insulation from the ends of the wires you’ll connect. Wrap each connection clockwise with electrical tape to secure and insulate. With the right gear and careful preparation, you’ll complete the job safely and efficiently—no fluff, just results.

Romex: Registered trademark of Southwire Company

Cuts, strips, and loops 10-18 AWG Solid and 12-20 AWG Stranded wire and cleanly shears 6-32 and 8-32 screws

✅ 8 inch Professional Wire Stripper: Cuts, strips wire and loops 10-22 AWG Solid copper wire or aluminum cables.high carbon alloy steel with accurate stripping.
Turn Off Power to the Dimmer Switch and Test
Turning off the power to the dimmer switch involves locating and disabling the correct circuit breaker. First, head to your electrical panel, which is usually in the utility room, basement, or garage. Open the panel door and identify the breaker labeled for the room with the dimmer switch. Flip that breaker to the “off” position. If the label is unclear or absent, turn off the main breaker to ensure safety. Consider using budget-friendly materials like plywood or melamine for the closet build if you are also planning to construct or modify storage nearby.
Next, verify that the circuit is truly de-energized. Return to the switch and toggle it on and off; if the light remains dark regardless of switch position, you are likely on the correct circuit. Use a working voltage tester and carefully touch it to the exposed switch contacts. If the tester shows zero volts, the circuit is safely off. Do not touch any wires or bundles until you confirm there is no current, to avoid electrical shock. Keep the switch gently pulled out with the wires still connected, but avoid touching white wire bundles or other conductors. Always double-check the breaker’s position, and if necessary, test again to confirm the circuit is fully de-energized before proceeding. Waiting a moment ensures all stored charge dissipates, giving you a safe workspace. Additionally, note that LEDs may require higher voltage to start, which can affect switch performance if the dimmer is not properly cleaned. To ensure a clean surface for the new dimmer, you can use a plastic scraper to gently remove any adhesive residue from the wall box without damaging the wiring.

0%-100% Dimming Freely--- PWM 0%-100% Dimming Controller easily adjusts the lighting to any brightness, dim or brighten, to meet your different needs and preferences via the rotatable knob

Features a toggle to turn lights on/off or to preset level and a discreet slider to brighten/dim lights to suit any activity

DC wall dimmer: It is a DC 12V - 24V PWM dimmer switch, and you could easily adjust the brightness or turn on/off the strip lights or LED lights, compatible with dimmable light bulbs only, single pole
Remove the Old Switch and Label Each Wire
Loosen the terminal screws and release the wires from the push-in connectors. Carefully inspect each wire end, straightening or trimming any frayed sections. If needed, strip about ¾ inch of insulation from the wire ends to ensure a good connection. Label each wire clearly: mark the common wire with tape, label the black wires as “hot,” white wires as “neutral,” and tag the ground wire distinctly. Avoid cutting into house wires unless they are damaged. Double-check your labels against your photo before proceeding to ensure accuracy. Before handling, verify no live wires are present using a multimeter or voltage tester to ensure safety.

Cable Labels Tag Size - A4 size 210 mm x 297 mm (sheet size); 3.31 x 1.02 inch (each sticker size, please see the Second Pictures). Quantity: 8 sheets (30 pcs small label per sheet, 240 pcs totally). Contains 8 colors, Including: Pink, Green, Red, White, Blue, Orange, Brown, Yellow.

More pages of the frequently used low numbers (1-24)

✅【Get Organized】- Sick of unplugging the wrong cord? So were we. Avoid the frustration with the cable cord labels. Label computer cords, power strips, charging cables, and anything, without tape or twist ties.
Connect the Wires to the New Dimmer Switch
Once the old switch wires are labeled, you’re ready to connect them to the new dimmer. Begin with the ground connection: attach the dimmer’s green wire to the bare copper or green ground wire in the box. Twist the wires together clockwise with pliers, then secure them with a wire connector. Make sure no copper copper is exposed outside the connector. Secure all wires tightly before pushing the switch back into the box. Before connecting, ensure power is off at the circuit breaker to match the safety precautions used when hanging a pendant light.
Next, strip about 3/8 to 5/8 inch of insulation from each wire end. Match the wire colors to the appropriate dimmer terminals. Connect the brown (or red) wire to the C terminal, the black wire to L1, and the grey wire to L2. For smart dimmers, connect the black line wire to the wall’s black line and the red load wire to the wall’s red load. Twist each wire connector clockwise firmly and ensure all connections are secure. Wrap each connection with electrical tape for extra insulation and protection, avoiding any bare filaments outside the tape.

Usage: This LED dimmer controller is suitable for LED strip light, LED ribbon, LED rope light, such as COB LED strip lights, SMD 5050/ 3528/ 2835/ 5630 LED tape lights, aquarium lighting, etc.

Working Voltage: DC 5V-24V; Max Current: 6A (Recommended current <6A) ; Remote distance: >15m at open area.

Input voltage:DC5V/DC12V/DC24V; Output current:<2A/CH max:6A. (DC12V LED strip, please use D12V power supply.)
Mount the Dimmer Switch and Test It
After connecting the wires, gently push them into the corners of the electrical box. This prevents pinching or interference and ensures the wires are neatly contained. Make sure the wires are aligned properly and kept away from the mounting holes to avoid displacing or damaging the connections. To mount the dimmer, align it with the electrical box’s holes and insert the screws. Tighten them with your fingers initially to hold the switch in place. Use a small level to confirm the switch is perfectly horizontal; this helps achieve a professional look and consistent operation. Once satisfied, fully tighten the screws with a screwdriver. Check that the switch feels secure and doesn’t wiggle, indicating proper installation. Ensure the earth wire is connected if a metal back box or metal switch faceplate is used. Pairing the dimmer with a compatible bedside lamp can enhance both ambiance and energy efficiency.


FLEXIBLE - For use with Decora Digital or Decora Smart Dimmers
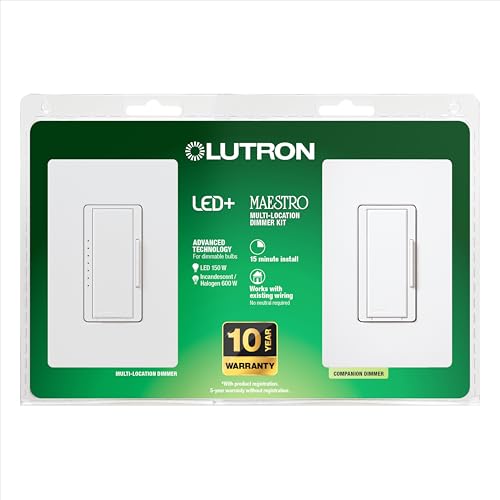
MULTI-LOCATION DIMMING: Have full dimming control from every location in a 3-way using the included companion dimmer. Additional companion dimmers can be used for 3 or more locations.
Attach the Wall Plate and Troubleshoot Common Problems
Turn the power off at the breaker before working on the switch. After attaching the wall plate securely, turn the power back on. Test the dimmer by rotating the knob; if it doesn’t respond, turn the power off immediately to avoid electrical hazards. Check for loose wiring connections behind the switch and ensure all wires are securely attached to their terminals. Verify that your bulb type is compatible with the dimmer—LED, CFL, or incandescent—and confirm the total wattage does not exceed the dimmer’s rated capacity. For flickering lights, replace the bulbs with dimmer-compatible models designed to work smoothly with your switch. If you hear buzzing noises, try wrapping the wiring connections with electrical tape for insulation. Always use a voltage tester to confirm the power is off before touching internal wiring, and follow local electrical codes for safety. For proper installation, verify the switch control type is either single pole or three-way based on how many switches control the lights. Choose curtain ring types that match the style of your existing hardware for a cohesive look. For a budget-friendly approach, consider using simple wooden crates as an alternative to expensive pre-built storage units. Understanding how a dimmer switch works by reducing the voltage can help you better troubleshoot performance issues.