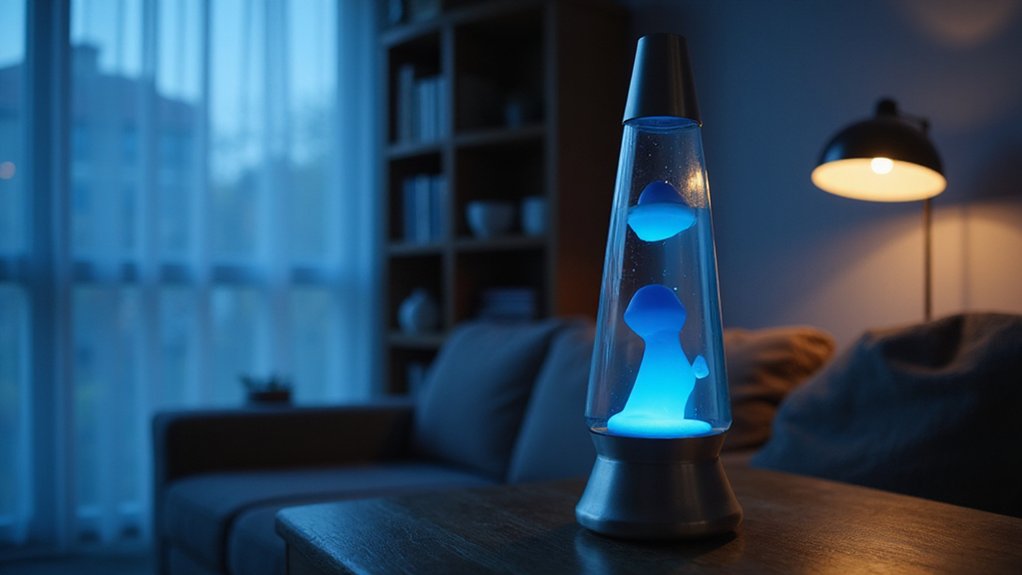
If you’ve ever wondered how to create a lava lamp that lasts forever, you’re in the right place. The secret is using stable ingredients and sealing your container tightly so it can keep mesmerizing without fading or evaporating over time.
With a few simple tricks, you can make a nearly endless lava lamp that’s safe and fun to watch.
Why Your DIY Lava Lamp Dies in a Day
Your DIY lava lamp fails in a day primarily due to rapid chemical and physical degradation. Temperature fluctuations from drafts or heat sources prevent the wax from reaching its melting point, causing it to stick to the glass permanently. Using a bulb with the wrong wattage also hampers the process; a lower wattage produces insufficient heat, leaving the wax solid at the bottom. Over multiple heating cycles, wax fragments can break apart and refuse to recombine, disrupting the flow. The metal coil may become slanted or blocked by dried wax, preventing the circulation of the liquid. Additionally, the internal solution turns cloudy after repeated use, and shifts in liquid density ruin the delicate balance required for the wax to rise and fall. Choosing between a vanity or desk involves weighing style, cost, and function, but for a lava lamp, that balance is disrupted even faster. All these issues typically occur within just a few hours, making it difficult for the lamp to function properly over time. Exceeding 10 hours of operation can cause overheating, resulting in tiny bubbles or large blobs that further ruin the flow. Unstable power delivery from the outlet, similar to LED bulb flickering, can also cause inconsistent heating that disrupts the wax cycle.
3 Ingredient Swaps for a Long-Lasting DIY Lava Lamp
To make your lava lamp last more than a day, replace the chemical reactants like Alka-Seltzer with stable, physics-based ingredients that depend on heat or differences in density. Remove the gas-producing reactions, as they quickly deplete and compromise the layer stability. Instead, use 90–91% isopropyl alcohol as your bottom layer and mineral oil on top. Gradually add 70% alcohol until the density of the oil balances and it begins to rise, creating a dynamic flow. You can control the responsiveness by adjusting the ratio of alcohol to oil. Seal the container tightly to prevent evaporation, which can change the density over time. Then, place a heat source underneath to induce thermal expansion, cycling the oil without relying on chemical reactions. This approach yields stable, indefinite motion in your DIY lava lamp. Unlike the chemical reaction with baking soda and vinegar that produces carbon dioxide bubbles and loses intensity quickly, this design uses a sealed system where physical density changes sustain the flow indefinitely.
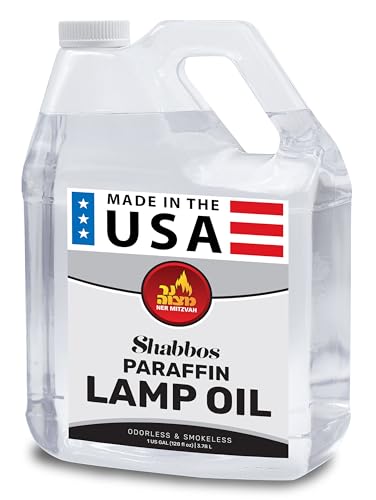
A CLEAN BURN: Our tiki torch fuel is processed and refined to create a powerful light source that is smoke and odor free and without harmful soot or other pollutants often found in kerosene.

A CLEAN BURN: Our tiki torch fuel is processed and refined to create a powerful light source that is smoke and odor free and without harmful soot or other pollutants often found in kerosene.

CLEAN BURNING FORMULA: Clean burning lamp oil designed for a low soot, smokeless flame. Ideal as smokeless lamp oil for indoor use with no heavy kerosene smell and minimal residue left in glass.
How to Layer Oil and Water for a Permanent Separation
Oil naturally floats on water because of their density difference and immiscibility. Vegetable oil, with a density around 0.91 to 0.93 grams per cubic centimeter, is lighter than water’s 1.00 grams per cubic centimeter. This causes the oil to rise and form a distinct layer on top. When you pour oil slowly into water without stirring, a sharp interface appears because the two liquids resist mixing due to their polar and nonpolar nature. Considering style and cost, a DIY lava lamp can serve as both a functional lamp and an attractive tabletop piece. For best visual effect, mount the lamp at a height where the curtain rod is level with the horizon. If you later decide to reuse the container, many donation centers accept hangers and other household items for recycling.
The separation remains stable and permanent because of these fundamental physical principles. Since oil and water are immiscible, their molecules cannot bond with each other. Without added emulsifiers like soap, this layered arrangement stays forever. The order in which you pour the liquids does not matter—denser liquids always settle below lighter ones. Interestingly, degassed water can create a stable emulsion instead of permanent separation.
This process is driven by thermodynamics; once separated, the layers do not spontaneously mix back together. Simply pouring and allowing the liquids to settle results in a persistent, clear division of oil on top of water. You don’t need to do anything special—physics takes care of the rest.

o CLEAN BURNING: Express your style & create the perfect ambiance in your home with liquid candle oil. This specially designed oil is sootless, smokeless & odorless which makes it ideal for use indoors.

A CLEAN BURN: Our torch fuel is processed and refined to create a powerful light source that is smoke and odor free and without harmful soot or other pollutants often found in kerosene.

Convenient One Gallon Bottle: This lamp oil arrives in a 1 gallon safely sealed jug with secure cap, preventing nasty spills or accidents during transit
How to Trigger Continuous Bubbles With Baking Soda and Vinegar
You can trigger continuous bubbles by creating a delayed reaction with baking soda and vinegar. To do this, wrap the baking soda in a small paper towel packet to prevent it from reacting immediately. Drop the wrapped baking soda into the vinegar and quickly seal the container to trap the gas buildup. The reaction will be delayed until the paper dissolves, causing the bubbles to erupt suddenly. Using a ratio of 2 tablespoons of vinegar to 1 teaspoon of baking soda produces a steady, manageable foam without overflowing. Adding a drop of dish soap to the vinegar helps trap the carbon dioxide bubbles, making them last longer and creating a more sustained bubbling effect. This process demonstrates an acid-base chemical reaction that produces carbon dioxide gas. Keep in mind, once either reactant is fully used up, the bubbling stops entirely. No amount of stirring will restart the reaction; fresh amounts of baking soda and vinegar are needed to reignite the fizz.

PURE BAKING SODA - 100% Sodium Bicarbonate

For Baking, Cleaning, and Deodorizing

Perfect Stix White MultiFold Paper Towels Pack of 2-250ct. Total 500 Towels
How to Add Food Coloring Without Ruining Your Layers
To add food coloring without ruining your layers, inject the dye directly into the water before pouring in the oil. This ensures the color sinks and stays where you want it. If you add drops after the oil has been poured, they will float on the water surface and disrupt the separation. Use no more than 2–3 drops per color to keep the contrast clear; more drops tend to darken the water and diminish vibrancy. Select lighter or more vivid colors for better visibility against the oil. Mix the coloring gently into the water to avoid creating bubbles or turbulence. When pouring the colored water into the bottle, do it slowly and carefully to maintain distinct layers. Avoid adding food coloring directly to the oil, as it won’t dissolve and can cause murkiness in the final result. Dye remains separate from the oil layer because it is water-based and insoluble in oil. For a more permanent display, consider building a custom wooden frame around the bottle to protect the structure and enhance the room’s decor. To further illuminate the lava lamp effect, you can integrate LED strip lights along the base or frame for consistent, long-lasting illumination.
Why Vinegar Creates a 4-Hour Reaction Window
Your reaction window lasts about four hours because residual acid continues to produce fizzing even after the initial reaction slows down. While peak activity occurs within the first 12 to 18 minutes, droplets can form in seconds during this time. After the main reaction, some acid remains active and keeps slowly reacting with baking soda, allowing fizzing to persist over several hours. If the reaction seems to have stalled, you can add more baking soda without adding additional vinegar to reactivate the process. This extended window gives you flexibility to observe or prolong the fizzing effect as long as you wish. The reaction works because carbon dioxide gas bubbles form when vinegar and baking soda combine, then rise through the less dense oil to create the lava lamp effect. For a stable setup, you may want to consider using a dimmer switch to control the speed of the reaction instead of relying solely on chemical adjustments. To maximize the longevity of your display, ensure you have the right tools required for a secure container seal.
How to Seal Your DIY Lava Lamp Container
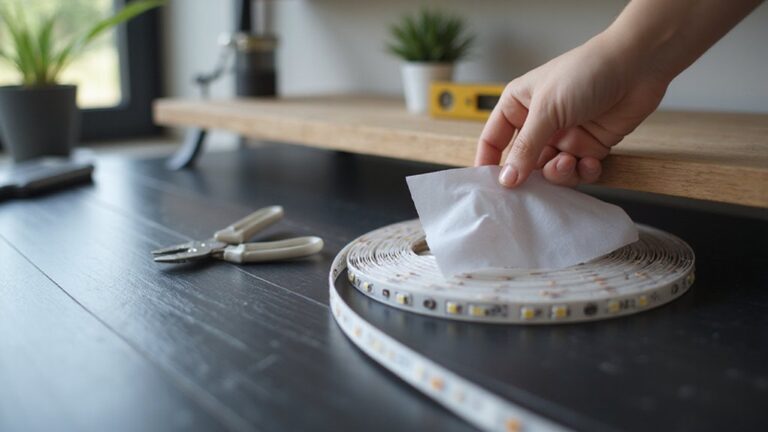
Sealing your DIY lava lamp container effectively prevents leaks during operation. First, clean the container rim thoroughly with rubbing alcohol to remove any residue, ensuring a smooth surface that enhances bonding. The surface must be dry and free of impurities for the sealant to adhere properly. Additionally, to achieve even lighting, carefully measure and cut LED strip lights to fit the base circumference for uniform glow.
Choose your sealing material based on durability and flexibility. Silicone glue around the rim provides a flexible, leak-proof barrier that remains durable over time. For a harder, more solid finish, UV resin is a good option; cure it with a UV light for one to two minutes for best results. Small holes or cracks can be quickly fixed with Gorilla glue dots, which are simple to apply. Avoid hot glue, as it does not offer long-lasting sealing in this context. For a surface that remains stable under heat, consider using LED strip light mounting techniques to keep the lamp base secure. When selecting your sealant, remember that flexible silicone glue is a more durable option than rigid materials for areas exposed to temperature changes.
After applying your chosen sealant, allow silicone or UV resin to dry or cure completely before activating the heat source. Regularly check for leaks every few months to ensure the seal remains tight. A secure, flat seal prevents bumps and spills, keeping your lava lamp operating safely. For a truly permanent effect, you can connect a small tube to an electric air pump within a sealed system to sustain bubbling for months.

Sensor-Safe, General Purpose Black Rtv Indoor/Outdoor Sealant

Professional Formula - This Clear Silicone Adhesive Sealant is a Sensor-Safe, General Purpose Clear RTV Sealant that can be used inside or outside for all your jobs
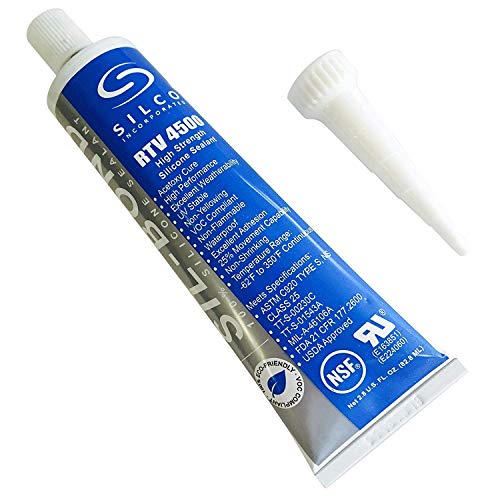
Food Contact Safe 350F high temp
Low-Watt Bulbs vs. LED: Which Heat Source Lasts Longer?
LED bulbs last significantly longer than low-watt incandescent bulbs, often enduring 25,000 to 50,000 hours of use. This extended lifespan means you can enjoy several decades of daily use—about three hours per day—without needing replacements. While incandescent bulbs typically burn out after roughly 1,000 hours, LEDs resist burnout and maintain brightness over time. Additionally, LEDs generate much less heat; an LED stays under 104°F, whereas a 7-watt incandescent can reach over 200°F. This lower heat output helps protect your lamp’s components and prolongs its overall life. Though LEDs tend to have a higher initial cost, they save money over time; in a decade, you could save more than $200 per bulb through less frequent replacements and lower energy bills.

Quick Preheat: The E17 lava lamp bulbs generate a large amount of heat and heat up quickly, The heat of the 25W lava bulb is evenly distributed to your lava lamp. The stable heating lamp glitter bulb is designed with high efficiency to reduce power consumption and provide long-lasting brightness

Purchase Note: This E17 S11 bulb socket may not fit all vintage lava lamps. Be sure to check your lamp's model and specifications before purchasing
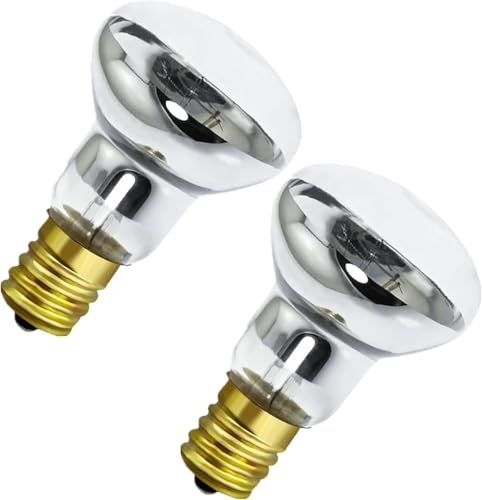
2pack and 4-pack lava lamp and flash light replacement bulbs, bulb diameter: 39mm/1.54 inches height: 59mm/2.3 inches. With E17 base and R39 bulb shape, it is firmly packed to avoid damage during transportation.
5 Daily Adjustments to Keep Your Lava Lamp Running
To keep your lava lamp running smoothly, perform these five daily adjustments: check its position, verify the metal coil, monitor runtime, address cloudiness, and regulate heat. Place the lamp on a flat, stable surface away from radiators, direct sunlight, or windows to prevent color fading and prevent temperature extremes that could crack the glass. Ensure the globe is upright; if it floats, gently twirl the lamp to reposition the metal coil at the bottom to maintain proper fluid flow. Always do not shake the lamp, as shaking can disrupt the lava’s flow and damage the internal components. Limit operation to 8 to 10 hours per session and avoid running the lamp continuously to prevent overheating. If the lava appears cloudy, run it in short cycles—about four hours on followed by two hours off—and repeat until clarity returns. Adjust the brightness with a dimmer switch when the lamp overheats or seems underperforming. For optimal performance, consider the single versus double cell design of your lamp’s base to ensure proper heat distribution. These daily steps help keep your lamp vibrant, and a budget-friendly DIY approach can also guide you in building a custom base for better heat regulation. Using a dimmer switch can also help regulate temperature, similar to how a wall sconce installation uses a dimmer for light control.
When to Refresh Reactants Without Starting Over
If your lava lamp shows signs like wax that refuses to rise, a cloudy liquid, or sluggish flow, you can often refresh the reactants instead of starting over. Start by adding no more than 4 grams of salt solution at a time, waiting 1 to 2 minutes between additions to allow the liquid to adjust. Check if the wax begins to divide within 20 minutes; if it doesn’t, add one drop of dishwashing liquid to restore the surfactant balance. After each adjustment, wait 15 to 20 minutes to see if blobs shrink or flow improves. Use distilled water to ensure purity when preparing any new salt solution for the process. For precise measurements, refer to standard sizes for curtain rings if using a similar additive approach for other projects. If the room is sunny, consider applying window film you can see out to reduce heat interference with the lamp’s chemistry. Similar to wiring a dimmer switch for precise control of light, you must carefully regulate the lamp’s heat to maintain stable convection currents. Run the lamp for an hour afterward to confirm the fix. If the wax becomes runny or sticks to the glass, this indicates an overload of surfactant, so avoid adding more. Never perform multiple refreshes within an 8-hour window to prevent instability. This method helps extend your lamp’s life without the need for a full restart.